VEO16i
QUICK START GUIDE
i3 INTERNATIONAL INC.
1.866.840.0004
www.i3international.com
U.S.A 4450 Witmer Industrial Estates Unit 4
Niagara Falls, NY 14305
Canada 780 Birchmount Road, Unit 16,
Scarborough, ON, M1K 5H4
i3-TRNG-DVR-
U3-QIG
.indd
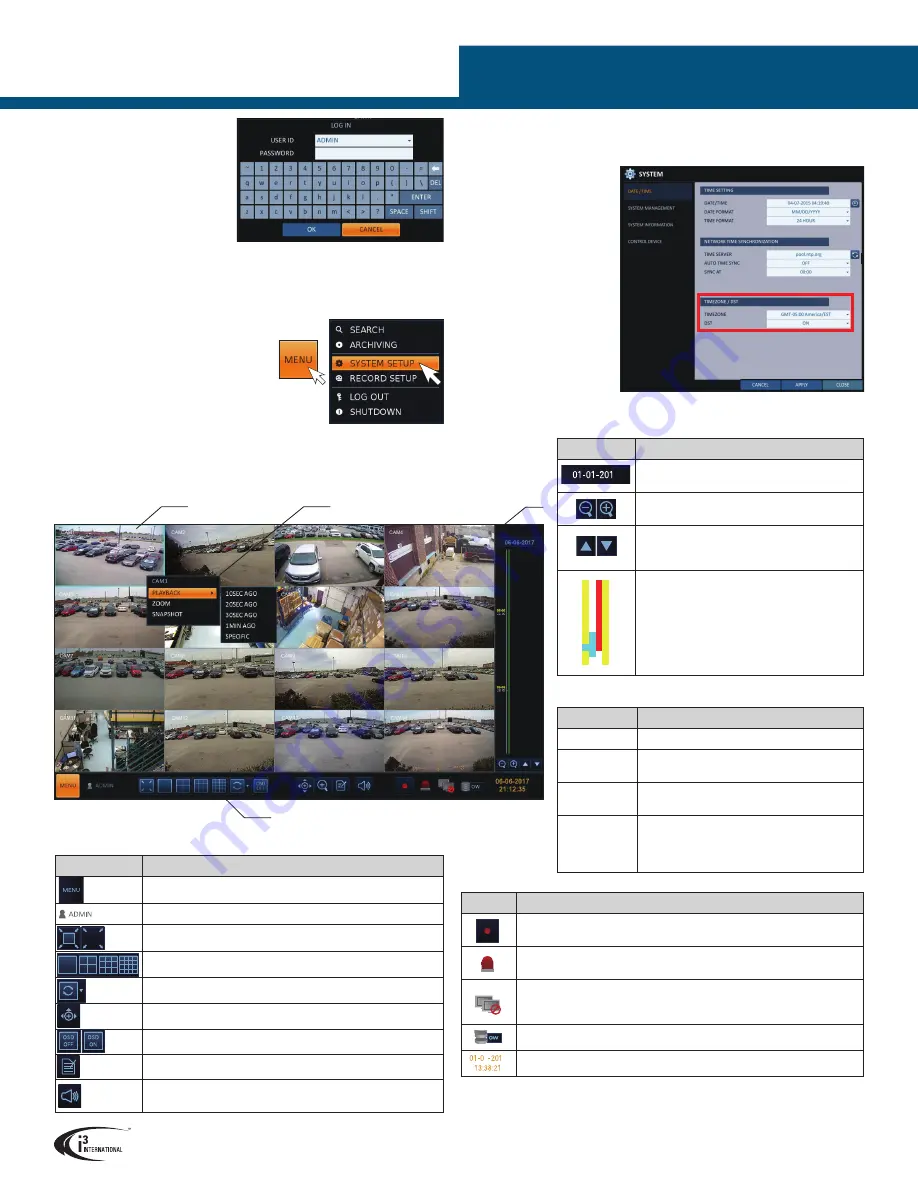
Item
Description
Start the emergency recording.
Event alert. Icon blinks when an event with a linked action occurs.
Click to view information about the event.
Shows remote connections established via remote PC or a mobile
device. Click to view remote user details and to check the network
connection status.
Shows the disk space information. OW stands for Over Write
Shows the current system date and time.
Item
Description
Current Timeline date. Click to select a
different date.
Zoom In/Out of the Timeline.
Timeline navigation. Move to the previous/
next point on the timeline. Alternatively, use
the mouse wheel.
Recorded data representation. Color indicates
the type of recording:
Green: Continuous Recording
Red: Alarm Recording
Blue: Motion Recording
Yellow: Panic Recording
Double-click the Timeline to go to the
Playback Mode.
Item
Description
Access System Setup, Search and Backup menus.
ID of the currently logged in user.
Hide/Show status bar and timeline.
Select the camera split screen: 1, 2x2, 3x3, or 4x4
Enable/disable Auto Sequence mode.
Hide/Show OSD menus on the screen.
Display PTZ controls screen.
Display recent recording event log.
Listen to the audio stream of the connected audio-capable
camera.
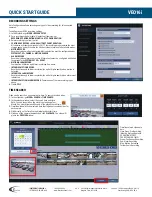
For the safety of your DVR system and of your video data security, you
must
change the default administrative password on the
first system login.
Failure to
do so may result in unwanted system access from unauthorized users, loss of
video data/system settings, etc.
1.
In the status bar, click
MENU
>
SYSTEM SETUP
>
USER
>
MANAGEMENT
2.
In the list of users, select
ADMIN
user
account and click
EDIT
3.
Use the USB mouse and the on-screen
virtual keyboard to set the new administrative
PASSWORD.
4.
Click
OK
5.
Click
APPLY
,
then click
CLOSE
to return to the live screen.
SET YOUR TIME ZONE
All i3 international DVRs are
set to EST - Eastern Time Zone
(GMT-5:00).
The time zone of your DVR
MUST
be set to your local time
zone
on the first system start
up
and every time the DVR is
relocated to a different time
zone.
1.
In the status bar, click
MENU
>
SYSTEM SETUP
>
SYSTEM
>
DATE/TIME
2.
In TIMEZONE drop-down
menu, select your local time
zone.
3.
Click
APPLY
.
7
7
FIRST LOGIN
When the system starts, the login
screen appears.
Use the USB mouse and the on-
screen virtual keyboard to enter
USER ID
and
PASSWORD
and click
OK
.
Default USER ID:
ADMIN
Default PASSWORD:
1234
SET NEW PASSWORD
LIVE SCREEN
Status Bar
Video Window
Quick Menu
Timeline
7
Quick Menu
Item
Description
Channel No
Displays the current channel’s number.
Playback
Start playing the video of the selected
channel from the specified time.
Zoom
Show Digital Zoom mode for the selected
channel
Snapshot
Capture the current live video and save it in
the *.jpeg format. Captured snapshot can be
saved to HDD or exported to an external USB
storage device.
Timeline
Status Bar


