< 4.5 > QD On-screen Menu
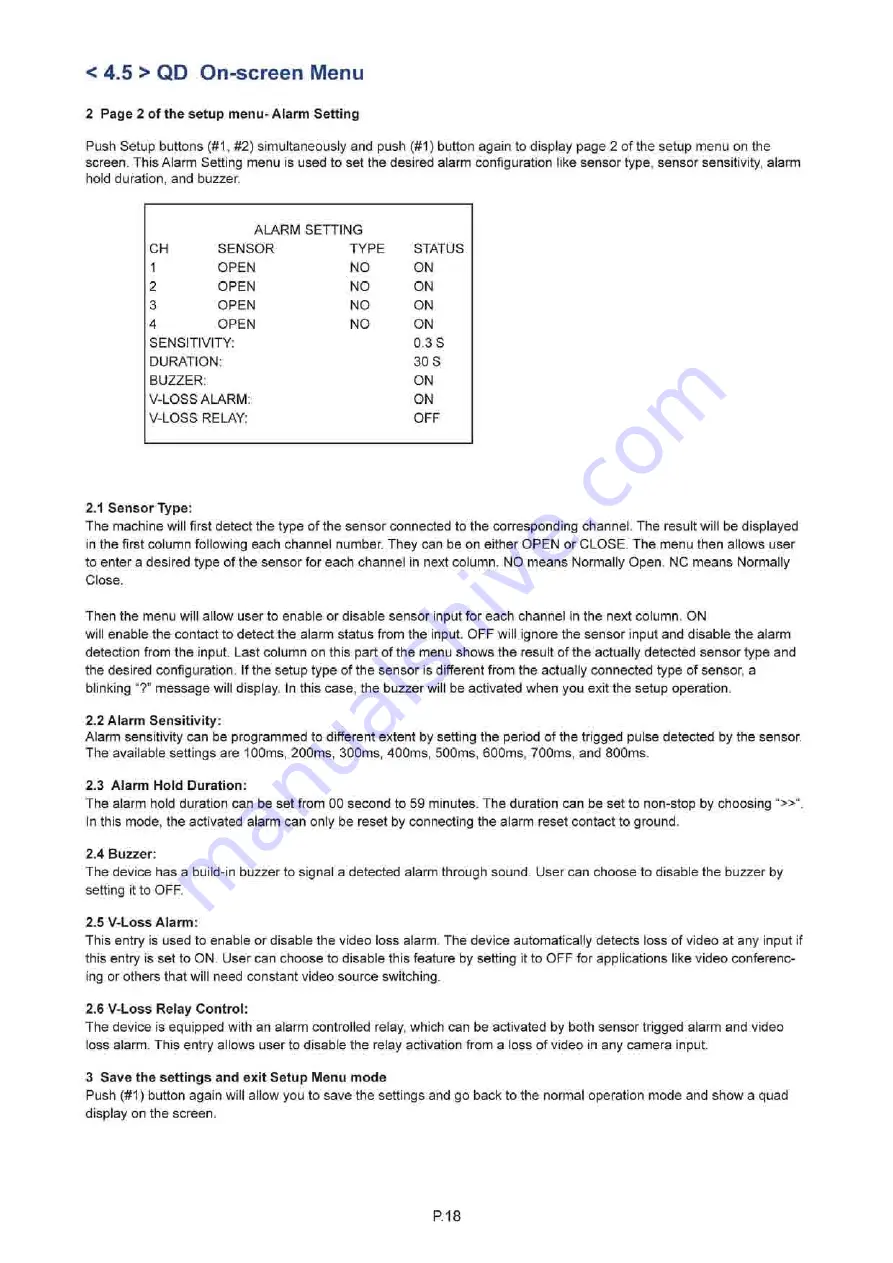
2 Page 2 of the setup menu- Alarm Setting
Push Setup buttons (#1, #2) simultaneously and push (#1) button again to display page 2 of the setup menu on the
screen. This Alarm Setting menu is used to set the desired alarm configuration like sensor type, sensor sensitivity, alarm
hold duration, and buzzer.
ALARM SETTING
CH SENSOR
TYPE
STATUS
1 OPEN
NO
ON
2 OPEN
NO
ON
3 OPEN
NO
ON
4 OPEN
NO
ON
SENSITIVITY:
0.3 S
DURATION:
30 S
BUZZER:
ON
V-LOSS ALARM:
ON
V-LOSS RELAY:
OFF
2.1 Sensor Type:
The machine will first detect the type of the sensor connected to the corresponding channel. The result will be displayed
in the first column following each channel number. They can be on either OPEN or CLOSE. The menu then allows user
to enter a desired type of the sensor for each channel in next column. NO means Normally Open. NC means Normally
Close.
Then the menu will allow user to enable or disable sensor input for each channel in the next column. ON
will enable the contact to detect the alarm status from the input. OFF will ignore the sensor input and disable the alarm
detection from the input. Last column on this part of the menu shows the result of the actually detected sensor type and
the desired configuration. If the setup type of the sensor is different from the actually connected type of sensor, a
blinking "?" message will display. In this case, the buzzer will be activated when you exit the setup operation.
2.2 Alarm Sensitivity:
Alarm sensitivity can be programmed to different extent by setting the period of the trigged pulse detected by the sensor.
The available settings are 100ms, 200ms, 300ms, 400ms, 500ms, 600ms, 700ms, and 800ms.
2.3 Alarm Hold Duration:
The alarm hold duration can be set from 00 second to 59 minutes. The duration can be set to non-stop by choosing " » " .
In this mode, the activated alarm can only be reset by connecting the alarm reset contact to ground.
2.4 Buzzer:
The device has a build-in buzzer to signal a detected alarm through sound. User can choose to disable the buzzer by
setting it to OFF.
2.5 V-Loss Alarm:
This entry is used to enable or disable the video loss alarm. The device automatically detects loss of video at any input if
this entry is set to ON. User can choose to disable this feature by setting it to OFF for applications like video conferenc
ing or others that will need constant video source switching.
2.6 V-Loss Relay Control:
The device is equipped with an alarm controlled relay, which can be activated by both sensor trigged alarm and video
loss alarm. This entry allows user to disable the relay activation from a loss of video in any camera input.
3 Save the settings and exit Setup Menu mode
Push (#1) button again will allow you to save the settings and go back to the normal operation mode and show
a
quad
display on the screen.
P.18


