136
• The time-saving playback only functions when the
image is played back at the actual size on
1-screen ~ 4-screen.
• When the time-saving playback functions in the
fast playback mode,
is displayed. During
this time, no audio is output.
• When an image is played with a recorded time
close to the current time, fast playback is not
available.
• When the image capture size and the frame rate
of the recorded image are high, the fast playback
may not be available. In addition, the playback
speed of each image may not be the same during
multiscreen playback depending on the setting
values of the image capture size and the frame
rate of each recorded image.
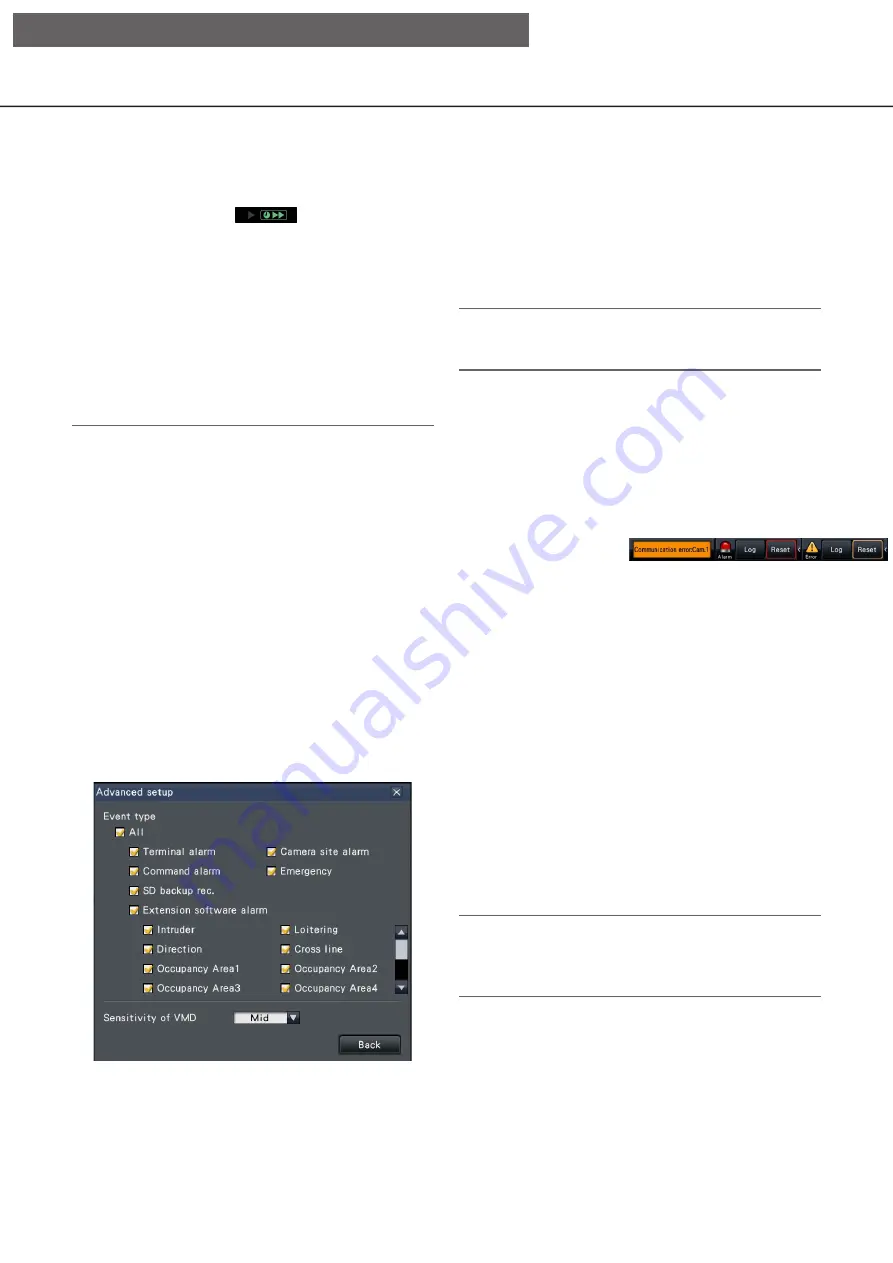
[Advanced setup] button
Display the advanced setup panel and change event
types and other information displayed on the timeline.
Playback will be paused.
[Scale selection] button
Select a timeline display covering 2 hours (2 h), 8
hours (8 h) or 24 hours (24 h).
[Display range selection] button
The timeline will be displayed in accordance with the
setting of the scale selection button.
[Playback slider]
Displays the time during playback. Drag and drop the
playback slider to a desired time on the timeline to
start playback from that time.
Note:
• The playback slider may not soon move to the
desired position.
[Jump interval]/[Jump] buttons
Move the playback point by a given amount of time
and play back from that point. Clicking the [<] / [>]
buttons will move the playback point by the amount
of time specified under [Jump interval].
Available ranges: 10 s/ 15 s/ 30 s/ 60 s/ 180 s/ 300 s
[Playback of audio]
This item is displayed when the recorder is set up to
lock in a camera with audio output. If this checkbox is
marked, the audio associated with the displayed
image will be output. (
☞
Change event types and other information displayed on the timeline
[Advanced setup]
[Event type]
Set event types to be displayed on the timeline. To
display event-recorded images on a timeline, mark
their checkboxes.
Refer to page 123 for further information about each
alarm.
Note:
• User-defined 1 to user-defined 8 are displayed
when the message ID of the extension software
alarm (
☞
[Sensitivity of VMD]
Set the sensitivity for the motion detection displayed
on the timeline. Sensitivity increases in the steps
shown below.
Low
→
Mid
→
High
→
All
[Back] button/[×] button
Click this button to return to the date & time operation
panel (playback display).
Step 1
Click the [Alarm] button or [Error] button on the status
display panel.
→
→
The corresponding [Log] buttons will be
displayed.
Step 2
Click the [Log] button.
→
→
The alarm log panel or error log panel will be
displayed. It is possible to switch between list
pages by clicking the [Previous]/[Next] buttons.
Note:
• Up to 1000 alarm logs are saved. When more than
1000 logs are filed, the older logs will be
overwritten by the newer logs. In this case, the
oldest log is the first to be overwritten.
[Operation via recorder's main monitor]


