background image

CHAPTER 3 – Protecting & Maintaining 

29 

The System BIOS Utility 

Phoenix BIOS 

The computer operates using Phoenix Basic Input / Output System (BIOS). 

Individual explanations are available on the system BIOS screen. 


BIOS Setup Utility 

The Setup Utility enables you to change the most important system settings, 

adjusting the system’s internal clock and the preferred boot device, etc. 

Unnecessary changes to the system settings may cause the computer to 

become unstable or compromise its performance. 


Initiating and Navigating the Setup Utility 


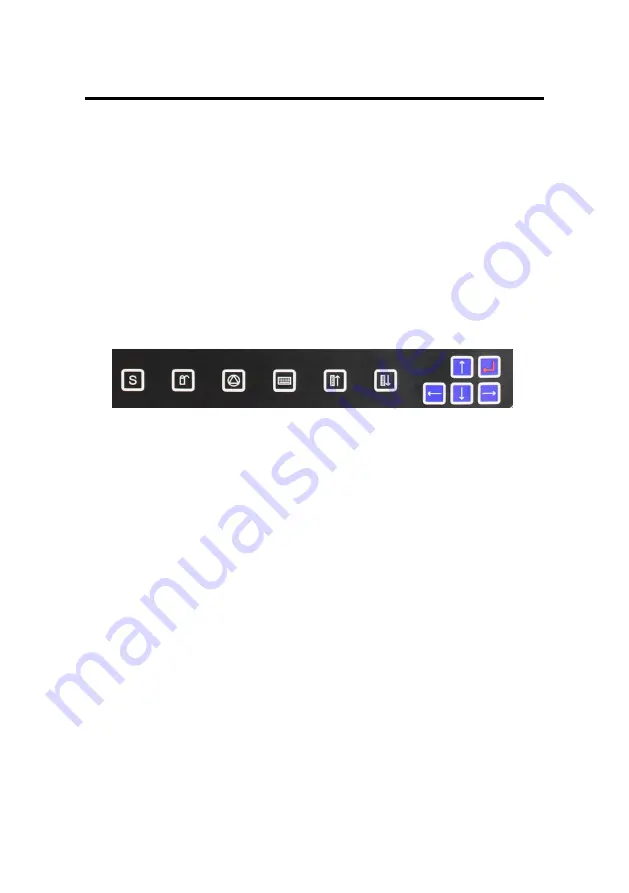
Press button “ S “ on the front panel of the computer or the <Delete> key on 

an external keyboard during system startup before the OS (Operating 

System) begins to load. 


Refer to the Front Panel Button descriptions in Chapter 2 for navigating 

applications in the System BIOS Utility. 


Read detail navigating information on the bottom of the display screen for 

every button and keystroke. 


Read each field or item descriptions on the right hand side of the display 

screen. 


Summary of Contents for IO-10C

Page 1: ...User s Manual IO 10C 2012 12 22...

Page 2: ...s the right to revise or make changes to this publication without notice or obligation of the manufacturer to notify any person of such revision or changes Software Licenses The software included with...

Page 3: ...progress The ideal range for safe operation of the computer is from 100 240V AC 1 AC Power Cord 2 AC Adapter 3 DC Direct Current Cord Warning Using the AC adapter to power other devices can damage the...

Page 4: ...ie Ersatz nur durch denselben oder einem vom Hersteller empfohlenem hnlichen Typ Entsorgung gebrauchter Batterien nach Angaben des Herstellers 4 Swedish Explosionsfara vid felaktigt batteribyte Anv nd...

Page 5: ...which to receiver is connected Consult the dealer or an experienced radio TV technician for help Use of shielded cord is required to comply with Class B limits in Subpart B of Part 15 of the FCC rules...

Page 6: ...his equipment has been designed to comply with EMC directive 89 336 EEC As a amended by 92 31 EEC and the Low Voltage directive 2006 95 EC Manufacturers will need to test and approve the product to th...

Page 7: ...or the Battery 11 Using the AC adapter 11 The Stylus Pen 13 Performing Mouse Clicks and Other Procedures with the Stylus Pen 13 For Optimal Performance from the Stylus Pen 14 The CMOS Camera 14 CHAPTE...

Page 8: ...ations and Standard Features 32 Software 35 Using the Smart Panel to Calibrate the Screen 35 Using The Front Panel Hot Key Utility 36 Define the function for Hot Key Utility 38 Using the Bluetooth Uti...

Page 9: ...and secure solution for managing all of your technology and mission critical data Scale the computer and streamline the costs of day to day business operations and multimedia demands Discover the com...

Page 10: ...LCD Display 10 1 inch TFT 1024x600 LCD with Touch Screen Control Panel LED back light Sunlight readable and Smart Panel Application enhancing user s ability to view data outdoors and under moving cond...

Page 11: ...designed for IP65 ingress protection rating can provide indoor and outdoor protections of no ingress of dust and water jets against enclosure without harmful effects Furthermore the computer is equip...

Page 12: ...diator heat register or in a built in cabinet unless adequate ventilation is provided 6 The computer should only be operated using the specified power indicated on the Warning Label located on the bat...

Page 13: ...ter does not operate normally when the operating instructions are followed Adjust only those controls that are specified in the Operating Instructions or improper adjustment may require calibration ag...

Page 14: ...C CH HA AP PT TE ER R 1 1 G Ge et tt ti in ng g S St ta ar rt te ed d Chapter Preview Unpacking and setting up the Product Packing list Power Supply The Stylus Pen The CMOS Camera...

Page 15: ...e the contents preserving the integrity of the box as you may need it and all of the packing materials for future shipping 2 Inspect the contents for damage If you find any irregularities or anything...

Page 16: ...adapter into any electrical outlet and the computer will begin recharging immediately In the future you should not have to access the battery pack unless you wish to replace it with a fresh one Note 1...

Page 17: ...tting Started 9 Installing the Battery Removing Replacing the Battery 1 Turn the twist lock knob to Unlock position and gently put the batteries into the battery bay Then turn the twist lock knob to L...

Page 18: ...The Instructions Manual 10...

Page 19: ...al forces such as hitting it stepping on it or dropping it Do not attempt to open or service the battery pack Only replace the battery with the same model or one of compatible design Using the AC Adap...

Page 20: ...computer and will not be covered under the warranty Grasp the adapter plug and not the cord when unplugging the adapter from an electrical outlet If the power cord becomes damaged exposed or frayed e...

Page 21: ...n as you normally double click an external mouse Tap the item twice with the tip of the stylus pen You need to lift the stylus pen from the screen quickly between taps To select an item as you normall...

Page 22: ...us pen quickly between double taps Avoid using the stylus pen to push the computer buttons For the most reliable operations hold the stylus pen and tap vertically perpendicular to the LCD display The...

Page 23: ...ontains six illustrations highlighting each external component and its respective functions Chapter Preview Front view of the Computer Right side view of the Computer Left side view of the Computer To...

Page 24: ...keyboard A soft keyboard can be located by tapping the keyboard icon in the bottom right on the desktop Data can also be entered via a USB keyboard plugged into the USB port on the right side of the...

Page 25: ...Device The HF RFID Reader device is a communication device which includes complete circuits to achieve reading from and writing to the RFID tag It conforms to various industry standard RF protocols of...

Page 26: ...nd Exit 4 Change Value 5 Change Value 6 Esc Exit Return 7 Move Select Item 8 Move Select Item 9 Enter Selection Confirmation 10 Move Select Item 11 Move Select Item Navigating applications in Microsof...

Page 27: ...c cr ro ol ll l P Pg g D Do ow wn n 2 1 Rotate Key to Next Level 2 Warm Start Ctrl Alt Delete 3 I In nv vo ok ke es s V Vo ol lu um me e C Co on nt tr ro ol l U Ut ti il li it ty y 4 Invokes Window Me...

Page 28: ...programmable capacitor sensor supports a useful and handy operate 6 Power Button Start Pressed the Power Button after 1 2 seconds Reset Press and hold for 4 5 seconds then release to Re start the comp...

Page 29: ...ng in the power cord you must first verify that the external power voltage is appropriate for your geographical area 10 USB 2 0 Ports Permits hot plugging of USB peripheral devices to the computer The...

Page 30: ...g Only use the tip of the stylus pen when interacting with the LCD display to prevent damage to the display surface 13 Barcode Scanner optional Omni directional bar code reading Scan rate of up to 200...

Page 31: ...r Bottom View of the Computer 15 Docking Slot The extended multi function included the battery charger port the USB ports supporting most USB mouse and keyboard devices RJ 45 Internet port RS 232 port...

Page 32: ...with the ability to encrypt sensitive card data 17 GPS optional Support 50 channel GP 18 Rear CMOS Camera optional The build in 5M pixels CMOS camera module supports auto reverse function Images can b...

Page 33: ...justed via the OS or additional multimedia application software Sound will mute when headphones are detected 20 Battery Pack A couple 4 cell 3760mAh removable Lithium Ion battery pack comes standard w...

Page 34: ...ng g M Ma ai in nt ta ai in ni in ng g Chapter Preview Caring for your Computer The System BIOS Utility Configuring DRAM HDD and SIM Card Connecting to a Local Area Network Adjusting the Resolutions...

Page 35: ...sing and storing the computer in locations exposed to extreme temperature fluctuations likely condensation or direct sunlight Keep the device away from moisture such as exposure to liquids or precipit...

Page 36: ...om the computer before unplugging it from the electrical outlet Caring for the Touch Screen Display Never spray liquids of any kind directly onto the display screen or allow excess liquid to drip into...

Page 37: ...the system settings may cause the computer to become unstable or compromise its performance Initiating and Navigating the Setup Utility Press button S on the front panel of the computer or the Delete...

Page 38: ...dialog box 1 1 Click the right button of the mouse on the desktop and select Properties from the menu or 1 2 Click the Start button and select Control Panel Double click the Display icon 2 Select the...

Page 39: ...C CH HA AP PT TE ER R 4 4 S Sp pe ec ci if fi ic ca at ti io on ns s S So of ft tw wa ar re e Chapter Preview Specifications and Standard Features Software...

Page 40: ...fessional Option Linux System BIOS Phoenix BIOS Memory 1x240 Pin DDR III SO DIMM Socket Support up to 2GB Display 10 1 inch TFT 1024x600 LCD Touch Panel Simulation to 1024x768 by Hot Key LED Back Ligh...

Page 41: ...optional Support 50 channel GPS Multimedia Internal microphone and single speakers External volume on off controls via hot key setting Battery One and more 4 cell 3760mAh Removable Lithium Ion Batter...

Page 42: ...en Off Battery Available Solid Battery Charging Power LED Blue Solid System Powered On Mobility Dimensions 297mm x 234mm x 31mm Warranty ONE year limited warranty parts Docking 5XUSB 2 0 RJ 45 RS 232...

Page 43: ...nd hold it until the green X appears Follow the same steps to finish the other three red X calibration Note Make sure to calibrate the screen before your first screen rotation The First Installation T...

Page 44: ...lities Hot Key Smart Panel Utilities to launch the program The following Primary Panel will appear Switches to nxet level functions The following Secondary Panel will appear Switches to next level fun...

Page 45: ...n Function Enables Disables Blue Tooth Function Invokes On Screen Keyboard Scroll Page Up Scroll Page Down Secondary Level Functions Switches to next level functions System Warm Reboot Ctrl Alt Delete...

Page 46: ...e Scanner Function Barcode Scanner Trigger Enables Disables 3G Function Screen Resolution 1024x768 1024x600 Screen Rotation Define the Functions for Hot Key Utility Tap the icon twice in the Windows s...

Page 47: ...lation for Using the Smart Panel to Calibrate the Screen Using The Bluetooth Utility BlueSoleil allows the computer to wirelessly access a variety of Bluetooth enabled digital devices such as cameras...

Page 48: ...s 3 Select add device Red Circle Some blue tooth devices were found and listed out 4 Select Blue tooth Keyboard or other devices 5 Type the number or password for configuration 6 Selected Blue tooth d...

Page 49: ...connection Select Start Menu All Programs Sync manager Connection Manager Utility Connection Manager to launch the program The system will launch the program automatically after booting the computer C...

Page 50: ...Select DISCONNECT to terminate the connection 2 Select Yes to confirm the disconnection Using the CMOS Camera 1 Select AMCAP ICON 2 Select device and USB Video device The first bar for the front came...

Page 51: ...tions Software 43 Using the RFID 1 Select Holy Stone ICON 2 Type 3 for the Select COM Port 3 Put your RFID card close to the RFID Sensor The message TAG MIFARE 1K will be displayed if the computer acc...

Page 52: ...The Instructions Manual 44 Using the Mini Smart Card 1 Select the Mini Smart icon 2 Select the PC SC button 3 Insert the Mini Smart Card into the slot and press the Connect to Card button...

Page 53: ...CHAPTER 4 Specifications Software 45 4 The detail information will be displayed on the Result dialog box Using the Bar code Scanner 1 Select the EA15 Demo icon 2 Select the EAISDemo...

Page 54: ...ss the Connect button and the status information will be displayed out 4 Press the Trigger button to enable the Bar Code Scanner 5 Scan the Bar Code Stick and the detail information will be displayed...

Page 55: ...Cash Card or ATM Card into the MSR slot 3 The information will be displayed on the screen Using The GPS Please disable the Bar Code Scanner and follow the steps below 1 To Confirmed the GPS COM port n...

Page 56: ...The Instructions Manual 48 2 Select the U Center 6 01 ICON 3 Select COM3 4 Select the Baud Rate 5 Receive the Satellite Channel...

Page 57: ...49 Using the Brightness Adjustment The user can adjust the screen brightness with fingers while the computer gets into the O S status On the screen to slide fingers from left to right or right to lef...

Reviews: