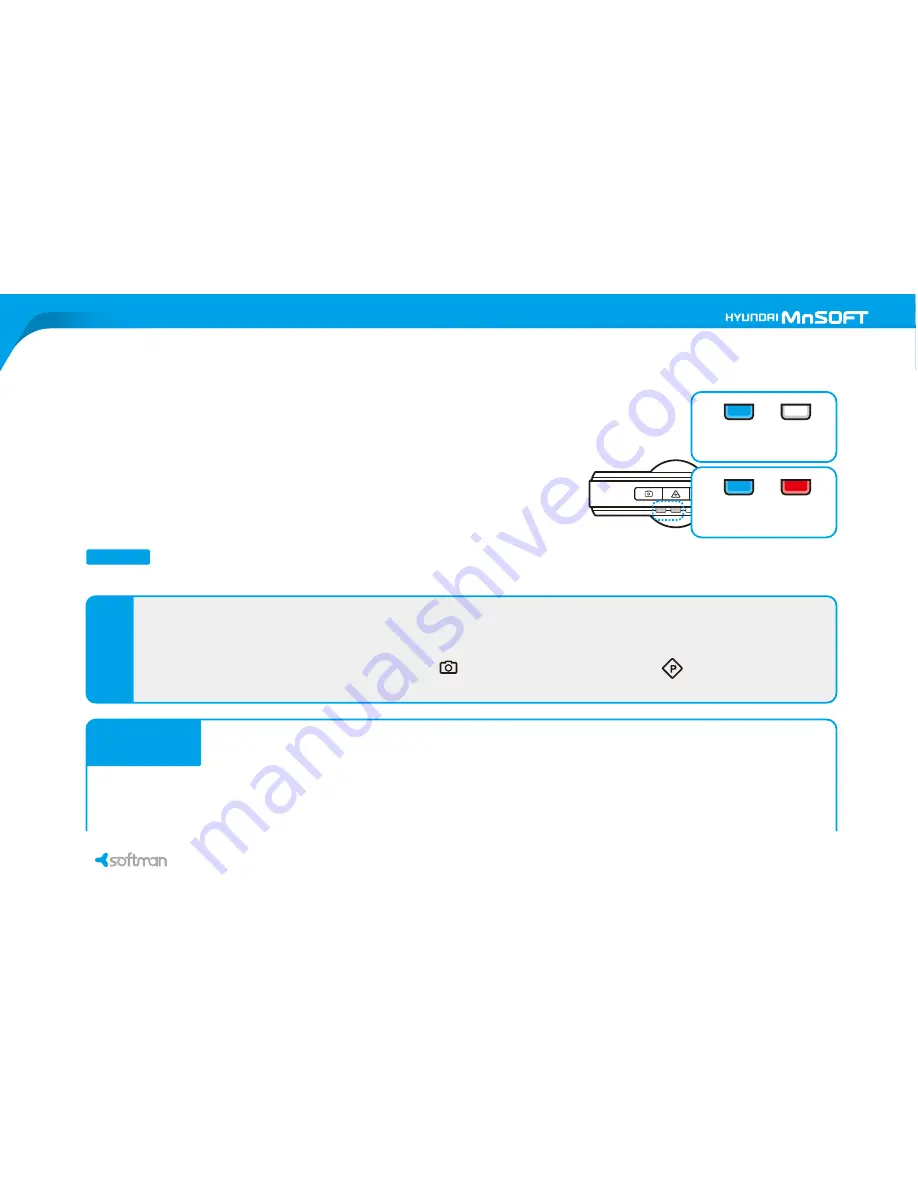
Hyundai softman DVR R300D User Manual Download Page 22

Manual recording

A. Starting manual recording

► 
► One file is max. 20 sec (before 10 sec & after 10 sec based on button press).

Short press 

“        “ 

for manual recording, then LED2 turns to red color and manual recording starts.

❖ 

Manual recording is not working during event recording.

❖ 

Event recording is not working during manual recording.

NOTE

❖ 

Be sure to set up by both PC Viewer and the car


Parking mode of auto only works properly after setup is completely done by both PC Viewer and the car. Insert microSD card into 

the computer and run PC Viewer. Open microSD card and go to configuration. Choose [Auto] in parking mode and click [Save]. 
Take out microSD card and insert it into the device.  After installing the device in the car, turn on the device and car and set up the 
device, according to voice guidance.

❖ 

Be sure to turn off all other devices before checking voltage measurement


 After  turning  on  the  car,  be  sure  to  turn  off  all  other  devices  like  light,  audio,  air  conditioner,  heater,  etc  in  order  to  check  exact 

voltage measurement. After that, press “      “ and turn off the car and press “      “ to finish the setup

 Switching time to parking mode may vary depending on the battery status of car

.

    Switching time to parking mode is 20 minutes after the car turned off. However, it may vary depending on the battery status of the 

car.

 If the car does not support [Voltage Sensing] due to the battery status, it automatically switches to [Vibration Sensing].

 Need to set up parking mode of auto again for the following.


1. In case of installing the device in other car


2. In case of changing power supply such as battery, generator, etc.

6. Basic operation

► 

► 
► 

►  In  case  of  motion  detected

,   

LED1  is  on  in  blue  color,  LED2  turns  to  red  color  until  the 

recording is finished.

In case of parking mode set in auto, the device automatically switches to parking  

   mode recording when the car is turned off. If motion is detected within view angle of 
    lens, the device starts recording.


When the car is turned on, the device automatically switches to normal recording.


In case of no motion detected in parking mode recording

LED1 is on in blue color and LED2 

is off

.

C. Automatic switch to parking mode recording

Motion detection recording

(no motion detected)

Motion detection recording

(motion detected)

❖ 

To set up parking mode to auto or manual, the configuration is necessary by PC Viewer. Default is manual.

NOTE

❖ 

In parking mode set in auto, you can choose [Voltage Sensing] and [Vibration Sensing]. Default is [Voltage Sensing] in auto mode.

❖ 

When using the device for the first time after setting up [Voltage Sensing] in parking mode, the device needs to check the car turned 

on and off.


In case of [Vibration Sensing], checkup is not necessary.

❖ 

In case of [Voltage Sensing], turn on the car and press “        “.  Afterward, turn off the car and press “      “ to finish the setup.

    Now [Voltage Sensing] in parking mode is activated.

HOT

POINT

NOTE

Normal recording mode and [Voltage Sensing] of parking mode are automatically switched by the voltage measurement. 
To use [Voltage Sensing] of parking mode,


the following are required.

 To use the function of parking mode recording, the device should be directly connected with the power supply of car. Ask for auto-mechanic, 

regarding the direct connection.

6. Basic operation

R

300D

22

23

R

300D

Summary of Contents for softman DVR R300D

Page 1: ...HYUNDAI MNSOFT softman DVR R300D USER MANUAL...

Page 2: ......

Page 3: ...y have errors in editing or description The product may change without prior notice in order to improve the performance of device Be sure to use the device within the legal boundaries Recording other...

Page 4: ...ng mode recording B Event recording occurred in parking mode recording C Automatic switch to park mode recording Manual recording A Starting manual recording B Files of manual recording folder Event r...

Page 5: ...urred Manual recording saving a 20 sec file independently before 10 sec after 10 sec based on the button press Parking mode recording saving a 20 sec file independently before 10 sec after 10 sec base...

Page 6: ...on the front for security effect Video out port for external display Possible to set up time External GPS optional compatible with Google map on PC Viewer RTC Real Time Clock built in OSD On Screen Di...

Page 7: ...he proper direction when inserting microSD card into the device Do not operate the device while driving for your safety Do not touch the vent of device that may be hot while recording The device shoul...

Page 8: ...sing it Format microSD card regularly for stable recording and error prevention microSD card has life time in reading writing due to its own characteristic Recommend to use new microSD card after long...

Page 9: ...Cigar Adaptor User manual The component may vary depending on countries The actual component may be different from photos above Rear camera Video out cable 3M tape Cable mounter 3pcs microSD card 2 P...

Page 10: ...s audio recording on off short press manual recording long press switching to playback mode short press parking mode recording long press time setting Device holder Attach on the glass LED 2 for the s...

Page 11: ...D card Combine device and body holder Insert body holder in order as seen below Body holder is detachable Remove tape or read the installation of GPS optional first if the device comes with it externa...

Page 12: ...Arrange cables with cable mounters 6 4 5 To connect the device with navigation using video out cable the navigation should have AV in port NOTE Check the recording direction If necessary you may see...

Page 13: ...ion that the rear camera is attached Remove tape from the rear camera B Remove tape After attaching the rear camera arrange the cable C Attach the rear camera Connect the jack of rear camera with 2CH...

Page 14: ...tach external GPS on the device holder Firmly connect the jack of GPS with the device Keep clean the location that the device is attached Remove tape from external GPS and attach the device on the gla...

Page 15: ...acity of microSD card both 1CH and 2CH capture event manual normal parking Be sure to back up the important files regularly before they are deleted The number of files and file size may be different d...

Page 16: ...With GPS LED3 is on in blue color when GPS signal is receiving Normal recording On audio recording on both LED1 and LED2 are on in blue color On audio recording off LED1 is blinking and LED2 is on in...

Page 17: ...ideo are saved in one file at the same time SFM0_xxx is front video SFM1_xxx is rear video by rear camera SFM0 initial DI0001 file number 20120516 year month date 204227 hour min sec 421 1 1000sec B F...

Page 18: ...ng Normal recording Audio recording OFF Audio recording ON GPS ON GPS OFF Recording mode Status of LED LED1 LED2 LED3 parking mode recording Audio recording OFF Audio recording ON Event recording Audi...

Page 19: ...bnormal recording Voice Please format the memory Power off Voice System will automatically shutdown Please format the memory In case of removing microSD card during normal recording LED1 LED 2 are bli...

Page 20: ...tion recording In parking mode recording the device starts recording if the motion is detected within view angle of lens In case of no motion detected the device is turned to standby mode without reco...

Page 21: ...cording the device does not carry out normal recording NOTE Files are saved in parking folder in time sequence The form of file names is same with one by normal recording B Event recording occurred in...

Page 22: ...Viewer Default is manual NOTE In parking mode set in auto you can choose Voltage Sensing and Vibration Sensing Default is Voltage Sensing in auto mode When using the device for the first time after s...

Page 23: ...ar turn on the device and car and set up the device according to voice guidance Be sure to turn off all other devices before checking voltage measurement After turning on the car be sure to turn off a...

Page 24: ...the new files are saved continuously NOTE Event recording by recognizing the impact by G sensor A Starting event recording When event is occurred LED2 turns to red color until the recording is finish...

Page 25: ...V in port To change the front and rear video during playback long press both and at the same time NOTE DISPLAY C M P Short press Next file playback Play Pause Previous file playback Long press 3 5 sec...

Page 26: ...automatically switches to recording mode Long press to go to time setting Long press to save time setting otherwise the new time is not saved To use time setting the device should be connected with ex...

Page 27: ...ing on LED1 is on in blue color In case of audio recording off LED1 is blinking in blue color Setting is maintained if it is changed regardless device on or off NOTE B Taking photos Both front and rea...

Page 28: ...by PC Viewer There are 4 different working ways of security LED ON OFF Panorama Flickering Default is panorama C Setup of security LED working OFF Panorama Light moving clock wise ON Flickering Light...

Page 29: ...or the format of microSD card can be managed by PC Viewer Due to the characteristic of microSD card in reading writing it may cause errors in case of a long time of use To avoid this matter the device...

Page 30: ...ssible to play back video files connecting with external display like navigation with AV in To use the function choose Play at Method of HD Recording of PC Viewer The file resolution is CIF 352x240P 6...

Page 31: ...with automatic high temperature cutoff function If temperature is too high around the device the device turns to standby mode automatically and stops recording On standby mode all LED1 LED2 LED and s...

Page 32: ...into the computer After finishing installation double click softman R300D to run OS Windows XP 32bit Vista 32bit 7 32 64bit H W Pentium4 2 8GHz or above 1G RAM or above Webbrowser Internet Explorer 7...

Page 33: ...elete flies List of recording mode Search by recording mode File list Map 1CH screen front G sensor pulse Progressive bar Volume bar Seeking backward per frame Play backward Play Pause Stop Seeking fo...

Page 34: ...D1 Channel 2CH front rear Pixel 1 0M Pixel Frame 1CH front max 30 fps 2CH rear max 30 fps Video format H 264 AVI Audio format PCM Recording mode Normal Event Manual Parking mode recording GPS Externa...

Page 35: ...Serial Number...

Page 36: ......

Reviews: