Hyundai H-LCD2218 Instruction Manual Download Page 9

8

9

Operation

Operation

General operations

•  Press POWER button on the unit or on the 

RC to switch on the power. Press POWER button 
again to switch the unit into standby mode.

•  Press VOL- button repeatedly to decrease 

the volume; press VOL+ button repeatedly to 
increase the volume.

•  Press 

 button to cut off sound, press this 

button again or adjust volume to resume sound.

•  Press SLEEP button repeatedly to set the 

sleep time. When sleep time is set, press this 
button to display the time remaining until the 
auto turn off.

•  Press 

 button in TV mode repeatedly to 

switch between Stereo, Mono, Dual I and Dual 
II sound modes (can be unavailable for some 
channels).

•  Press SOURCE button on the RC or TV/

AV button on the unit, then press 

/


cursor buttons to cycle through the available 
source list as follows: TV - AV - YPbPr - HDMI 
- VGA.

•  Select the TV function mode. Press 

CH-/CH+ buttons to select previous or next 
channels; or press number buttons to enter a 
channel number from 0 to 235 directly.

•  Press RECALL button on the RC to select 

from the present channel and the previously 
displayed channel.

•  Press INFO button to display the preset 

TV channel play information.

Teletext operations 

(option)

Select a TV channel in order to pick up 

the picture signal of Teletext. Teletext button 
functions are as follows:

TEXT: Press TEXT button to enter into 

TEXT mode. Press this button again to enter 
mixed mode. Press the button again to return 
to the channel you are watching. Press 
/

 buttons or number buttons to select 

teletext pages.

HOLD: Press this button to stop the move 

to the next page. Press this button again to 
cancel operation.

INDEX: Press this button to go to the index 

page.

SIZE: Press this button to enlarge the top 

part of the page. Press this button again to 
enlarge the bottom part of the page. Press this 
button third time to normal size text page view.

REVEAL: Press this button to reveal the 

cancelled information. Press this button again 
to cancel the information.

SUBPAGE: Press this button to select sub-

page. Input the number of sub-page and use 
numeric buttons in the format 0001 for sub 
page 1. The teletext will search for the sub 
page. Press SUBPAGE button again to exit the 
subpage mode.

Red/Green/Yellow/Blue buttons: Press 

these 4 color buttons to access directly to 
corresponding color page displayed at the 
lower parts of teletext screen.

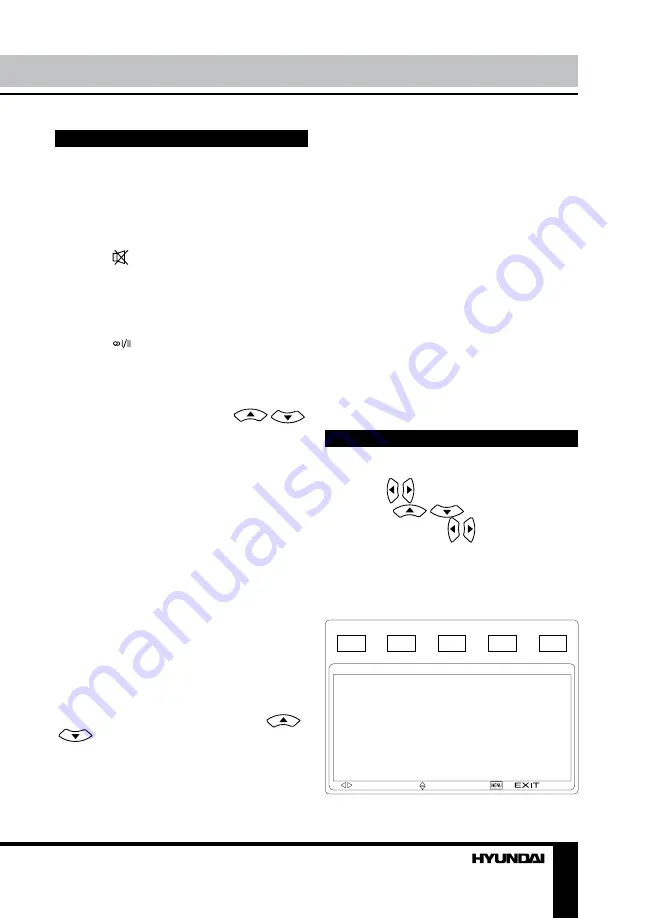
OSD operation

Press MENU button to enter the OSD 

menu. Use  /  buttons to select a setting 
page. Press 

/

 buttons to go to the 

needed item, then use  /  buttons to select 
available setting or to adjust the selected item. 
Press ENTER button to confirm

After setting, press EXIT button to exit menu.

Picture setting 

(in TV mode)

PICTURE

PICTURE MODE
CONTRAST
BRIGHTNESS
SATURATION
TINT
SHARPNESS
COLOR TEMP.
ADVANCE

Summary of Contents for H-LCD2218

Page 1: ...LCD LCD TV Instruction manual H LCD2218...

Page 2: ...eration Picture setting in TV mode PC setup in VGA mode Sound setting Channel setting Timer setting Function setting General information Troubleshooting Causes of interference Accessories Specificatio...

Page 3: ...st pull or roast the power cord Please contact the service center immediately if you found that the core is showed in the air or has been broken Please replace the AC outlet if the metal bolt cannot b...

Page 4: ...product lifetime Keep a space at list 10 cm at above left and right of the TV Please place all the signal cords behind of rear panel Do not overexert or touch the panel when you convey the product Do...

Page 5: ...allation 1 Cover an even stable surface with a soft cloth Place the LCD TV unit facedown on the cloth Prepare to put the stand in 2 Notice the position hole of the stand and make sure the direction is...

Page 6: ...th related audio cable in PC mode and adjust the volume to what you want If the video source has a HDMI output jack you can connect the signal to this unit by the HDMI cable Connection Connect an exte...

Page 7: ...o 5 Component video YPbPr input 6 Headphone jack 7 PC audio input 8 VGA PC input 9 Stereo audio input Left Right 10 RF antenna input 11 Stereo audio output R L 12 Video output 1 POWER button 2 TV AV b...

Page 8: ...g the battery 1 Remove the battery compartment cover on the back of the RC 2 Insert the batteries into the battery compartment making sure that the correct polarity is observed 3 Install the cover bac...

Page 9: ...re as follows TEXT Press TEXT button to enter into TEXT mode Press this button again to enter mixed mode Press the button again to return to the channel you are watching Press buttons or number button...

Page 10: ...manually Position H Position adjust horizontal position of the image V Position adjust vertical position of the image Colour Temperature Normal Warm Cool Auto adjust automatical setting of the parame...

Page 11: ...Off time set the time of automatic turning off of the unit On time set the time of automatic turning on of the unit On program select the channel active by default after auto turn on Timer mode Off On...

Page 12: ...nected Connect the audio signal cord properly Set the sound system properly The RC does not work Batteries are improperly installed or exhausted Make sure the positive and the negative polarities are...

Page 13: ...comb filter Sleep timer Quantity of channels 236 Teletext Power supply 100 240 V 50 60 Hz Power consumption 65 W Electric shock protection class II Unit dimensions 545 5 x 179 5 x 405 mm Net Gross we...

Page 14: ...14 14 15 15 15 17 17 18 18 18 18 19 19 19 19 20 20 21 21 21 22 22 22 23 23 23 25 25 25 26 27...

Page 15: ...15...

Page 16: ...16 20 50 LCD 10 18 2...

Page 17: ...17 1 2...

Page 18: ...18 75 L R PAL NTSC SECAM RCA VGA VGA VGA HDMI HDMI HDMI VCR DVD RCA Y Pb Pr 75...

Page 19: ...19 1 POWER 2 TV AV 3 MENU 4 VOL 5 VOL 6 CH 7 CH 8 9 1 2 HDMI 3 4 5 YPbPr 6 7 8 VGA PC 9 10 11 12 1 2 3 4 5 6 7 8 9 1 2 3 4 5 6 7 8 9 10 11 12...

Page 20: ...X 15 16 17 RECALL 18 EXIT 19 CH CH 20 21 22 23 24 E W 25 SUBPAGE 1 2 3 AAA 1 5V 8 30 1 2 3 1 POWER 2 3 SOURCE REVEAL 4 SIZE ZOOM 5 MENU 6 ENTER 7 VOL VOL 8 SLEEP 9 CANCEL 1 2 3 4 5 6 7 9 8 11 10 12 13...

Page 21: ...21 POWER POWER VOL VOL SLEEP SLEEP TV Stereo Mono Dual I Dual II SOURCE TV AV TV AV YPbPr HDMI VGA TV CH CH 0 9 0 235 RECALL INFO TEXT TEXT HOLD INDEX SIZE REVEAL SUBPAGE 0001 SUBPAGE MENU ENTER EXIT...

Page 22: ...22 NTSC DLC BLE DNR VGA...

Page 23: ...23 TV MENU EXIT CH CH...

Page 24: ...24 CH CH 5...

Page 25: ...25...

Page 26: ...26 1 1 2 1 3 1 5 2 4 1 5 1 6 1 7 1...

Page 27: ...21 6 55 350 2 800 1 5 1920 x 1080 16 9 PAL SECAM NTSC DK I BG M NICAM 2 x 2 RCA YPbPr RCA VGA HDMI 236 100 240 50 60 60 II 545 5 x 179 5 x 405 5 6 HYUNDAI CORPORATION 238210 6 658120 009 44208954 201...

Reviews: