NOTE
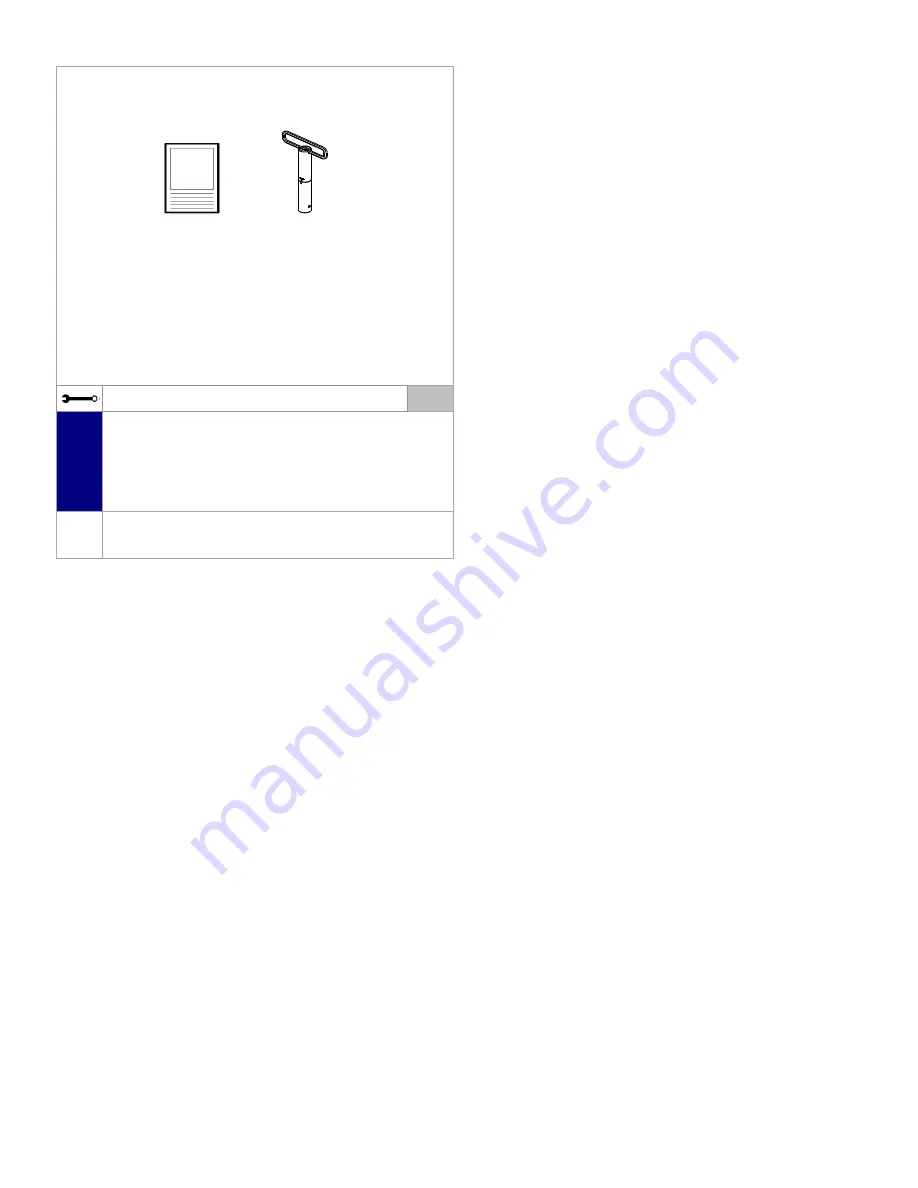
A. Fold the Quick Reference Guide in half.B. Place the Quick Reference Guide and Wrench inside the vehicle's Glove Box.
Genuine Accessories
9
Quick Reference
Guide
Wrench
Revision Date
08/22/2018
Page 5 of 6
Page 1: ...HEY SHOULD NOT MOVE If crossbars move see step 5 for proper tightening Incorrect clamp tightness can cause crossbar separation from vehicle resulting in product failure and vehicle damage Serious phys...
Page 2: ...view No Qty Description Quick Reference Guide 5 Front Crossbar longer Rear Crossbar shorter Genuine Accessories 1 2 3 5 1102mm 43 3 8 Compressed Inward 1152mm 45 3 8 Compressed Inward 4 Service P N D3...
Page 3: ...side of the front crossbar over the RH side of the vehicle side rail and slide the RH end support inward Line up the RH crossbar lower clamp pin with the 2 hole position in the vehicle side rail N O...
Page 4: ...n on the RH side clamp Ensure the Load Rating Information is displayed on the RH side of the vehicle A Verify the front and rear crossbars are secure and clamp pins align with the corresponding mounti...
Page 5: ...E A Fold the Quick Reference Guide in half B Place the Quick Reference Guide and Wrench inside the vehicle s Glove Box Genuine Accessories 9 Quick Reference Guide Wrench Revision Date 08 22 2018 Page...
Page 6: ...rward Crossbars do not move and are tight Locking covers are locked and cannot be removed The locking covers should not move when in the locked position Verify correct orientation of crossbar Crossbar...