background image


27

1. 

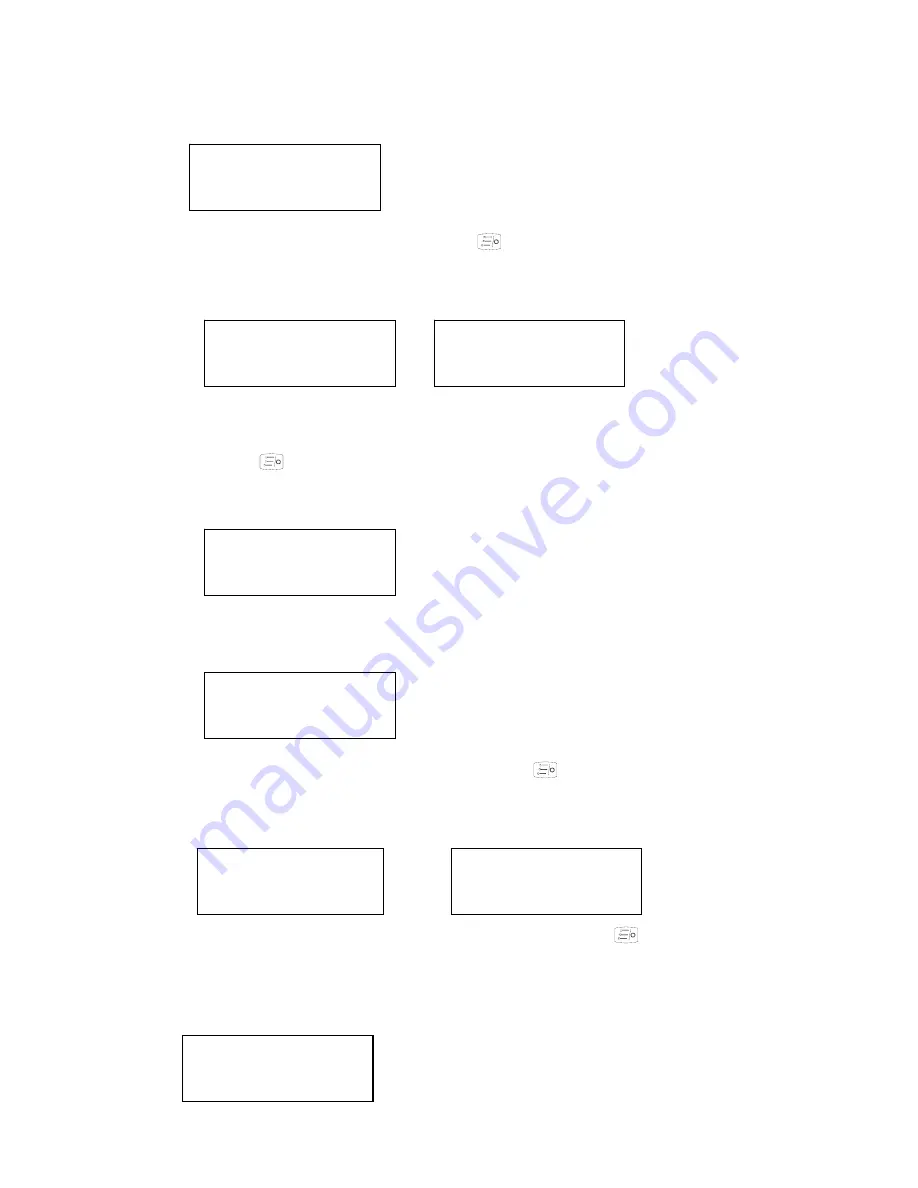
Enter the “Utilities” menu.


2.  Press 

key to go to VOX item. Press 

 key to enter the item. LCD displays 

current VOX level.   


3. Press 

/

key to change the VOX level (off, level 1-3). VOX feature is disabled when 

OFF. Press 

  key to save the change and return to the utilities menu. Press [C] key 

to quit without saving the change.   


Power Level 

1.  Enter the “Utilities” menu. 


2. Press 

key to go to “power level” item. Press 

 key to enter the item. LCD 

displays power level option.   


3. Press 

/

key to toggle the power level (High/Low). Press 

 key to save the 

change and return to the utilities menu. Press [C] key to quit without saving the change.   


Utilities 


VOX Level 


Utilities 


Power Level 


Power High 


Power Low 

Summary of Contents for TC3600

Page 1: ...e this easy to use radio will provide you with dependable and reliable communications This HYT portable two way radio is a precision device Treat it with care and you will enjoy years of reliable oper...

Page 2: ...phone Microphone optional Getting Started Features and Operation Turn on off the radio Adjust the Volume Power on Password only for keypad mode Keypad Lock Unlock only for keypad mode Select Channel T...

Page 3: ...his radio are rated for a 5 5 90 duty cycle 5 talk 5 listen 90 standby even though this radio complies with the FCC occupational RF exposure limits at duty cycles of up to 50 talk Your HYT two way rad...

Page 4: ...posure guidelines z If you do not use a HYT approved body worn accessory and are not using the radio in the intended use position in front of the face then ensure the antenna and the radio are kept on...

Page 5: ...ence in a residential installation This equipment generates uses and can radiate radio frequency energy and if not installed and used in accordance with the instructions may cause harmful interference...

Page 6: ...as your system expands Precautions z Only qualified technicians are allowed to maintain this product z Do not use the radio or charge a battery in explosive areas such as coal gas dust steam etc z Swi...

Page 7: ...reen indicates VHF If frequency is not marked on the color circle please refer to the label on the main unit for details Only for European market Battery Information Take a keypad type model for examp...

Page 8: ...or an extra boost This action will significantly reduce cycle life To prolong battery life Battery performance will be greatly decreased under 20 temperature Please use back up battery in cold weather...

Page 9: ...nnectors are in contact with the charging terminals the charger LED glows red and charging begins 6 The charger LED glows green when the battery is fully charged in about 3 hours please remove the bat...

Page 10: ...click is heard See figure 1 Fig 1 Removing the battery Turn off the radio Push the battery latch on the middle of the radio to remove the upper side of the battery away from the radio and then remove...

Page 11: ...g the belt clip Press the disassembly release upwards with a key until it releases and then push the belt clip upwards with your thumb to remove it See figure 5 Fig 5 Earphone Microphone Jack Cover To...

Page 12: ...ophone Optional Insert the tab at the bottom of the earphone microphone into the slot on the radio See figure 7 Align the thumbscrew at top of the earphone microphone with the hole on the radio and tu...

Page 13: ...hing red Low battery voltage Flashing orange Call waiting 3 Channel Selector Used to select wanted channel 4 Programmable key A 5 Power Volume Control Knob Rotate the Power Volume Knob clockwise until...

Page 14: ...ce channel in scan Select High Low Power Select High Low Power Select High Low Power Repeater Talk Around Select Repeater or Talk Around Mode Select Repeater or Talk Around Mode Repeater Reverse Frequ...

Page 15: ...t Key Used to enter menu mode In menu mode this key is used to select options Fig 8 16 LCD Display Used to indicate operation status of the radio 17 Numeric Keypad See figure 9 Used to input informati...

Page 16: ...set in the radio The radio enters conventional mode after entering 1 8 digit password Keypad Lock Unlock Only for a keypad type model Hold down key and then press key in 2 seconds to lock the keypad W...

Page 17: ...hen the courtesy tone is disabled A beep tone sounds at the end of a received transmission when the courtesy tone is enabled Please contact your dealer for more details Monitor 1 Press MONI key to mon...

Page 18: ...alk Around and Repeater Reverse Frequency cannot be set simultaneously within one radio Power Level Each channel of the radio can have different power levels that are user selectable High power allows...

Page 19: ...nnel and remain there as long as the channel stays active Please contact your dealer for more details Call Press the programmed call key and the radio will send a preprogrammed signaling code to compa...

Page 20: ...record 2 When the memory is full and a new message is received the oldest unprotected message will be deleted Unread message will not be deleted 3 The radio stops recording when the record time elapse...

Page 21: ...The radio can call selected radios if selective call feature is enabled Selective call signalling includes 2 Tone and HDC signalling 2 Tone Press the Selcall key or go to the required 2 Tone signalli...

Page 22: ...aller ID are displayed alternatively on the LCD Send an Alert Call An alert call can be sent to alert others To send an alert Call 1 Press or shortcut key SelCall to enter menu mode the channel should...

Page 23: ...n the menu and press to select 3 Press or key to select your required ID in call list or enter your required ID number with numeric keypad for keypad type model only 4 Press the PTT key to send and is...

Page 24: ...2 3 English Channel Number Alias Frequency Level1 Level8 Zone 1 Zone 8 Menu Call List Edit Call Alias Select Zone Utilities Tone Level Talk Around Reverse Frequency Language Channel Display Voice Ser...

Page 25: ...ss in standby mode to enter the main menu and then press key to enter edit call alias item 2 Press key to enter selective call list and then press key to select a call alias Press key again to edit th...

Page 26: ...lities Squelch Level 1 Press key to enter Utilities menu 2 Press key to enter the utilities menu Press key to select the item and key to enter the item After entering the item LCD displays the current...

Page 27: ...return to the utilities menu Press C key to quit without saving the change Power Level 1 Enter the Utilities menu 2 Press key to go to power level item Press key to enter the item LCD displays power...

Page 28: ...utilities menu Press C key to quit without saving the change Tone Level 1 Press key to go to tone level item 2 Press key to enter tone level level 1 8 item LCD displays current tone level Press key to...

Page 29: ...ge item and LCD displays the current language Press key to toggle the language interface Only English is available Channel Display 1 Press key to go to channel display item 2 Press key to enter channe...

Page 30: ...ter the item Message Option Press key to enter Message Option Press key to select an item and press key to enter the selected item After entering the item press key to operate as following Play Play t...

Page 31: ...ess key to save the change Press C key to exit z HDC Function 1 Press to go to HDC function item 2 Press to enter and LCD displays the detailed function items Press to toggle between the items and the...

Page 32: ...peaker on High Low Power Transmitting Monitoring Scanning Call Waiting Unread Message Appendix 2 Entering Characters Number of times key is pressed Key 1 2 3 4 5 6 7 8 9 0 0 1 Space 1 2 A B C 2 a b c...

Page 33: ...Power on Ready Turn on the radio Power on Failure Repeater Talk Around Repeater Repeater Talk Around Talk Around Repeater Reverse Frequency Repeater Repeater Reverse Frequency Reverse Frequency Select...

Page 34: ...one Wipe the battery contacts with a lint free cloth to remove dirt grease or other material that may prevent good electrical contact When not in use keep the accessory jacks covered with the protecti...

Page 35: ...ustic Tube use with Remote Speaker Microphone SM08 ESS04 Remote Speaker Microphone SM08N1 Receive only Earpiece for use with Remote Speaker Microphone SM08 ESS01 Switch Power exclusive to dual pocket...

Page 36: ...Throat vibrating Earpiece with Transparent Acoustic Tube ELN01 Headset ECN02 Leather Carry Case display keypad model applicable to TC3600 series LCBY08 Chest Pack LCBN03 Transparent Waterproof Bag LCB...

Page 37: ...2 Tone 5 Tone 1 2 3 4 5 6 7 8 9 10 11 12 13 14 15 16 HYT endeavors to achieve the accuracy and completeness of this manual but is not liable for any possible omission and printing mistakes All the ab...

Reviews: