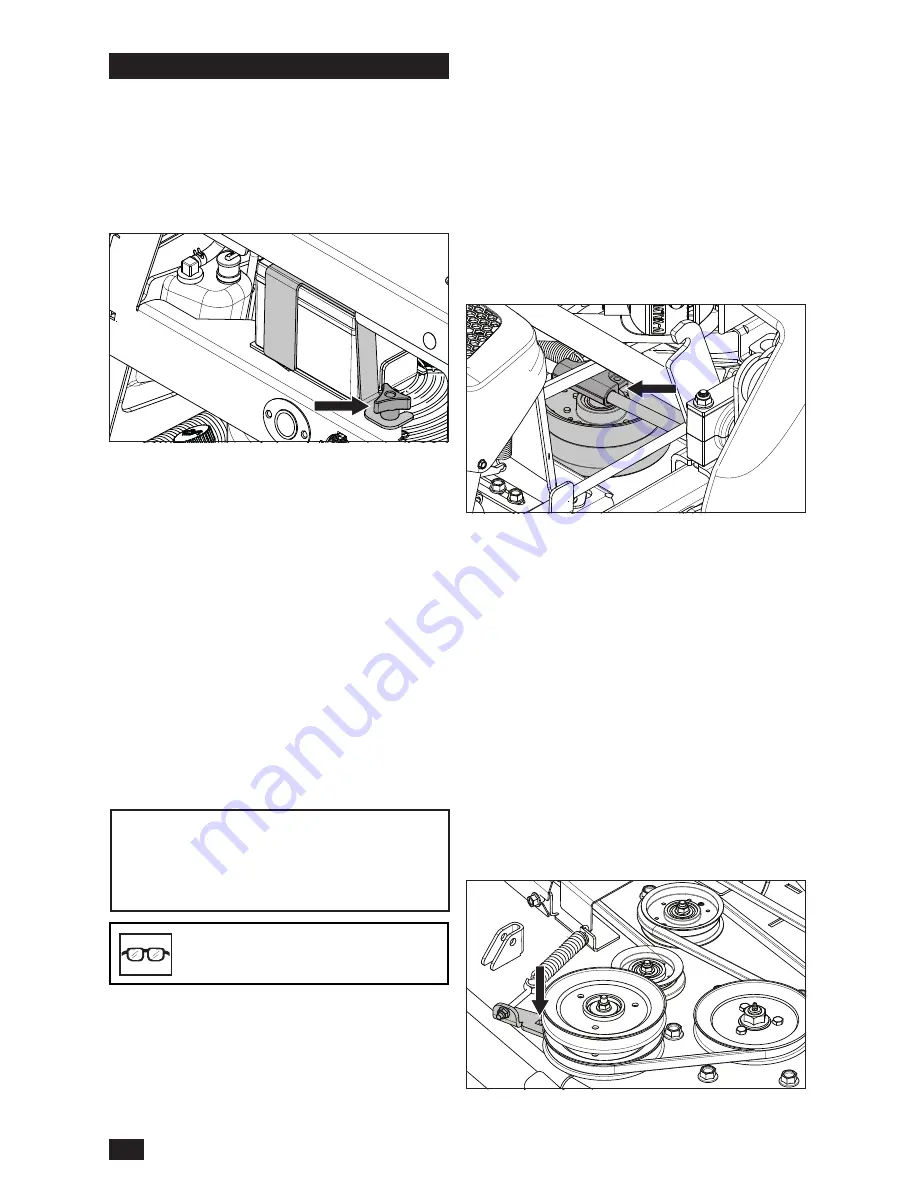
Battery Removal
Corrosion and dirt on the battery and terminals
can cause the battery to lose power.
1.
Lower the operator cushion to access the
battery.
2. Remove the knob from the battery bracket
and remove the bracket from the battery.
3. Using two wrenches, disconnect the BLACK
battery cable then the RED battery cable.
4. Carefully remove the battery from the mower.
Cleaning
5. Rinse the battery with plain water and dry.
6. Clean the terminals and battery cable ends
with a wire brush.
Replacing
7. Install the new battery with terminals in the
same position as the old battery.
8. Connect RED battery cable first to positive (+)
battery terminal.
9. Connect BLACK grounding cable to negative
(–) battery terminal.
10. Fasten the battery in place with bracket
removed in Step 2.
CAUTION!
Always wear eye
protection when around batteries.
IMPORTANT INFORMATION
The mower is
equipped with a 12-volt negative grounded
system. The other vehicle must also be a
12-volt negative grounded system. Do not use
your mower to start other vehicles.
V-belts
Check every 100 hours of operation. Check for
severe cracking and large nicks.
NOTE: The belt will show some small cracks in
normal operation.
Deck Drive Belt
Park the mower on a level surface and engage
the park brake. Lower the deck into the lowest
cutting position.
1. Slide the tensioner block-pulley assembly
toward the left hand side of the frame to
release the tension on the belt.
2. Remove the belt from around the clutch and
the deck's front stacked pulley.
Deck Drive Belt Installation
1. Install the belt onto the stacked pulley and the
clutch.
2. Tighten the eyebolt for belt tension of
18.2–22.6 kg (40–50 lb).
3. Slide the tensioner block-pulley assembly to
the right to tighten the tension on the belt.
Deck Belt
1. Remove the belt shields and deck drive belt.
2. Remove dirt or debris that has accumulated
around the cutter housings and the deck
surface.
3. With a 3/8" breaker bar and using the square
opening in the idler arm, shift the arm counter
clockwise to relieve the tension on the belt.
22
MAINTENANCE


