

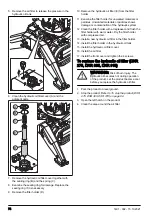


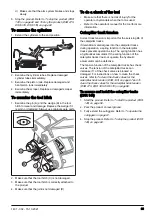


5. Remove the left side cover (A).
A
B
C
6. Turn the lock knob counterclockwise (B).
7. Turn the valve for caterpillar track tension (C)
counterclockwise to the end position to open the
valve. This releases the pressure.
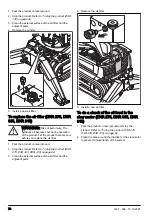
8. Do the procedure that follows on each side of the
product.
a) Push the tension wheel to the center.
b) Remove the caterpillar tracks.
c) Install new caterpillar tracks.
9. Turn the valve for caterpillar track tension clockwise
to close the valve.
10. Turn the lock knob clockwise.
11. Install the left side cover.
12. Start the product and do automatic caterpillar track
tension. Refer to
To do automatic caterpillar track
.
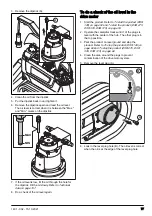
To remove and install the caterpillar tracks
(DXR 275, DXR 305, DXR 315)
1. Start the product. Refer to
275, DXR 305, DXR 315) on page 53
.
2. Park the product on level ground.
3. Fully extend the outriggers. Refer to
.
275, DXR 305, DXR 315) on page 62
.
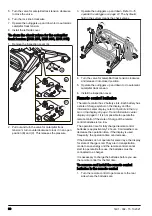
5. Remove the inspection cover (A).
A
B
C
6. Pull out and turn the valve for caterpillar track
tension ¼ turn counterclockwise to lock it in an open
position (B) and (C). This releases the pressure.
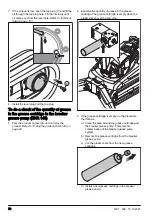
7. Do the procedure that follows on each side of the
product.
a) Push the tension wheel to the center.
86
1401 - 002 - 15.10.2021