4
1.
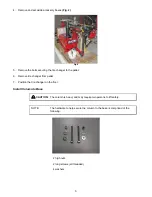
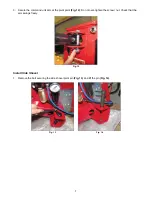
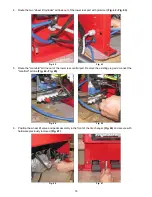
Remove the fixation plate of the column
(Fig. 3)
. Make sure that the column is still sitting balanced on the two
wooden supports before removing this plate.
Fig. 3
2.
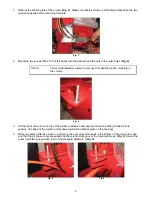
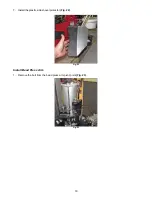
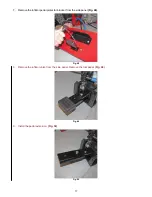
Mount the two screws (M8 x 80, all threaded) with the washers and the nuts in the outer holes (
Fig. 4)
.
NOTE:
These (all threaded screws) are only used for assisting in the mounting of
the column.
Fig. 4
3.
Lift the top of the column on top of the rubber covered wheel support and leave it sitting inclined in this
position. (the base of the column points down towards the fixation plate on the housing)
4.
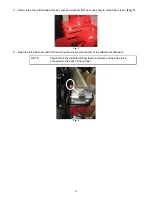
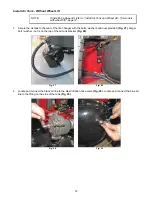
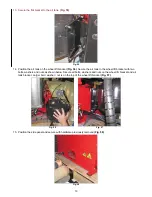
While one person lifts the column up at its top, the second person tends to the bottom of the column to make
sure that the air lines are not squeezed and the column slots go over the mounted screws.
(Fig. 5)
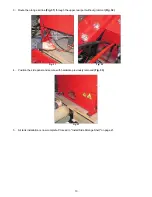
Secure the
column with two screws/nuts. (part of the standard hardware ) (
Fig. 6)
Fig. 5 Fig. 6


