


59
BLC
Back light compensation. This function is used to make the dark zone resulting
from back light lighter and clearer. It allows the other objects in the view to be
free from the effect of strong light. The higher level you select, the darker the
blanked zone becomes.
Low Lux Auto-adjust
Click to enable the camera to adjust its low lux level automatically in different
lighting environments.
Anti Fog
Click into the checkbox to enable the Anti Fog function.
Anti Fog Level (Optional)
Improve the image clarity by clicking on the drop-down list and assign values
which reduce different levels of fog or smoke presented in monitored sites.
Video Orientation
Flip or mirror the image.
IR LED
Choose
Auto
to enable
IR LED
to help the camera observe a clearer view when
the lighting condition of the monitored site becomes low, however if the
lighting condition is always at a satisfactory level, you may set it off.
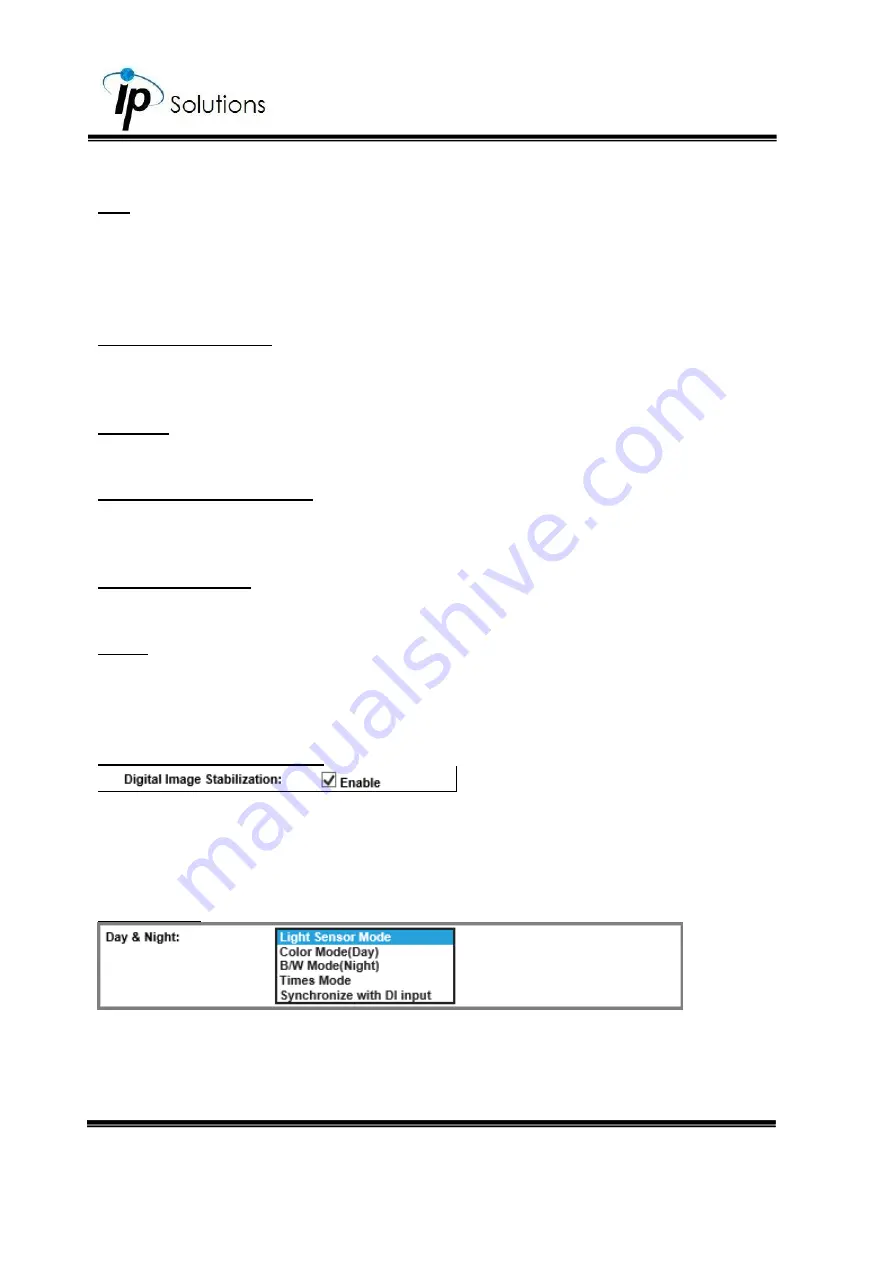
Digital Image Stabilization
Enable this function to reduce blurriness occurred during the motion of a
camera and helps compensate the captured image quality when camera
shakes.
Digital Image Stabilization & Lens Distortion Correction may not be
recommended to be in operation at the same time for which may cause image loss.
Day & Night
Select a mode from its drop-down menu and adjust the camera to detect the
light level for different environments. Settings vary when modes are shifted. An
extra sub-function may appear to be available after a setting is adjusted.
Summary of Contents for HLT-S8KDH
Page 1: ...User Manual IP Speed Dome Camera V1 0_20220921...
Page 5: ...Internet Explorer 93 DirectX 93 Adobe Reader 93 FFdshow 93...
Page 11: ...6 Hardware Installation Camera Without Any Mount Bracket Camera With Wall Mount Bracket...
Page 20: ...15 i ii iii vi v When popup the following dialogue box click Yes...
Page 33: ...29 User Management...
Page 93: ...89 Mounting Bracket 2 Mounting Bracket 3...
Page 94: ...90 Mounting Bracket 4 Mounting Bracket 5...


