®
H122D X4 STORM
《H122D Quick Start Guide》
Version 1.0
Page 1: ...H122D X4 STORM H122D Quick Start Guide Version 1 0...
Page 2: ...ny other keys buttons or sticks while this process is ongoing Users may let go of the Photo key and throttle Connect the aircraft to its battery and allow it to bind to the transmitter The two must be...
Page 3: ...rm its motors Follow the below steps to do a horizontal gyro calibration 1 Place the aircraft on a completely flat surface and then follow the below calibration procedure Hold the left stick to the ri...
Page 4: ...own in the left figure Pull the left joystick throttle upwards to take off Landing Slowly and gently pull the throttle joystick down until the copter has completed its descent on the ground Simultaneo...
Page 5: ...the transmitter to enter binding mode 2 Power the HS001 on by pushing the power switch up Long press the display s binding button shown below to allow the HS001 to enter binding mode The display will...
Page 6: ...ens land the aircraft and disarm its motors Follow the below steps to do a horizontal gyro calibration 1 Place the aircraft on a completely flat surface and then follow the below calibration procedure...
Page 7: ...aft during calibration or calibrate on an uneven tilted surface or there will be errors Installing the HS001 display Option 1 Secure the HS001 display to the HT015 s mobile device bracket Option 2 wit...
Page 8: ...iagonally down out to arm the motors as shown in the left figure Pull the left joystick throttle upwards to take off Landing Slowly and gently pull the throttle joystick down until the copter has comp...
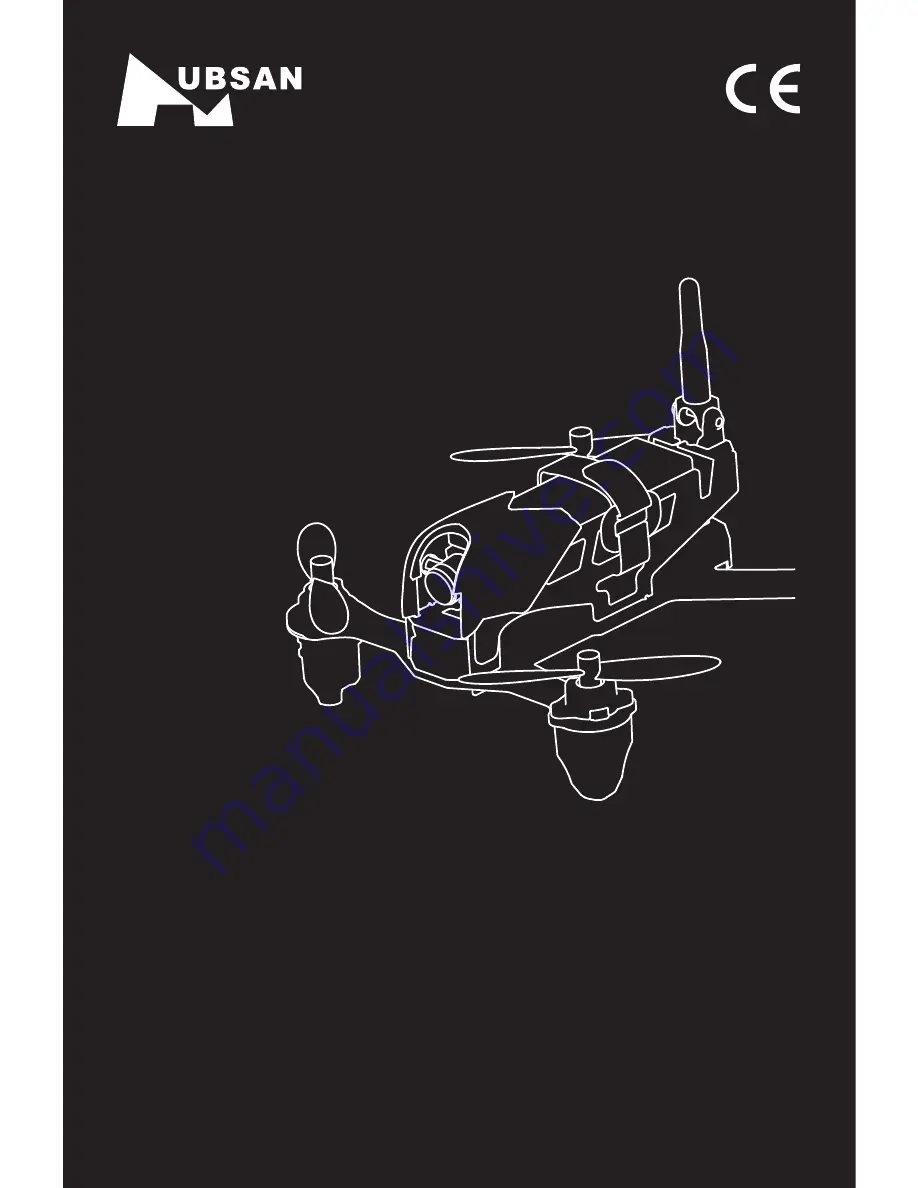
Page 9: ...ra Head Motor LED Propeller B Aircraft status LED Battery strap LiPo battery 5 8G antenna Propeller A TF card slot Thank you for purchasing a HUBSAN product The H122D is an easy to fly racing aircraft...
Page 10: ...o SD charging port TF card slot Battery compartment Photo key Video key Aileron trim Power switch Mobile Device frame Joystick Joystick Power button Headlight power toggle Binding status LED Clear Scr...
Page 11: ...Getting to know your HV002 Charging status LED 5 8 Antenna Sunshade recess Face panel release LCD screen Photo Video mode switch button Photo Video button Main Menu Speaker Binding Clear screen button...
Page 12: ...o secure each propeller Propeller A s are paired with black propeller screws and are tightened counterclockwise Propeller B s are paired with silver propeller screws and are tightened clockwise as sho...
Page 13: ...ote Mind the differing colors of the A and B propeller screws F i g u r e 1 Counterclockwise to install Clockwise to install Clockwise to remove Installation Removal Counterclockwise to remove D Shaft...
Page 14: ...r s USB adapter to a PC terminal and then the battery to the charger Charging time is approximately 130 min recommended flight time is 6 5 minutes Be sure to charge the battery before each flight Inst...
Page 15: ...2 Rebind the copter to the transmitter as the 5 8 and 2 4 frequencies might be interfering with each other 3 Browse through the selection of available 5 8gHz frequencies to find a clean channel 3 Air...
Page 16: ...Address A22 Luyi Street Tianxin Village Tangxia Town Dong guan China Hotline 0769 82776166 China Warning Do not leave the quadcopter charging unattended Always disconnect the quadcopter from the charg...