


7.54 Installing the Rear Hard Disk Backplane
Install a rear hard disk backplane to replace the original one.
Installing a Rear Hard Disk Backplane for 12 Disks
Step 1
Wear an ESD wrist strap. For details, see
Step 2
Remove the rear hard disk backplane to be replaced. For details, see
Step 3
Take the spare rear hard disk backplane out of its ESD bag.
Step 4
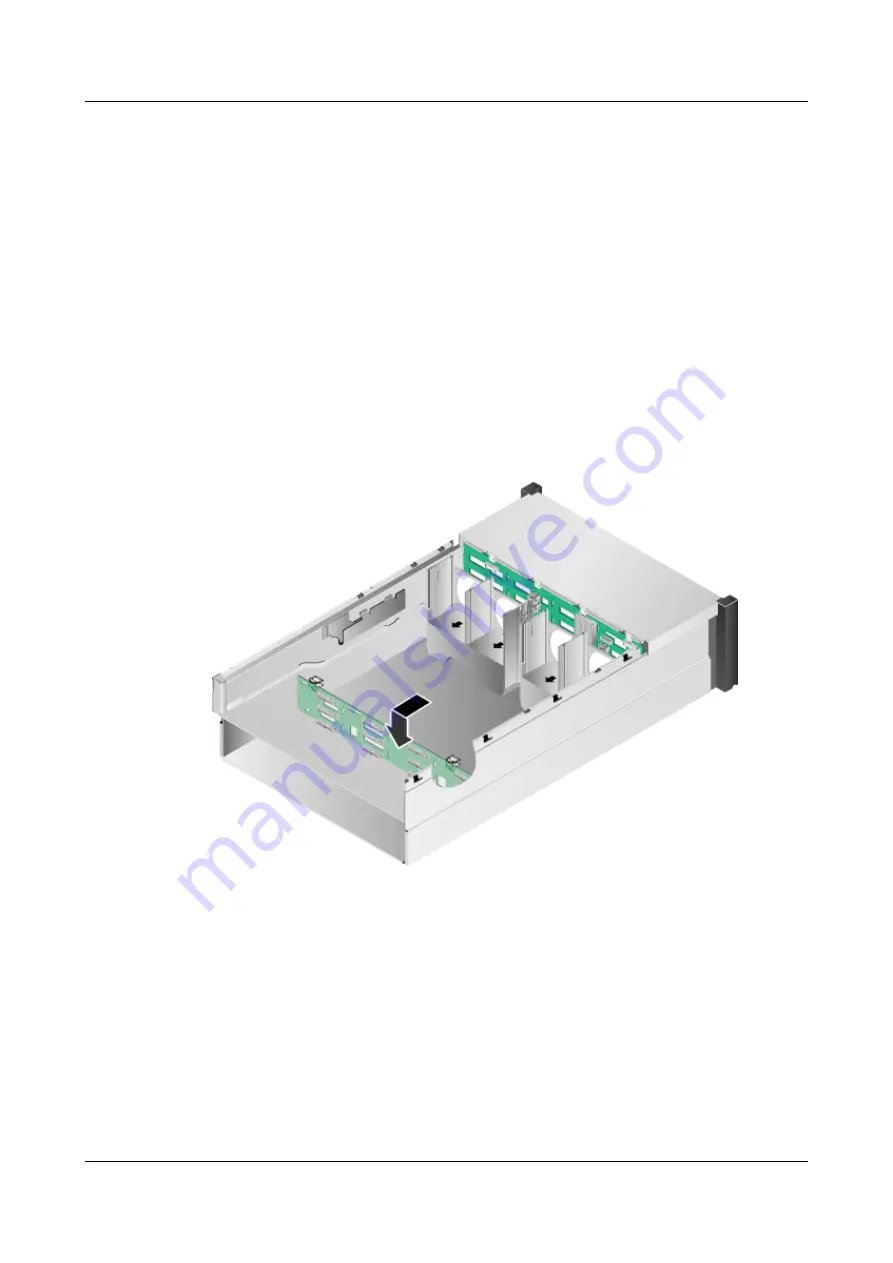
Hook the rear hard disk backplane, and move it downward until its latch automatically locks.
See
.
Figure 7-114
Installing a rear hard disk backplane for 12 disks
Step 5
Connect cables to the rear hard disk backplane. For details, see
Step 6
Install the mainboard frame and connect all cables to the mainboard. For details, see
.
Step 7
Install all hard disks in the rear hard disk backplane.
Step 8
Connect all internal cables. For details, see
Step 9
Install the fan modules. For details, see
.
Step 10
Install the air duct. For details, see
Step 11
Install the chassis cover. For details, see
7.12 Installing the Chassis Cover
5288 V3 Server
User Guide
7 Replacing Parts
Issue 26 (2018-11-19)
Copyright © Huawei Technologies Co., Ltd.
230


