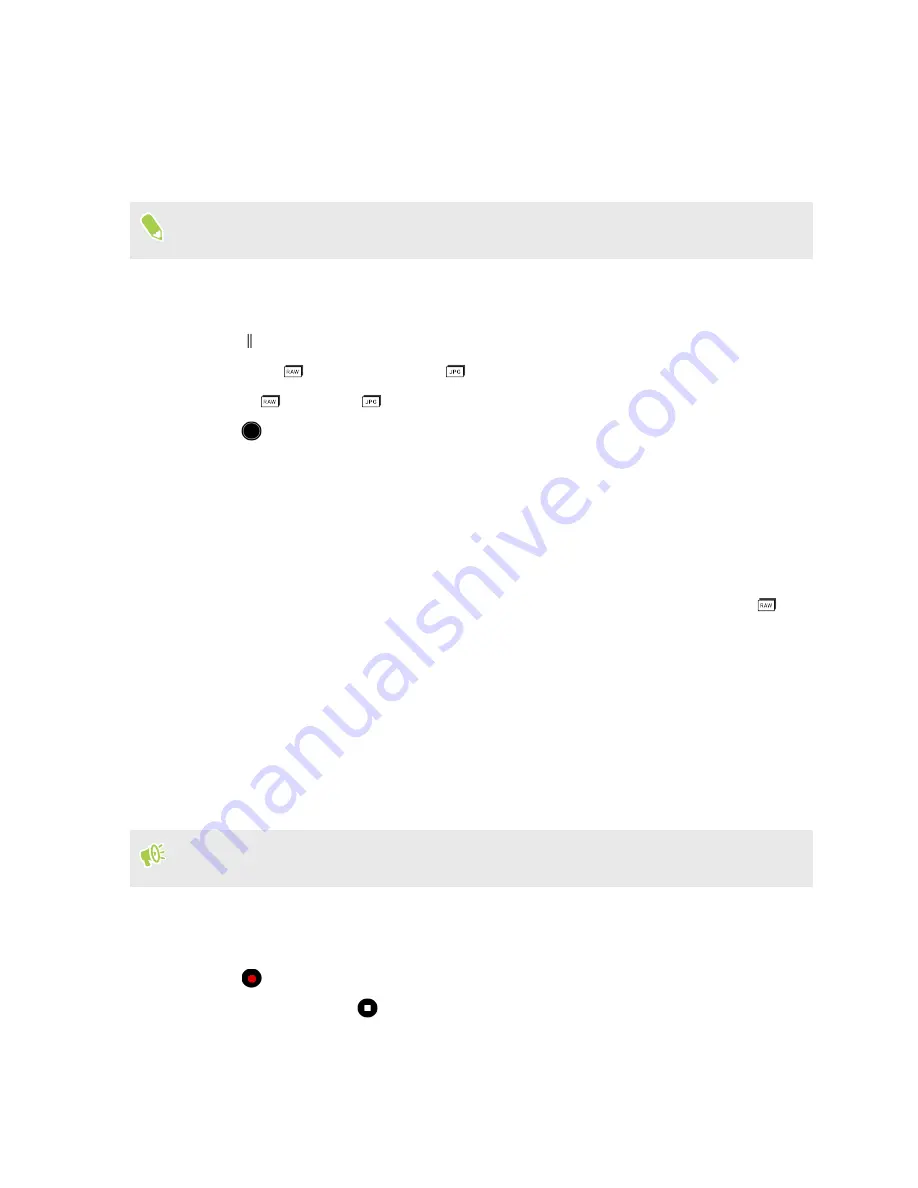
Taking a RAW photo
Want to keep more detail in your shots, or fix the lighting in post processing? With Pro mode, you
can take photos that will be saved as RAW image files in DNG format, along with a JPG compressed
version.
RAW image files take up a lot of storage space. It's recommended to use a storage card as the
default storage for photos and videos.
1.
On the Home screen, tap the camera icon to open the Camera app.
2.
Switch to
Pro
mode. See
3.
Tap to open the slideout menu.
4.
Make sure
is selected. If not, tap
to change it.
Or, tap
to switch to
if you only want to save a JPG compressed version.
5.
Tap
.
How does the Camera app capture RAW photos?
The Camera app captures a photo in both the DNG RAW format and JPG format.
Digital Negative (DNG) is an open-standard lossless RAW image format. Since a RAW file is
typically 2 to 6 times larger than a JPEG file and is not viewable in most photo viewer apps, a photo
is captured in both DNG and JPG formats. When you use the Google Photos app, you'll see a
icon
on a photo to indicate that there is a DNG RAW format version of the file.
RAW photos are not processed when captured to preserve most of the original image data—such as
dynamic range—so you can adjust lighting or make professional adjustments using advanced editing
tools. After making adjustments, save the RAW photo as a JPG file if you want to print or share it.
Recording videos in slow motion
Relive high speed action bit by bit and add a touch of suspense to your videos.
Audio is recorded when you're in this mode, but will only be available when video is played back
in normal speed.
1.
On the Home screen, tap the camera icon to open the Camera app.
2.
Switch to
Slow motion
mode. See
3.
Tap
to start recording.
4.
To stop recording, tap
.
96
Advanced camera features
Summary of Contents for U11 EYEs
Page 1: ...User guide HTC U11 EYEs...


