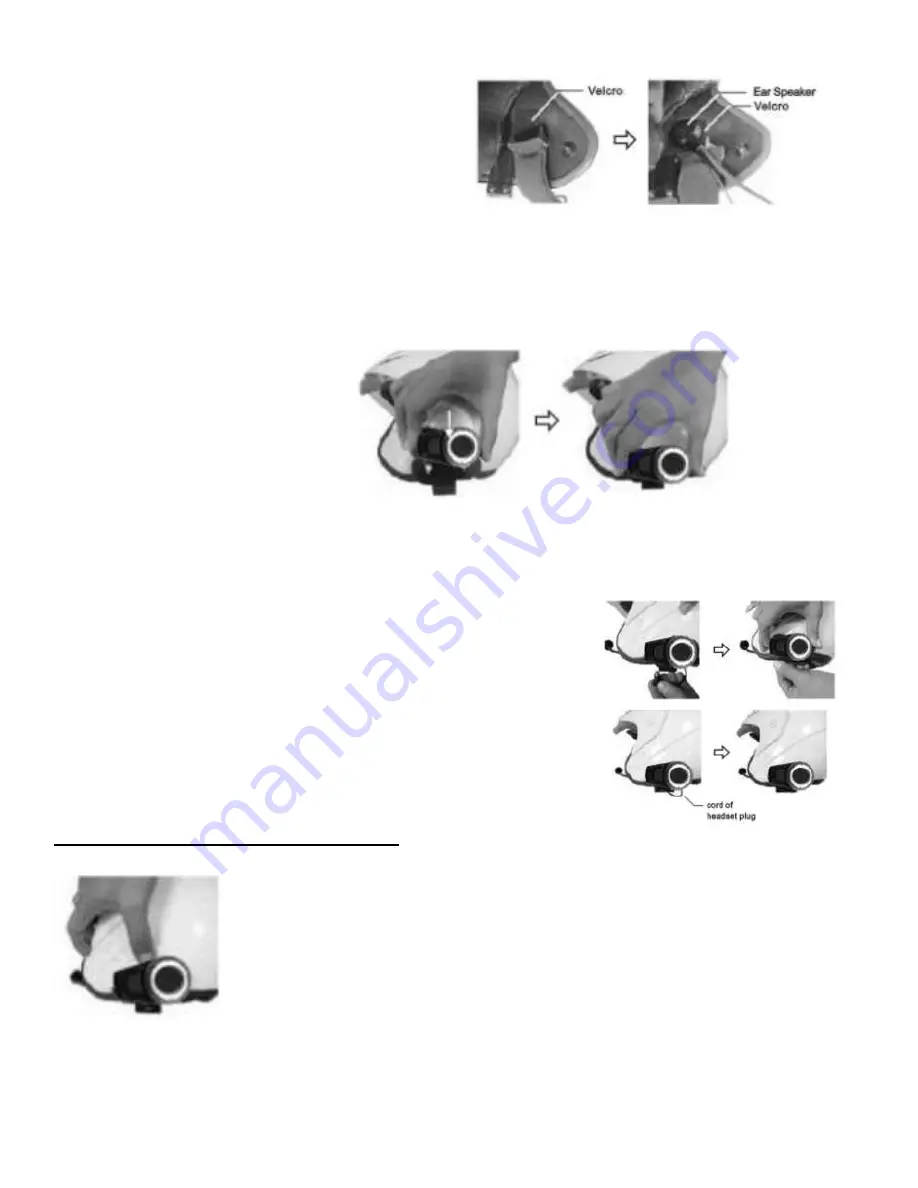
2. Next you need to attach the speaker and
microphone arm to the inside of the helmet.
Take the Velcro pad which the speaker will
attach to, and test for the best position before
fixing it.
The Velcro pad should be fixed at the height of
your ear in the helmets ear pocket. You will need to put the helmet on a few times to find the
optimum position to apply the pad. When the correct positioning is found, remove the
protective strip and apply the Velcro Pad.
3. Next, take the ear speaker
and attach it to the Velcro Pad.
Run the Microphone Arm down
along down to where your
mouth will be. As the
microphone arm is flexible, you
can adjust it so it sits in the
optimum position in front of your mouth. Some helmets have removable padding; if yours
does, it is recommended to run the speaker and microphone under the padding.
4. Taking care to match the pins up, and connect the Headset
plugs into the Headset’s socket. The plug can only be inserted
in one position.
5. Secure the cord of the Headset’s plug inside the helmet.
Tuck any extra wire into the helmet. Try to hide the cable as
much as possible under the padding. Now you have
successfully mounted the Headset on your helmet.
Quick removal of the Headset’s Module
Remove the Headset’s main module by pushing down the lock as shown,
and then take out the Headset’s module by pulling in an upward motion.
TIP: If you have difficulties installing your Bluetooth headset on your helmet, we recommend
that you look for videos in YouTube. Please know that most of the Bluetooth headsets available
in the market install in a very similar way.


