


5
Programming the Scanner
The scanner is factory-configured with a set of standard default features. After scanning the interface
bar code from the Interfaces section, select other options and customize the scanner through use of
the programming bar codes available in the
HP Wireless Barcode Scanner Programming Reference
Guide
(PRG). Check the corresponding features section for your interface, and also the Data Editing
and Symbologies chapters of the PRG.
Using Programming Bar Codes
This guide contains bar codes that allow you to reconfigure the scanner. Some programming bar
code labels, like the "Standard Product Default Settings" in this chapter, require only the scan of that
single label to enact the change.
Other bar codes require the scanner to be placed in Programming Mode prior to scanning them. Scan
an ENTER/EXIT bar code once to enter Programming Mode; scan the desired parameter settings;
scan the ENTER/EXIT bar code again to accept your changes, which exits Programming Mode and
returns the scanner to normal operation.
Configure Other Settings
Additional programming bar codes are available in the PRG to allow for customizing programming
features. If your installation requires different programming than the standard factory default settings,
refer to the PRG.
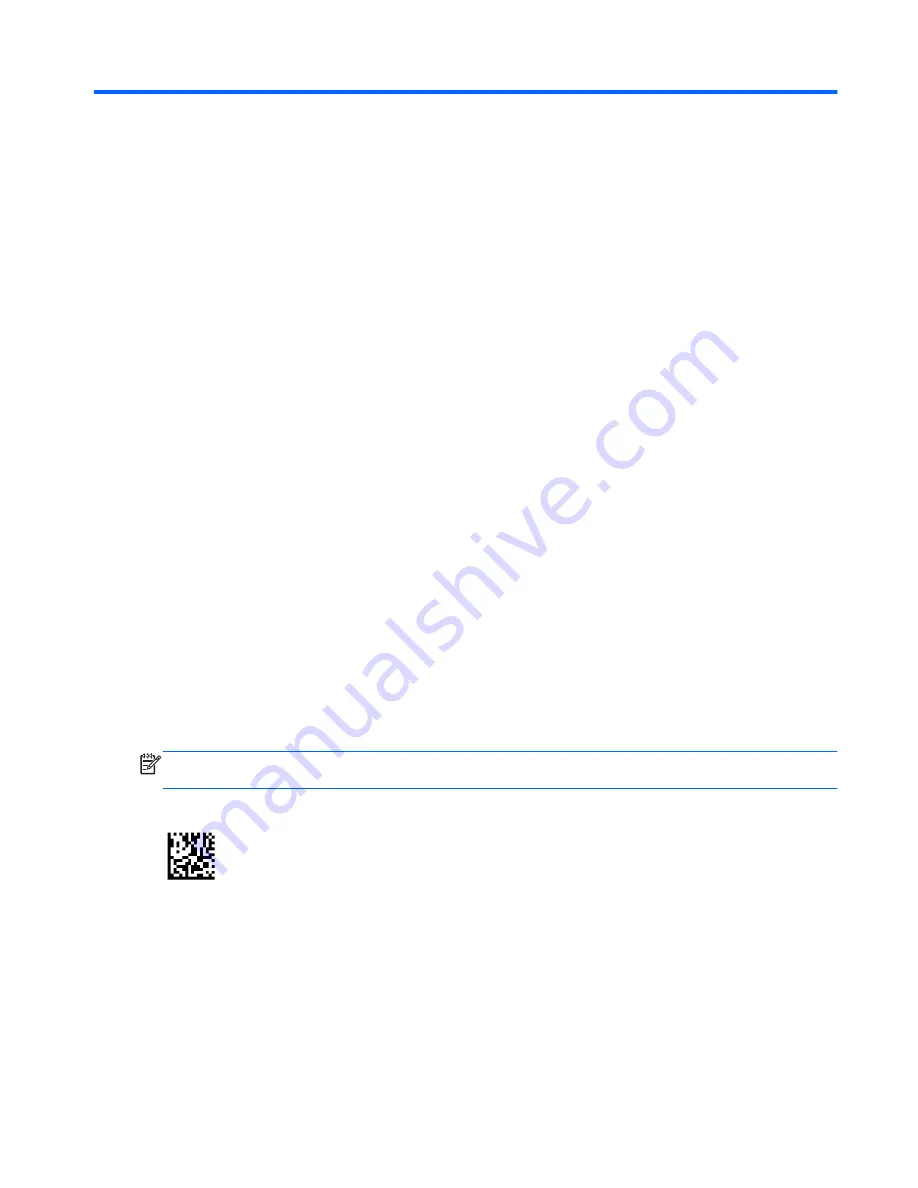
Resetting Standard Product Defaults
Reference the PRG for a listing of standard factory settings. If you aren’t sure what programming
options are in the scanner, or you’ve changed some options and want the factory settings restored,
scan the
Standard Product Default Settings
bar code below to copy the factory configuration for the
currently active interface to the current configuration.
NOTE:
Factory defaults are based on the interface type. Configure the scanner for the correct
interface before scanning this label.
Figure 5-1
Standard Product Default Settings
Using Programming Bar Codes
21


