background image

Familiarization Guide

HP Vectra VL 

6/xxx Series 6 PC

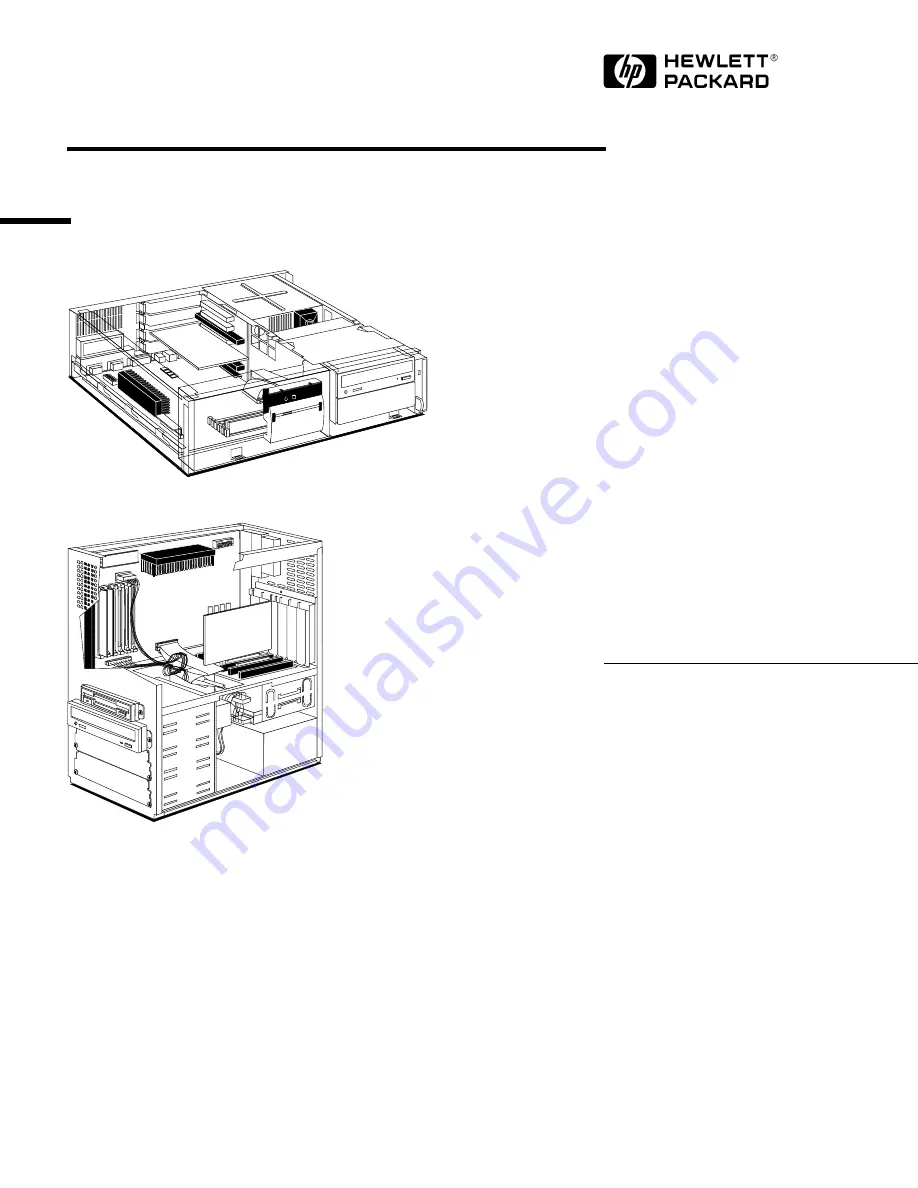
HP Vectra VL MT PC

HP Vectra VL PC

This guide is for experienced technicians who have 
already completed the HP Vectra PC family training 
course. It is a self-paced training guide designed to train 
you to repair the PC. It contains information specific only 
to the repair of these PCs. For information on the 
installation of accessories, see the User’s Guide and the 
Online documents that are supplied with the PC.

1book.bk : 1bookf.fb4  Page 1  Monday, May 26, 1997  6:17 PM

Summary of Contents for Vectra VL 6/xxx - 6

Page 1: ...who have already completed the HP Vectra PC family training course It is a self paced training guide designed to train you to repair the PC It contains information specific only to the repair of these PCs For information on the installation of accessories see the User s Guide and the Online documents that are supplied with the PC ...

Page 2: ...its software on equipment that is not furnished by Hewlett Packard This document contains proprietary information that is protected by copyright All rights are reserved No part of this document may be photocopied reproduced or translated to another language without the prior written consent of Hewlett Packard Company Centronics is a registered trademark of Centronics Data Computer Corporation Micr...

Page 3: ...eable to 12 MB Communications ports 2 USB connectors 2 serial ports parallel port keyboard mouse Mass storage 4 0 GB IDE or 2 5 GB IDE 5 shelves 3 front access 2 internal 4 0 GB IDE or 2 5 GB IDE 6 shelves 4 front access 2 internal Accessory board slots 5 slots 2 PCI 1 ISA 2 combination PCI ISA 6 slots 2 ISA 2 PCI 2 combination PCI ISA Audio board New ISA Plug and Play audio board on multimedia mo...

Page 4: ...s only activity light status light Front view System board switches Processor VRM Video memory Main memory Hard disk drive 24 CD ROM drive Flexible disk drive Front view with cover removed USB Serial A Parallel Mouse Keyboard Display Serial B Rear view Retaining brackets Security lock hole ...

Page 5: ...wer Package Minitower Package System board switches Processor VRM Video memory Main memory Front view with cover removed USB Serial A Parallel Mouse Keyboard Display Serial B Rear view Voltage selection switch ...

Page 6: ...lexible Disk Connector CD ROM Connector Hard Disk Connector Power Connector Status Panel Not Used Voltage Regulator Module Processor Slot System Board Switches Video Memory Items shown in grey are Parallel Port Serial Port A Serial Port B Display USB Kbd Mou VESA Connector Graphics Controller Chip present only on models with integrated graphics controller External Start External Speaker Internal S...

Page 7: ...A PCI combination slot shown in light grey 1 system board slot shown in dark grey Desktop rear view 1 ISA slot shown in grey Minitower top view 2 PCI slot shown in white 2 ISA slot shown in grey 2 ISA PCI combination slot shown in light grey 1 system board slot shown in dark grey ...

Page 8: ...e Cover Removing the Power Supply 1 Press the latch down 2 Press the two tabs down pivot the panel downward and lift it off 4 Push the cover away from you and lift off 3 Unlock with the key 1 Remove all external cables 2 Lift the front of the power supply to free the two side catches 3 Slide it horizontally out 4 Lift the power supply clear and lay it upside down on the front drive unit ...

Page 9: ...Remove the slot cover 3 Slide the board into the slot 5 Replace the retaining bracket 4 Slide it horizontally out 1 Unscrew the retain ing bracket at the rear of the computer 2 Remove the rear tray by sliding it forward about 1 5 cm 1 2 inch and lifting it up and out Access is then clear for installing a short ISA board in the slot on the rear side of the backplane ...

Page 10: ... the holes in the tray and secure using the screws provided 4 Connect the data cable and power cable to the rear of the drive 1 Unclip the metal plate at the rear of the computer and remove it 2 Remove the tray by pushing it from the inside and sliding it out the back of the computer 3 Secure the 3 5 inch drive shown above or 5 25 inch drive shown below on to the tray with the screws provided 4 Sl...

Page 11: ...ves do not need a tray Many zip drives require an HP supplied tray 5 Lower the drive into the free grove of the mounting bracket Use the two pins on the mounting bracket to slot the drive into place 7 Draw the computer s cables through the front drive bay area and connect the data cable to the rear of each drive 6 Position the other mounting bracket on top aligning it properly so that it clicks in...

Page 12: ... a bracket There are two plastic clips one on the top of each pillar of the bracket to hold the processor module in place To remove the old processor module 1 Press the two plastic clips towards each other 2 Carefully pull the processor module away from its connector on the system board The heat sink is supplied with the processor and is bolted to it by the manufacturer Plastic clips Heat sink Bra...

Page 13: ...essor module reverse the above procedure Replacing the System Board The system board is secured in place by the familiar system board handle mechanism However before the system board can be removed it is necessary first to remove the left hand bottom panel of the computer This is held in place by a metal clip at the front end and can be released by levering it at this end with a screw driver or si...

Page 14: ... This new Plug and Play ISA board is supplied with the correct drivers and does not require specific configuration when installed in this PC Top and bottom halves of the upgrade socket For the installation of a video memory upgrade module or the Matrox MPEG module Display connector 4 MB memory chips Joystick connector Internal speaker connector Multimedia control panel CD audio connector Telephone...

Page 15: ...l obtain the flash utility programs FLASH BAT AUTOEXEC BAT and PHLASH EXE programs the BIOS file HD07xx FUL and a file called pfmhd106 bin on a bootable flexible diskette Insert the flexible diskette into drive A Re boot the system Enter the command of the form FLASH HD07xx FUL where xx is replaced by the version number of the BIOS that you have downloaded Access HP World Wide Web Site World Wide ...

Page 16: ...mory socket C1 but socket C2 is empty d Memory sockets B1 and B2 are empty e There is a pair of non HP 4 MB memory modules in bank A f A non HP network board has been installed as a PCI accessory 2 The client wishes to accelerate the processing throughput of the PC Which of the following options are viable a Replacing the current 233 MHz processor by a 266 MHz processor b Replacing the current pro...

Page 17: ...en set correctly d The drive has not been correctly detected by the Setup program and needs to be configured manually 5 The client is unable to start the PC from the keyboard What would you suggest might be the problem a The PC is not plugged in b The Keyboard Power On function has not be enabled in the Setup program c The Keyboard Power On function has not be enabled on the system board switches ...

Page 18: ...essing throughput of the PC Which of the following options are viable b Replacing the current processor by an overdrive processor when available d Installing more main memory modules HP does not support the replacement of a processor by a faster one unless it is an official overdrive equivalent for the original processor even when models exist that use the faster processor It is not possible to in...

Page 19: ...ted by the Setup program and needs to be configured manually The correct answer to this question is all of the above Response d is unlikely to be the case but is worth checking for the information that it can yield 5 The client is unable to start the PC from the keyboard What would you suggest might be the problem a The PC is not plugged in b The Keyboard Power On function has not be enabled in th...

Page 20: ...Paper not bleached with chlorine Manual Part Number D5040 90901 Printed in France 05 97 50 ...

Reviews: