English
English
35
HP 19” Color Monitor User’s Guide
Regulatory Information
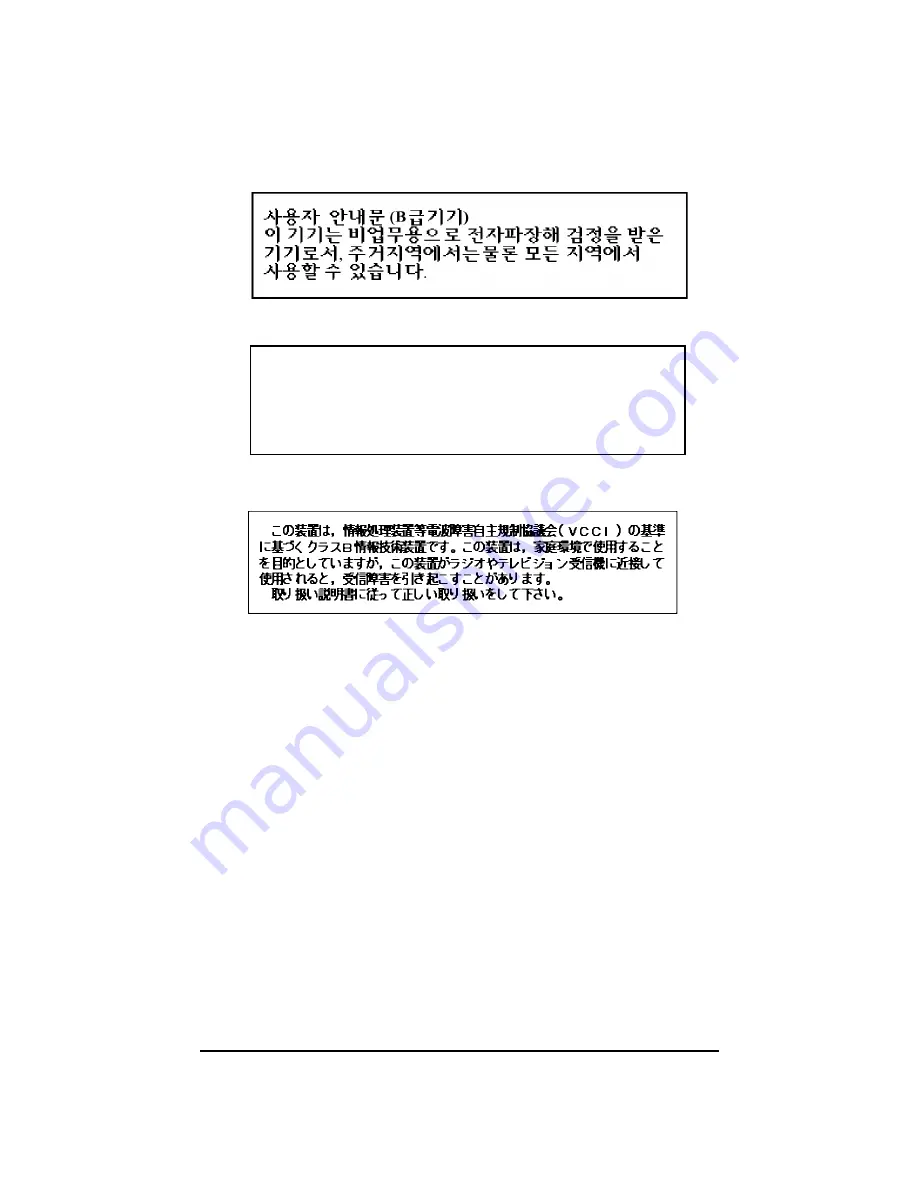
Notice for Korea
Notice for Germany
Notice for Japan
Hinweis für Deutschland: Geräuschemission
Lärmangabe nach Maschinenlärmverordnung - 3 GSGV
(Deutschland)
LpA < 70db am Arbeitsplattz normaler Betrieb nach EN27779:
11.92


