

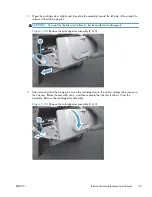


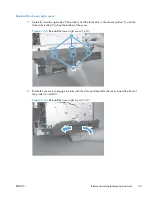

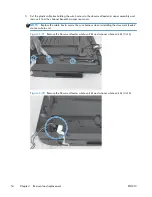

Reinstall the lower right cover
1.
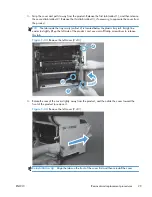
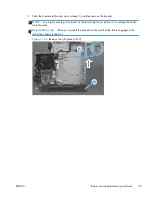
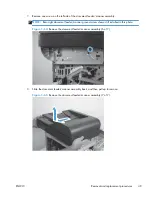
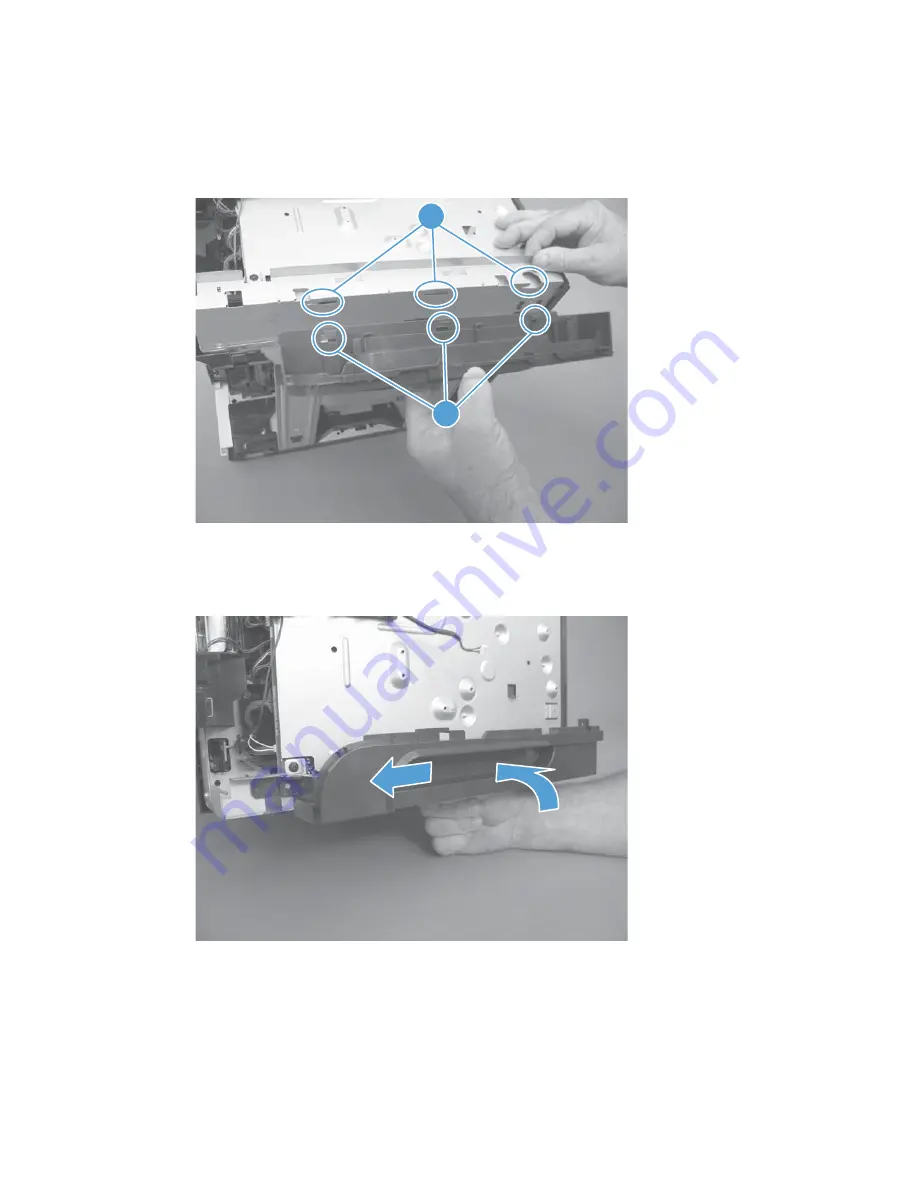
Carefully raise the right side of the product, find the three slots in the chassis (callout 1), and the
three tabs (callout 2) along the bottom of the cover.
Figure 1-55
Reinstall the lower right cover (1 of 2)
2
1
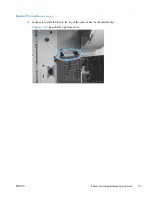
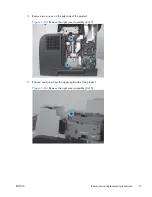
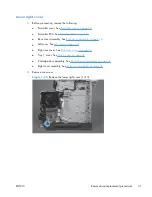
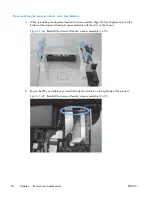
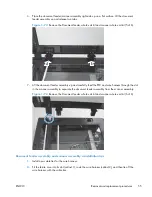
2.
Rotate the cover up to engage the tabs with the slots, and then slide the cover toward the front of
the product to install it.
Figure 1-56
Reinstall the lower right cover (2 of 2)
ENWW
Removal and replacement procedures
43
Summary of Contents for LaserJet Pro M521
Page 1: ...LASERJET PRO MFP Repair Manual M521 2 ...
Page 2: ......
Page 3: ...HP LaserJet Pro MFP M521 Printer Repair Manual ...
Page 6: ...iv Conventions used in this guide ENWW ...
Page 10: ...viii ENWW ...
Page 14: ...14 mm 4 Chapter 1 Removal and replacement ENWW ...
Page 148: ...138 Chapter 1 Removal and replacement ENWW ...
Page 155: ...ENWW Assembly locations 145 ...
Page 186: ...176 Chapter 2 Parts and diagrams ENWW ...
Page 189: ......
Page 190: ... 2012 Hewlett Packard Development Company L P www hp com A8P79 90904 A8P79 90904 A8P79 90904 ...