

EL-MF877-00 Page 2
Template Revision A
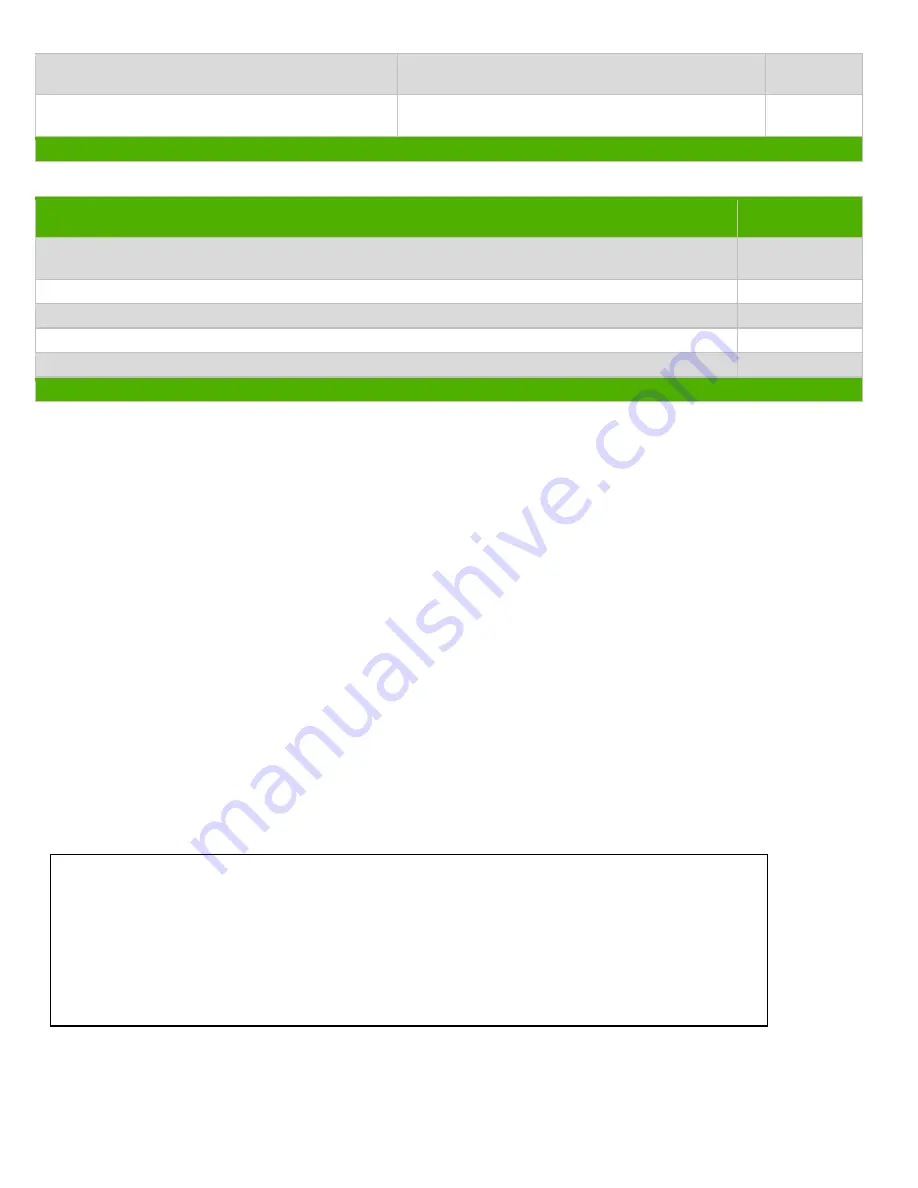
Components, parts and materials containing
refractory ceramic fibers
Nil
0
Components, parts and materials containing
radioactive substances
Nil
0
2.0 Tools Required
List the type and size of the tools that would typically be used to disassemble the product to a point where components
and materials requiring selective treatment can be removed.
Tool Description
Tool Size (if
applicable)
Torx driver (standard)
T10, T15 &
T20
Small adjustable wrench
5mm
Wire cutter
Medium
Hexagonal socket
3/16"
3.0 Product Disassembly Process
3.1 List the basic steps that should typically be followed to remove components and materials requiring selective treatment:
1. Unfasten two captive screws from chassis and remove the Pygmy Module (if Applicable)
2. Unfasten all the screws that are fasten to the top cover with the chassis
3. Remove top cover.then remove the cover of PowerDevice (Aragon-2)
4. Disconnect the cable which is connected with PCA moccasin.
5. Unfasten the three screws from PCA,Moccasin and remove it.
6. Disconnect all the cables.
7. Remove the screws that fasten the grounding lug to the chassis.
8. Unfasten the two screws from baffle and remove it.
9. Unfasten two screws from PCA,Diamond eye and remove it
10. Remove all the screws/stand off that are fasten to the Power device(Aragon-2) and Main PCA in the Chassis base.
11. Unfasten the SCREW LOCK KIT-AMP HD which are used to fasten the EPS/RPS connectors.
12. Remove the PowerDevice (Aragon-2)
13. Remove the PowerDevice(Aragon-2) insulator.
14. Unfasten two screws from PCA Console and remove it.
15. Unfasten one screw from the fan tray and remove the fan tray assembly.
16. Remove the Light pipe
17. Then,remove the Main PCA.
18. Disassemble the Front flap from the chassis
19.
3.2 Optional Graphic. If the disassembly process is complex, insert a graphic illustration below to identify the items
contained in the product that require selective treatment (with descriptions and arrows identifying locations).