49
12. Mechanical Instructions
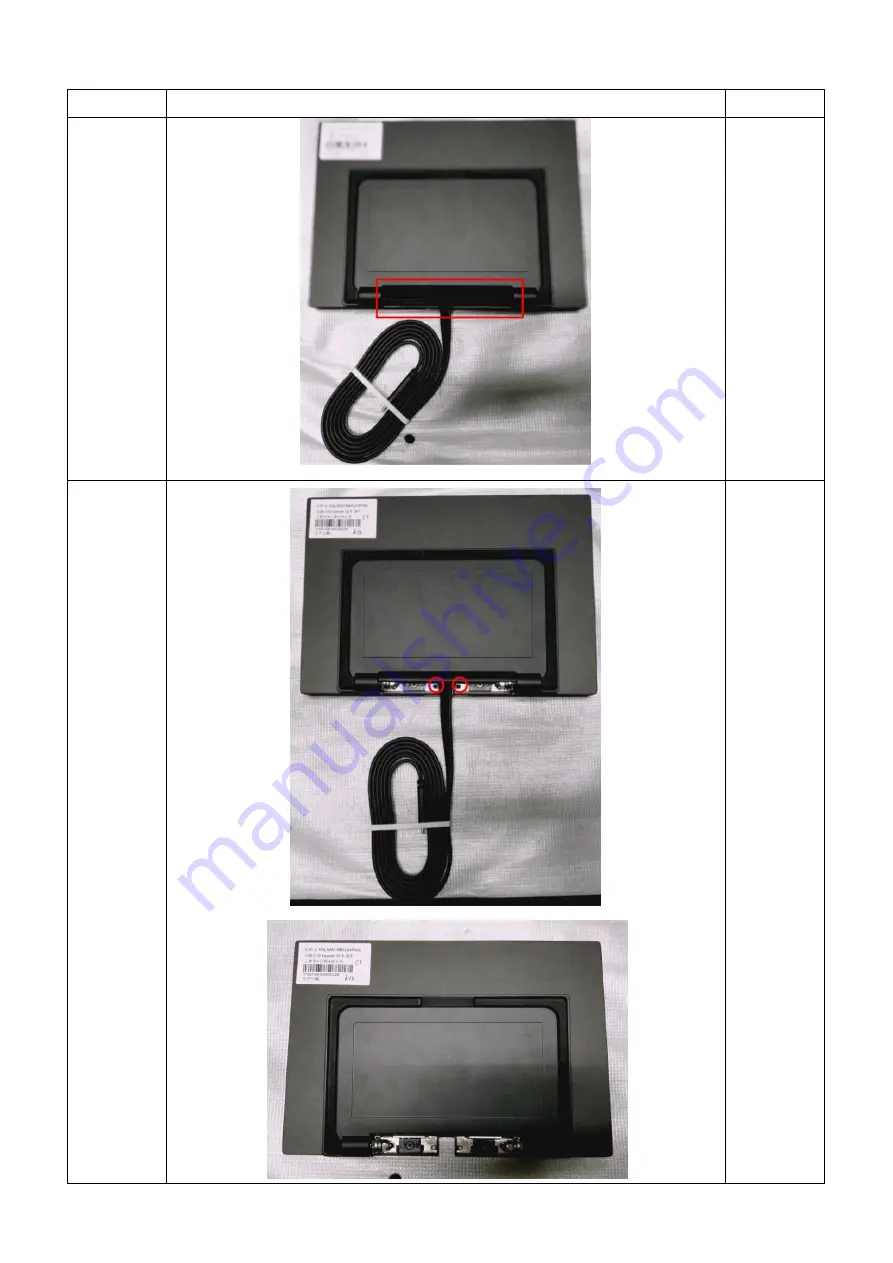
Step
Figure
Description
Preparation
Lay the
monitor on a
flat, soft and
clean
surface and
pull up the
deco cover.
Remove
the BASE
Unscrew
the screws
to move the
BASE
ASSY.
Page 1: ...ards PCB or Printed Circuit Assemblies PCA With a surface greater than 10 sq cm 2 Batteries All types including standard alkaline and lithium coin or button style batteries 0 Mercury containingcomponents For example mercury in lamps display backlights scanner lamps switches batteries 0 Liquid Crystal Displays LCD with a surface greater than 100 sq cm Includes background illuminated displays with g...
Page 2: ...ription 3 Description 4 Description 5 3 0 Product Disassembly Process 3 1 List the basic steps that should typically be followed to remove components and materials requiring selective treatment 1 Lay the monitor on a flat soft and clean surface 2 Pull up the base cover 3 Release the screws to remove base assembly 4 Release the screws to remove USB type c cable 5 Disconnect the connector to remove ...
Page 3: ...49 12 Mechanical Instructions Step Figure Description Preparation Lay the monitor on a flat soft and clean surface and pull up the deco cover Remove the BASE Unscrew the screws to move the BASE ASSY ...
Page 4: ...0 Remove the rear cover Unscrew the screws to remove the USB cable and disconnect the connectors to remove the rear cover Remove key boards Unscrew the screws to remove the key boards from the rear cover ...
Page 5: ...51 Remove the tapes and pins Disconnect the connectors and remove the tapes Remove the Mylar Remove the Mylar ...
Page 6: ...52 Remove the main board Unscrew the screws to remove the main board from the mainframe The panel The panel ...