Chapter 1 - English
Congratulations on purchasing an HP External USB Floppy Disk Drive. This document contains
information on setting up your floppy disk drive and installing the software necessary for its use.
Supported Platforms
To find out with which HP PCs support the HP External USB Floppy Disk Drive, go to the
following HP accessories web site:
www.hp.com/go/pcaccessories
Setting Up Your USB Floppy Disk Drive
NOTE
The following procedure is not required for HP Notebook computers.
Print out the
readme.txt
file on the
HP External USB Floppy Disk Drive Software CD-ROM
before setting up your floppy disk drive.
1
Switch off your PC.
2
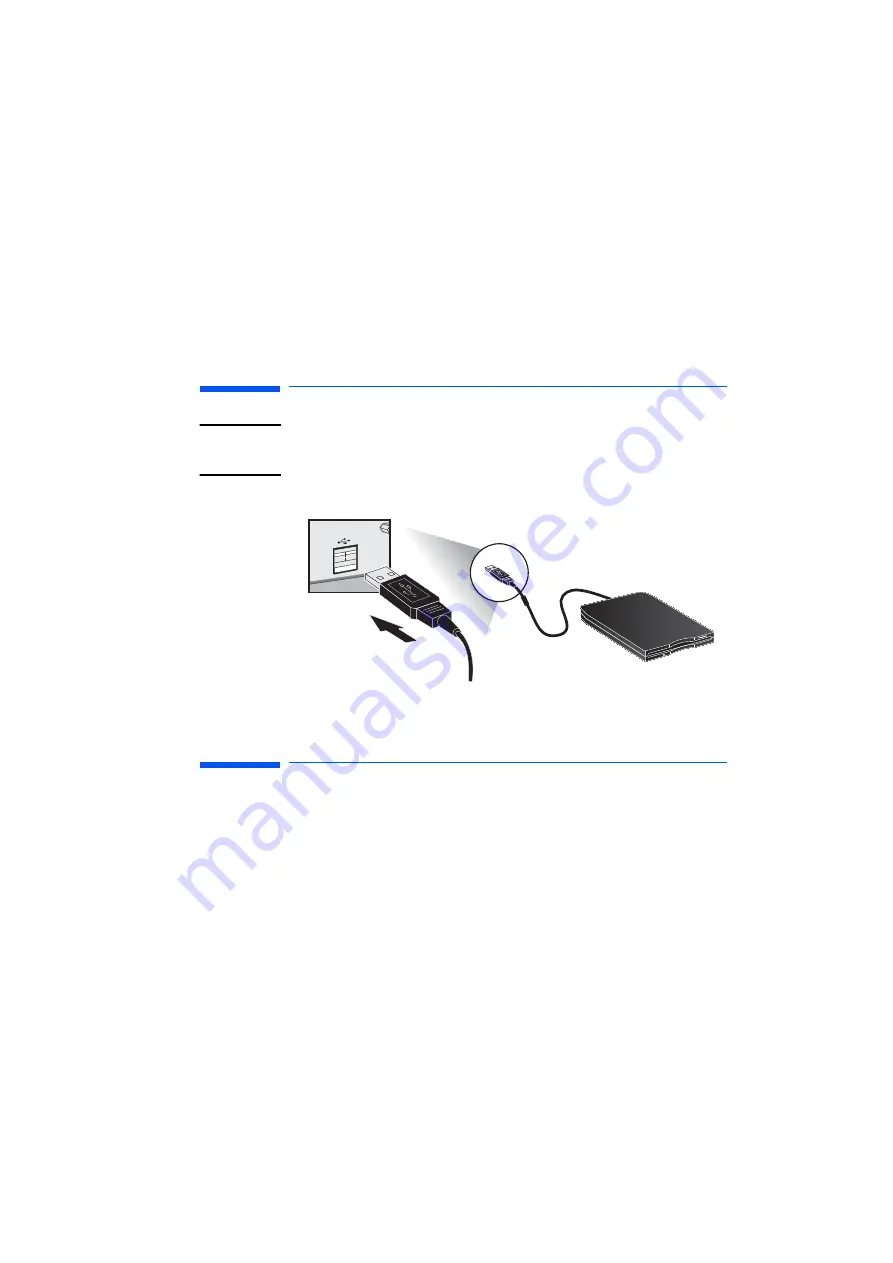
Connect the cable of the floppy disk drive to the USB port on your PC.
Checking the
Hardware Installation
1
Restart the PC, press
F2
when
the
F2
Setup
prompt
appears.
2
Select the
Advanced
menu, the floppy disk drive should be included in the list and should be
Enabled.
3
Press
F10
to save and exit the program.
Installing the USB Floppy Disk Drivers
Windows 95 &
Windows 98
(Second Edition)
users
1
Insert the
HP External USB Floppy Disk Drive Software CD-ROM
if you haven’t already
done so.
2
After starting, your PC will automatically identify the new hardware TEAC FD-05PUB.
3
The
New Hardware Wizard
dialog box will appear on screen, click on
Next.
4
Click on
Next
to search for the best driver for your device.
5
Select
Specify a Location
, click on
Browse
and select the CD-ROM drive (typically this would be
your D: drive), type:
D:\Driver\xxxx
1
\win95\driver
(for Windows 95)
D:\Driver\xxxx
1
\win98\driver
(for Windows 98)
Select the driver file and click
Next.
6
Once your PC has located the drivers, click on
Next
to complete the installation. Click
Finish
when prompted.
1.
where xxxx is your HP e-pc model


