


HP 19” Color Monitor User’s Guide
Using Your Monitor
6 English
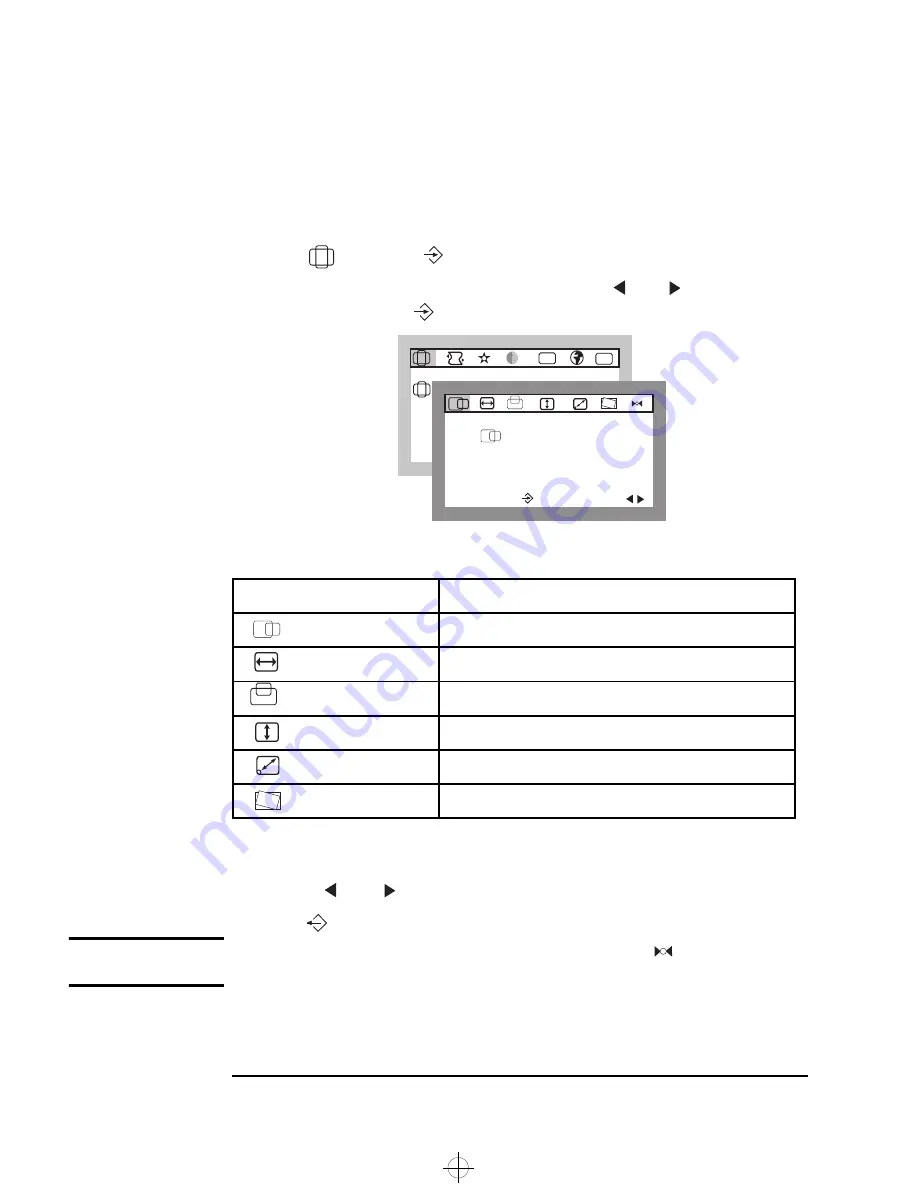
Adjusting the Size and Position of the Displayed Image
To adjust the size and position of the displayed image:
1
Select
and press
to enter the
BASIC ADJUSTMENTS
sub-menu.
2
Select the feature you wish to modify using the
and
adjustment
controls, then press
to confirm your selection.
The following table lists the adjustment options available:
3
Use the
and
adjustment controls to make your adjustments.
4
Press
to exit.
NOTE
To revert to the default position and size settings, select
from this
sub-menu.
1.
Depending on the orientation of your monitor, you may experience rotation of the image. This is due to
the influence of the earth’s magnetic field and is normal for all monitors.
Adjustment Menu Item
Use to Adjust
H POSITION
The horizontal position of the displayed image.
H SIZE
The horizontal size of the displayed image.
V POSITION
The vertical position of the displayed image.
V SIZE
The vertical size of the displayed image.
ZOOM
The overall size of the displayed image.
TILT
The displayed image if it appears to be rotated.
1
B A S I C A D J U S T M E N T S
9 1 . 1 k H z / 8 5 H z
E N T E R :
S E L :
ETC
OSD
H P O S I T I O N
9 1 . 1 k H z / 8 5 H z
E N T E R :
S E L :
andros.bk : andr-us.fb4 Page 6 Monday, December 21, 1998 3:51 PM


