background image

4

GB

Installation

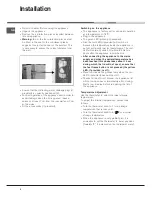
Refer to chapter "Before using the appliance".

Unpack  the  appliance.

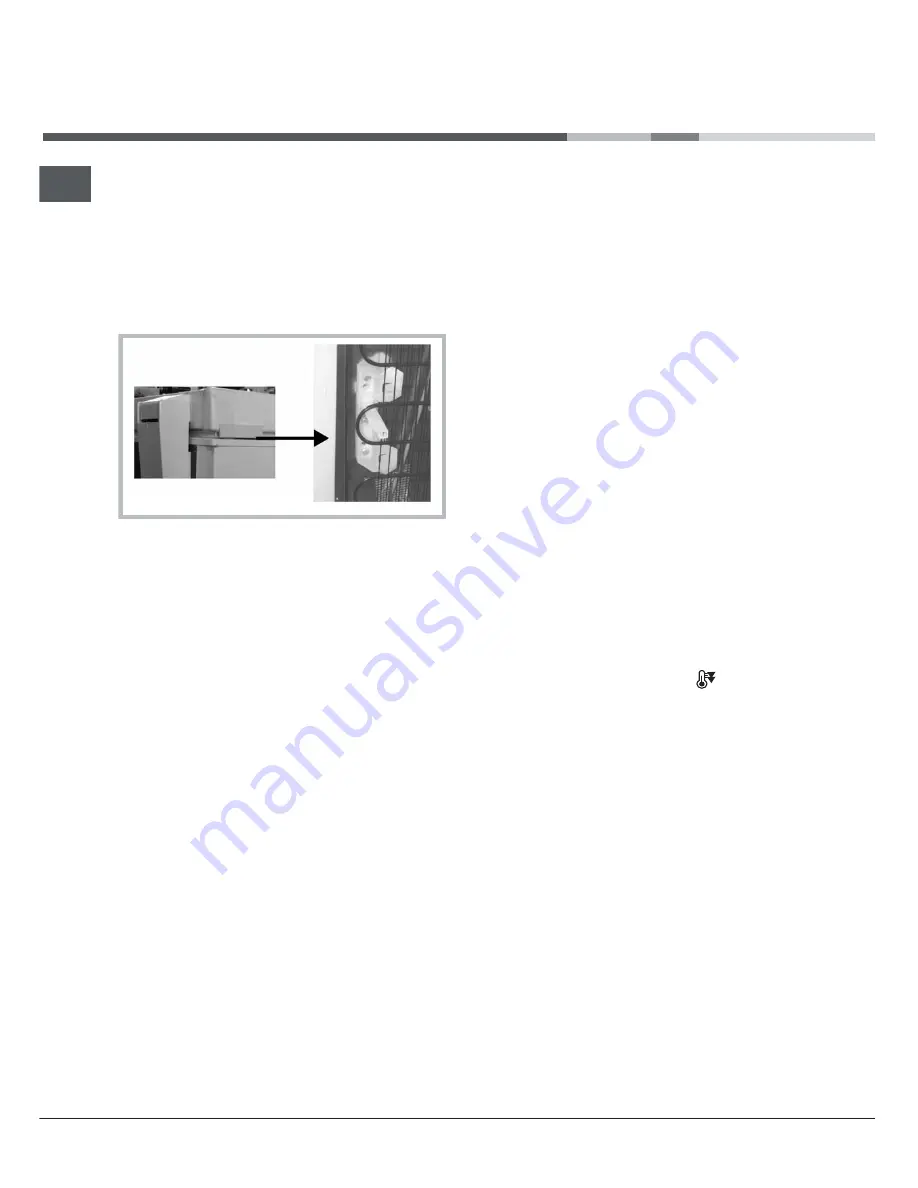
Remove the 4 protection pieces inserted between

lid and appliance.

Warning:

 two of the four protection pieces must

be fitted in the seat of the condenser plastic

supports, located at the rear of the product. This

is necessary to ensure the correct distance from

the  wall.

Ensure that the defrosting water drainage plug (if

provided)  is  correctly  positioned  (4).

For best operation of the appliance and in order to

avoid damage when the lid is opened, leave a

space of at least 7 cm from the rear wall and 7 cm

at  the  sides.

Fit  the  accessories  (if  provided).

Switching  on  the  appliance

The appliance is factory set for optimum operation

at a temperature of -18°C.

Plug in the appliance.

The green LED lights up (if provided).

Also the red LED (if provided) will switch on

because the temperature inside the appliance is

not yet sufficiently low for food storage. The red

LED will normally switch off within the first six

hours after the appliance is switched on.

After connecting the appliance to the mains

supply and when the optimal temperature has

been reached (this phase takes about 1 hour

during which the lid will not open), ensure that

the fast freeze button is not pressed (the yellow

LED,  if  provided,  is  off).

Place food inside the product only when the red

LED (if provided) has switched off.

Thanks to the efficient lid seal, the appliance lid

will  not  re-open  easily  immediately  after  closing.

Wait a few minutes before re-opening the lid of

the  appliance.

Temperature  Adjustment

Use the thermostat to select the ideal storage

temperature.

To adjust the internal temperature, proceed as

follows:

Turn the thermostat knob to 1 for a storage

temperature  that  is  less  cold.

Turn the thermostat knob to 6 / 

 for a colder

storage  temperature.

When the appliance is only partially full, it is

advisable  to  set  the  thermostat  to  lower  positions

(towards "E", if indicated on the thermostat scale).

Summary of Contents for OFNAA305

Page 1: ...1 F HA FZ 102 P 1 IX F HA Contents Before using the appliance 2 Product description 3 Installation 4 Freezing Food 5 Food storage 6 Precautions and general recommendations 7 Defrosting the appliance 8...

Page 2: ...to your dealer within 24 hours after delivery of the appliance 2 Wait at least two hours before switching the appliance on in order to ensure the refrigerant circuit is fully efficient 3 Installation...

Page 3: ...t the appliance temperature is not sufficiently low 3 Green LED if provided indicates that the appliance is on 4 Yellow LED if provided indicates that the fast freeze function is active 5 Fast freeze...

Page 4: ...appliance is not yet sufficiently low for food storage The red LED will normally switch off within the first six hours after the appliance is switched on After connecting the appliance to the mains su...

Page 5: ...cool before placing in the appliance Freezing fresh food Place foods to be frozen in direct contact with the walls of appliance A foods to be frozen B foods already frozen Avoid placing foods to be f...

Page 6: ...un MONTHS FOOD Food storage When shopping leave frozen food purchases until last and transport the products in a thermally insulated cool bag Once at home place the frozen foods immediately in the app...

Page 7: ...he indicated range If the appliance is left empty for short periods it is preferable not to switch it off Be careful not to damage the floors when you move the appliance e g parquet flooring Do not us...

Page 8: ...the external defrost water drain plug depending on model and reposition it as shown in the figure Place a bowl beneath the drainage channel to collect the residual water If available use the divider S...

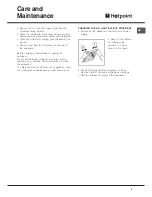
Page 9: ...plug the appliance Do not use abrasive products scourers or stain removers e g acetone trichloroethylene to clean the appliance To obtain the best results from your appliance carry out cleaning and ma...

Page 10: ...Note Gurgling noises from the refrigerating circuit after the compressor cuts out are perfectly normal Is there a power failure Is the plug properly inserted in the socket Is the electric cable intact...

Page 11: ...ended even for a few days since it is potentiallydangerous for children For more detailed information about treatment recovery and recycling of this product please contact your local city office your...

Page 12: ...7 Republic of Ireand 0818 313 413 www hotpointservice co uk Appliance registration We want to give you additionl benefits of ownership To activate your free 5 year parts guarantee you must register yo...

Reviews: