


Initial Start Up
Page 8
Continued...
Skip
On the next screen you can select the time format as
12 hour AM / PM or 24 Hour clock. Use the up and
down keys to select and press “
OK
” to set.
Back
Once the time format has been selected you can then
proceed to set the time using the cursor keys, and
press the “
OK
” button to confirm.
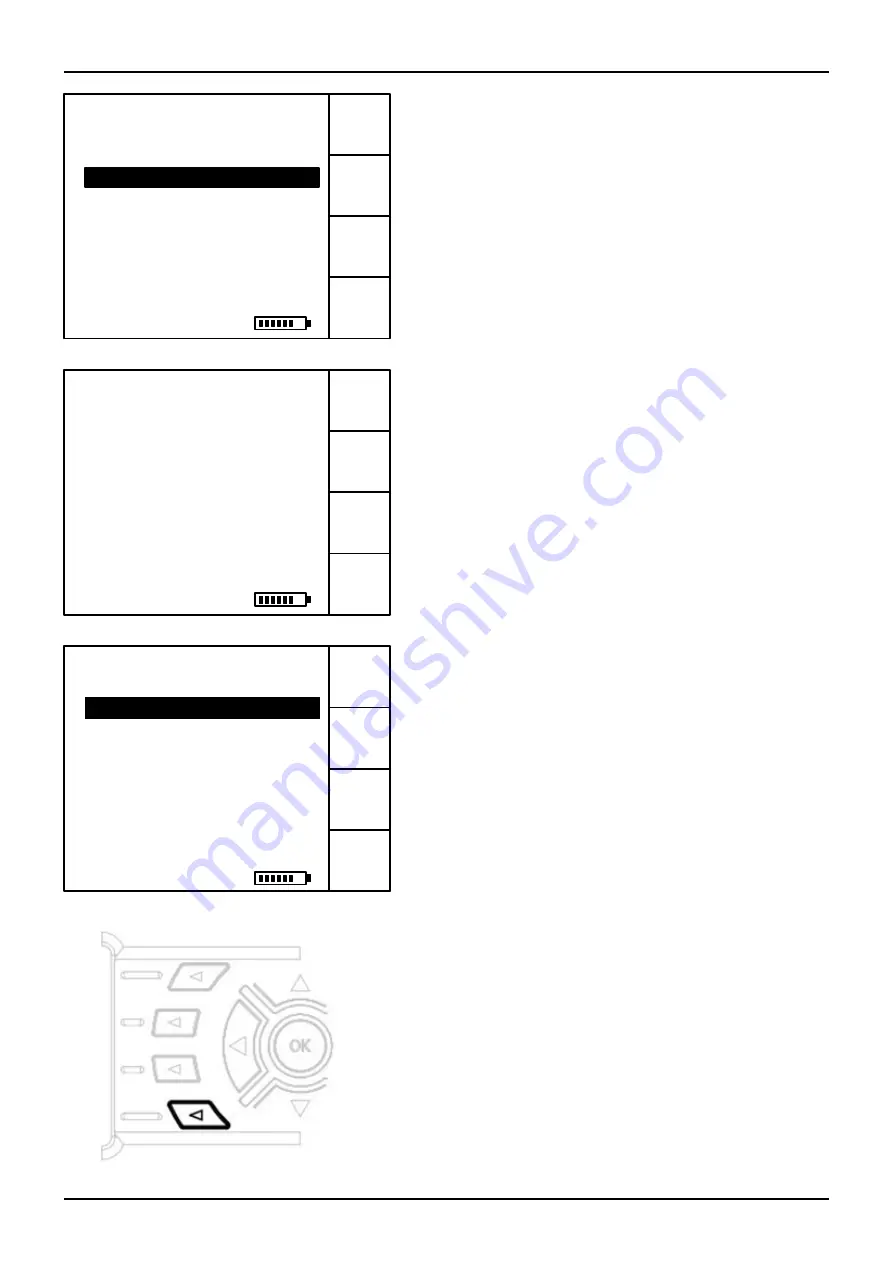
SAT
TER
Setup
Please select operating mode
Use the
▲
or
▼
and OK to select
or use the function keys on the right.
Terrestrial
(DVB-T)
SD Card Options
Setup
01/10/2010 11:50 AM
Now that the date and time has been set you can choose
to set this as the current date and time by pressing the “
OK
”
button (this will also start the clock from the moment “
OK
”
is pressed). Alternatively you can use the “
Back
” soft key
to make any changes required. Once the clock is set you
will not need to do this operation again unless you which
to change the date and time by using the Setup menu.
Once the clock is set you are then presented with the
operating mode option screen where you can choose from
Satellite, Terrestrial and Cable (owners of HD-STCM only).
The guide text at the bottom of the screen will inform you of
what options are available and how to access them.
Satellite
(DVB-S/S2)
24 Hour Clock
12 Hour Clock AM/PM
Use
▲
or
▼
to select format for
logging. Press
OK
to set.
Set Date & Time
Please set display format
Current Date & Time Set
01/10/2010 09:15
Press OK to set or Back to
change.
Tip:
From either satellite or terrestrial mode you
can return to the operating mode selection screen
by pressing and holding the bottom soft key.