


EN-4
2. Out of the box
The TestAir 4 is delivered with the following items:
TestAir 4
Medium Pressure Manifold
High Pressure Manifold for 200 bar
High Pressure Manifold for 300 bar
CD-ROM with BA Test Software
Setup Guide
USB Cable
Power Cable
“Air-Klick” – RD40 adaptor
RD40 blank gasket
Support for F1 facepieces tests
Microphone
3. PC Requirements
3.1 Software
The TestAir 4 Software has the following OS
requirements:
Windows XP to Windows 7, 32 or 64 bit.
In order to install the software, the software installer
must log on as system administrator.
3.2 Hardware
Make sure that your computer system meets the
minimum requirements prior to attempting to
install or use TestAir 4 Software. Inadequate
system resources may prevent the software
from operating properly on your system. The
minimum specifications for the computer used
to run TestAir 4 Software vary according to the
operating system used.
Pentium 4 processor 2.0 GHz or higher
512 MB RAM
50 MB hard drive space
USB 2.0 Port
CD-ROM drive (for installation of software)
4. Software
For sofware installation and database setup, please
refer to the PDF
file, “Setup Guide Posi3 USB”
paragraph 4, attached to the TestAir 4.
5. Hardware Setup
5.1 Connect the TestAir 4 to the PC
The TestAir 4 is connected to the PC via USB cable.
Once the software is installed and the TestAir 4 is
assembled, use the USB cable to attach the TestAir 4
to the PC.
5.2 Turn on the power
To turn the TestAir 4 on, simply plug the power cord of
the TestAir 4 into a grounded outlet and flip the rocker
switch located on the rear panel of the TestAir 4
chassis.
Note: HRSP
recommends that the TestAir 4 be
plugged into a surge protector. Failure to use a
surge protector may lead to sporadic loss of
communication between the TestAir 4 and the PC.
Do not attach the pressure-reducing manifold, or
mount an SCBA facepiece on the test head prior
to turning the TestAir 4 on. Doing so prior to
completion of the electronic self test and startup
sequence may result in damage to the TestAir 4
and/or incorrect test data.
The USB Drivers
must
be installed prior to launching
the TestAir 4 software. The USB driver installation is
covered in section 4.1 above (see step 21) and is also
discussed in the TestAir 4 Installation Help File.
5.3 Install the microphone
The microphone is need to be installed prior to
launching the software.
1. Plug the microphone into the port located on the
TestAir 4
’s left front panel over the medium
pressure inlet.
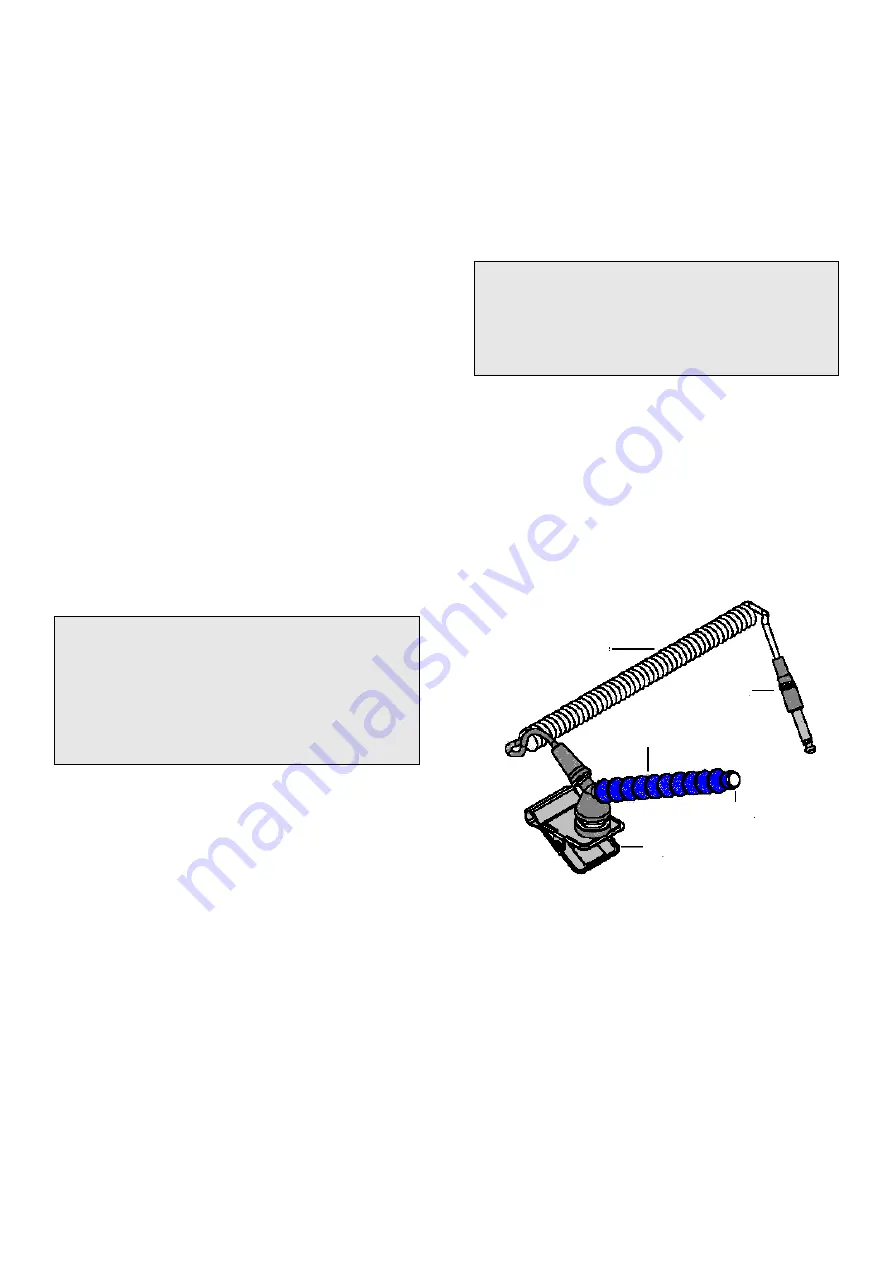
Microphone and Carrier Arm Assembly
2. The software will automatically recognize the
microphone when the TestAir 4 is initialized.
The microphone is only used in the Complete
SCBA Test. For further instructions on using the
microphone, see the TestAir 4 Help File.
Coiled Cable
Jack
Flexible arm
Microphone
Clip


