


Instructions
Unpack Your Control Panel, Desk Mount and Transformer
1) Mount control panel to desk mount using the pre-aligned notches on the back.
2) Place mounted control panel in a convenient location for you and your family.
3) Plug transformer into wall socket and the system will start up.
1
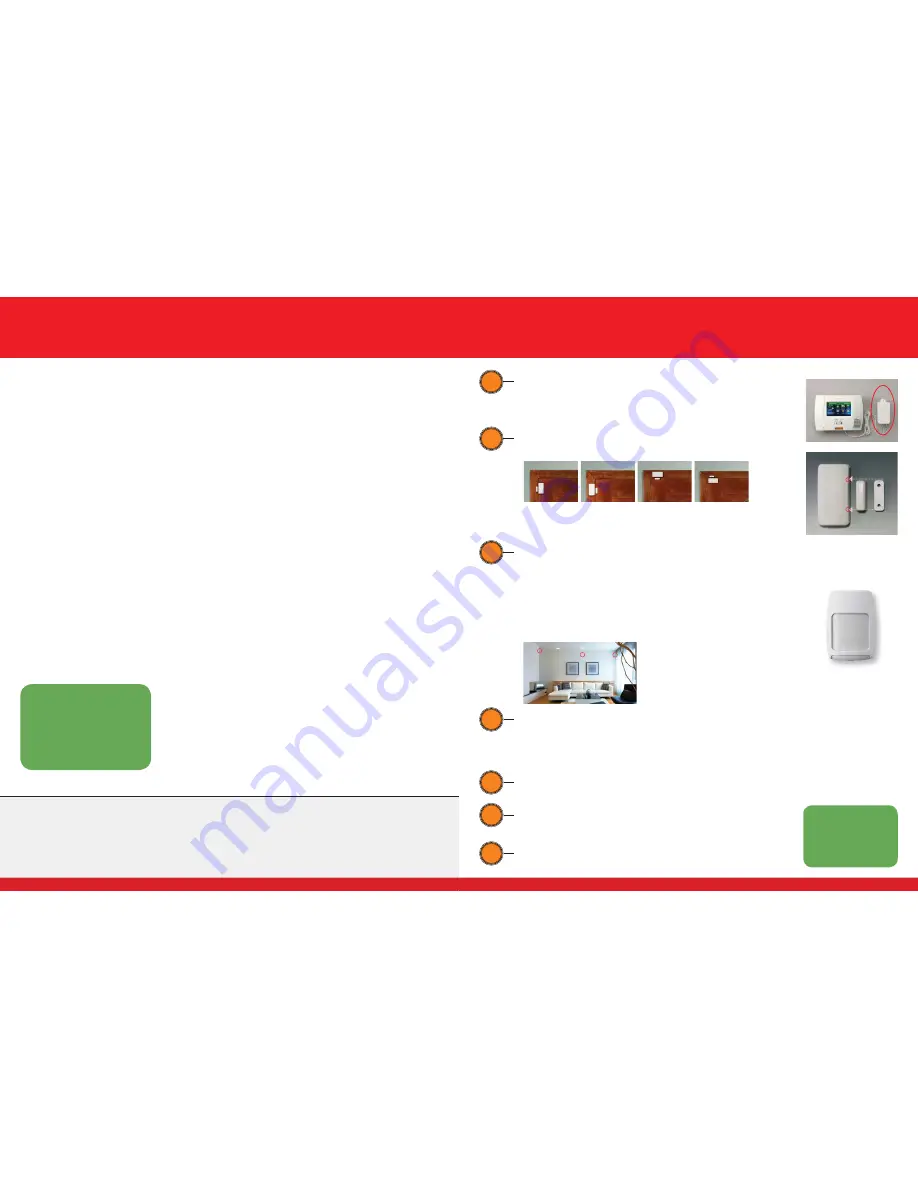
Door/Window Contacts
1) Select transmitter and magnet locations as suggested below:
2) See photo on the right for proper magnet and transmitter alignment.
3) Peel and stick tape is included. Use alcohol swab to prepare surface.
When clean and dry, apply contact with even pressure for 15-20 seconds.
2
Install Additional Purchased Devices
• See insert for smoke and/or carbon monoxide detectors’ suggested
locations from the National Fire Protections Agency.
• Additional purchased devices or accessories will have instructions included
for mounting and/or setup.
4
Set Up User Codes and WiFi on your Lynx 5200 Panel
See page 4 for USER CODES and page 6 for WIFI
5
Set Up Total Connect on your Computer, Smartphone and/or Tablet
See page 8 (Total Connect activates separately. An email with your login
information will be sent within 24-48 hours.)
6
Magnet
Transmitter
Spacer
Locate the two raised indicators on the
side of the transmitter and make sure the
magnet and transmitter are within 1/4" of
each other. Use the included spacer and
screws if needed.
For Help:
800-DIY-4757
(800-349-4757)
www.comtronicsDIY.com
Call COMTRONICS to test your system
800-DIY-4757
Select Option #3 to activate your system.
7
Motion Sensor
1) Peel and stick tape is included. Use an alcohol swab to prepare the surface.
When clean and dry, apply contact with even pressure for 15-20 seconds.
2) Determine a location at least eight inches down from the ceiling, no closer
than seven feet from the fl oor, and mount with the lens facing down.
3) Motion sensor has a 40° view and can detect up to 35 feet away.
4) Do not mount directly near or over a heat source, A/C unit, ceiling fan, or
facing a large window. See below for suggested mounting locations:
3
The Motion Sensor can be mounted in a
corner or fl at wall mount location. Make
sure the sensor is mounted as shown in the
photo above, with the lens facing down.
-
Two-sided tape works well
when all surfaces are clean and dry. Mounting screws are in the bottom of the box if homeowners
want a more permanent attachment.
-
Your system has many capabilities
that may be off or unusable at installation. Please contact Comtronics if you have any
questions on these great features.
-
Your controller has a battery backup
but must remain plugged in to charge and power the device. Do not plug in to a GFI
outlet or ‘switch controlled’ outlet.
-
If you install a sensor in a different area than what was indicated
, please call Comtronics to rename your device location.
-
Contacts and sensors have a range that varies but should work within 100 feet
of the Lynx 5200 panel. Some
construction types, or obstructions, can reduce that distance.
-
Motion sensors are pet resistant but false alarms may still occur.
Call Comtronics if you need help with your sensors.
Suggestions
3
10
In an effort for continual Home Security System
improvement, we welcome your suggestions and
feedback.
For Help:
800-DIY-4757
(800-349-4757)
www.comtronicsDIY.com
NOTE: If you move your DIY Security System to a new residence, you must notify
COMTRONICS at 800-349-4757. Failure to report the new location may
result in fees and/or lack of Police or Fire response.


