81
CLEANING AND FLUSHING
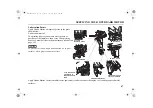
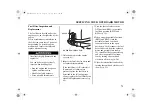
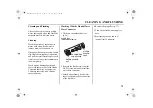
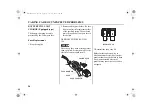
Flushing Without the Honda
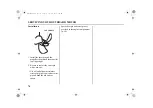
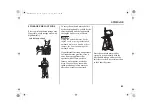
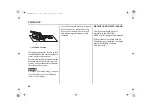
Water Hose Connector
It is necessary to run the engine
during the flushing procedure. For
safety, remove the propeller from the
outboard motor (p. 77).
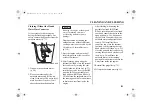
1. Tilt down the outboard motor
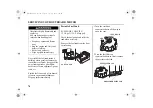
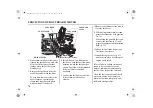
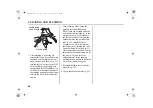
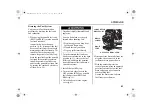
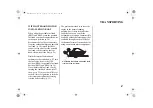
2. Place a container under the
outboard motor, and fill it with
clean, fresh water. The water level
must be at least 2 inches (5 cm)
above the antiventilation plate.
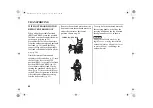
Running the engine without good
water circulation can cause
overheating and water pump
damage.
Damage caused by running the
outboard motor without sufficient
cooling water is not covered by the
Distributor’s Limited Warranty
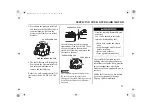
3. Start the engine and run in the N
(neutral) position at low speed for
at least 10 minutes.
4. After flushing, when using the
internal fuel tank, close the internal
fuel tank vent by turning the vent
knob clockwise all the way (p. 21),
turn the fuel valve lever to the OFF
position (BF4A) or portable fuel
tank position (BF5D and BF6A) (p.
19) and leave the outboard motor in
the running position for one minute
to drain the water from inside the
engine.
After flushing, when using the
portable fuel tank (BF5D and
BF6A), turn the portable fuel tank
vent knob counterclockwise to the
open position (p. 26), disconnect
the fuel hose connectors from the
outboard motor and portable fuel
tank (p. 38), install fuel hose
connector cap, close the internal
fuel tank vent by turning the vent
knob clockwise all the way (p. 21),
close the portable fuel tank vent by
turning the vent knob clockwise all
the way (p. 26) and leave the
outboard motor in the running
position for one minute to drain the
water from inside the engine.
5. Reinstall the propeller (p. 78).
6. Tilt up the outboard motor (p. 55).
ANTIVENTILATION PLATE
31ZVC6000.book Page 81 Tuesday, June 28, 2016 1:09 PM

