44 |
| 45
AUDIO AND CONNECTIVITY
VEHICLE CONTROLS
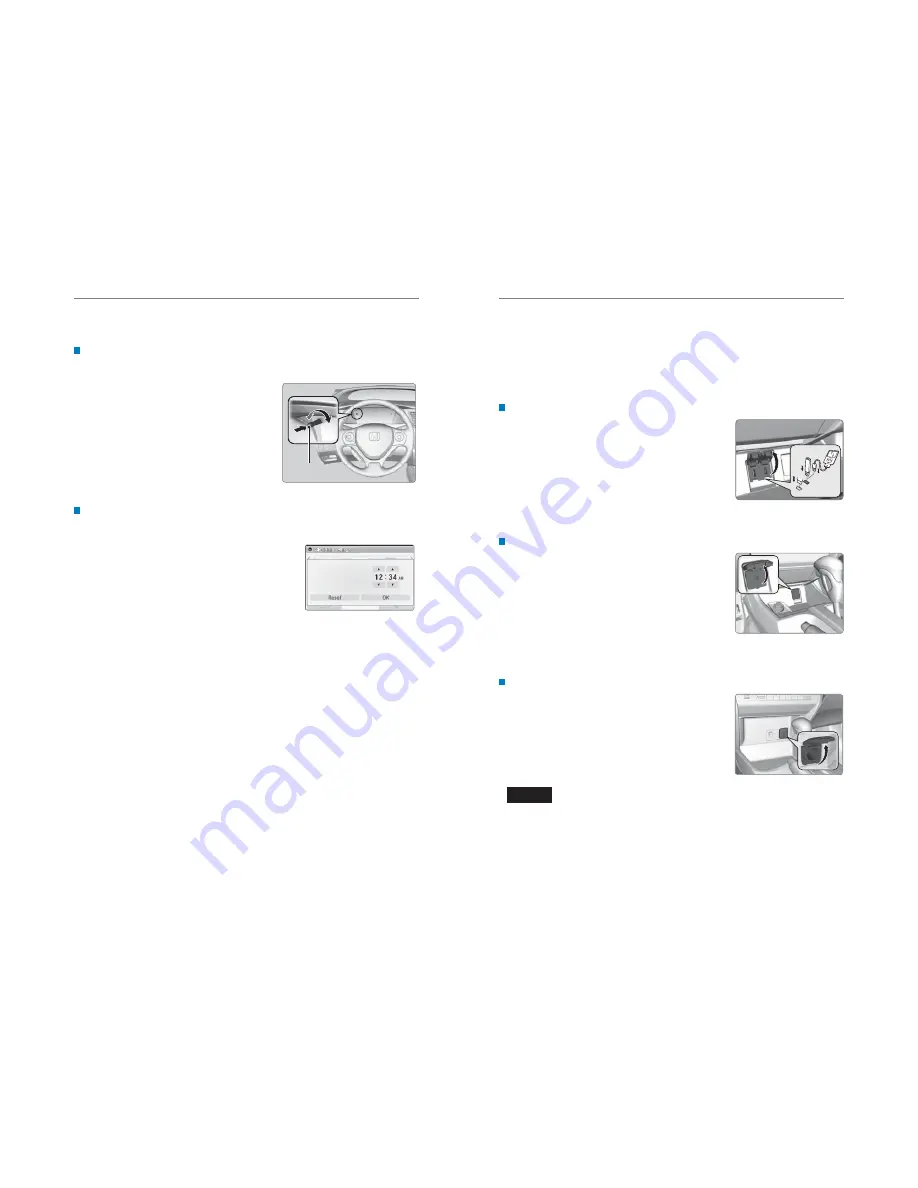
Setting the Clock
Adjust the time using the steps described for your vehicle type.
Using the CLOCK Knob
Use this method for vehicles with one display.
1. Press the CLOCK knob to enter the clock
screen.
2. Turn the knob to adjust the hour value.
Press the knob to set.
3. Turn the knob to adjust the minute value.
Press the knob to set.
Using the Settings Menu
Use this method for vehicles with display audio. Touch items to make selections.
1. Select Settings.
2. Select Clock/Info.
3. Select Clock Adjustment.
4. Adjust the hour and minute values.
5. Select OK when complete.
On vehicles with navigation, the time is automatically set using GPS signals.
Clock knob
AUDIO AND CONNECTIVITY
Learn how to operate the vehicle’s audio system.
Basic Audio Operation
Connect audio devices and operate buttons and displays for the audio system.
USB/ HDMI Port*
1. Open the port cover in the front console.
2. Connect a USB fl ash drive or iPod/iPhone
®
cable
connector to the USB port, or an HDMI cable to the
HDMI port.
An additional USB cable is located in the center
console.
iPod and iPhone are trademarks of Apple, Inc.
Additional cables and accessories sold separately.
Auxiliary Input Jack*
Connect standard audio devices with a 1/8-inch
(3.5 mm) stereo miniplug.
1. Open the AUX cover in the front console.
2. Insert the miniplug attached to the audio device
into the jack. The audio system switches to
AUX mode. Use the device to control the audio.
State or local laws may prohibit the operation of
handheld electronic devices while operating a vehicle.
Accessory Power Socket
Open the socket cover in the front console to use
power when the vehicle is on.
Do not insert an automotive type cigarette lighter element. This can overheat the
power socket.
NOTICE
*if equipped


