5
G
B
PREPARING THE PRODUCT FOR USE
0
1. Place the mains powered base unit on a flat and stable work surface and plug
into the mains power supply. The LED will illuminate green to indicate that
power is on.
0
2. Take the wax cartridge and remove the protective seal. Take the lid off the
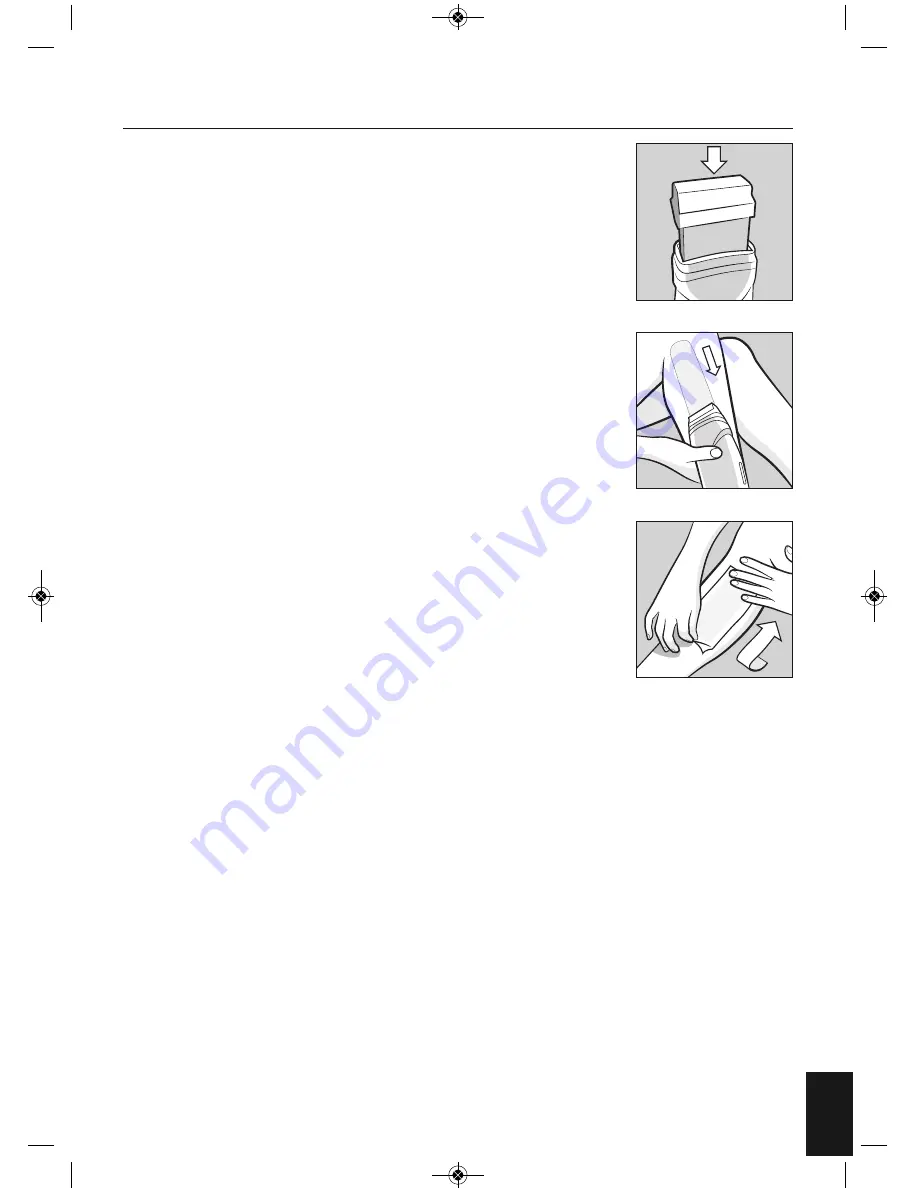
handset and insert the cartridge. (Fig. 1)
0
3. Insert the handset into the base unit. The LED will turn red and flash to
indicate that the unit is heating up. NOTE Do not attempt to remove the wax
cartridge once it has started heating up. Do not insert the handset onto the
base unit without the wax cartridge installed.
0
4. Wait for 20-30 minutes for the wax to heat to the appropriate temperature.
Once the correct temperature is reached the LED will stop flashing and
illuminate red. The wax is now ready to use.
0
5. Remove the handset from the base unit (the LED on the base unit will then
turn green)
0
6. Before applying to the skin, first test the wax applicator on a piece of paper to
achieve an even flow of wax over the roller head and check the temperature
of the wax. If it feels too hot, allow to cool for a few minutes before applying
to the skin.
0
7. Hold the handset at 45 degrees next to the treatment area. Begin rolling the
wax over the skin following the direction of hair growth. Ensure the area
covered is no longer or wider than the size of the wax strip. Place the handset
back in the base unit inbetween applications to help maintain the wax
temperature. (Fig. 2)
0
8. Immediately after, fold over approx. 5mm along the short edge of the wax
strip. Firmly apply the wax strip over the applied wax with the folded edge
facing up. Wait for approximately 20 seconds before removing the strip.
0
9. Hold the skin taught and grip the folded edge of the strip. Remove with one
quick movement following the opposite direction to hair growth (from ankle
to knee for legs). Try to keep the strip close to the skin and parallel. Lifting the
strip up will cause more pain and be less effective as the hairs will break
without removing the root. The faster you remove the strip the more effective
it will be. (Fig. 3)
10. Apply firm pressure with the palm of the hand to the area and apply a cold compress to sooth if required.
11. Repeat steps 7-10 until the treatment area is hair and wax free. The strip can be used until fully loaded
with wax. When this occurs, discard and start a new piece. Any sticky residue left can be removed using
baby oil (not included). Do not re-apply wax to treated area within 24 hours.
12. After use, replace the handset in the base unit, cover the applicator with the lid and switch off at the
mains.
13. After use the refill wax cartridge will be hot – allow it to cool down before removing the refill from the
device. If necessary, you can clean the roller head using the back of a used strip. Never use water or any
other liquids to clean the device or roller head.
14. If desired, a small amount of cling-film or foil can be used to cover the roller applicator between uses.
NOTE:
It is not recommended that the product or wax cartridges are used by more than one person for
hygiene reasons.
15. Always store the wax upright, away from a heat source. Keep away from a naked flame.
Fig. 1
Fig. 2
Fig. 3
IB-ELM-HWX100GB-0214-01_Layout 1 28/02/2014 15:26 Page 5


