English
- 47 -
See the section, “First Time Installation” at the
beginning of instruction book for more information
on the process.
Clear Service List (*)
(*) This setting is visible only when the Country option
is set to Denmark, Sweden, Norway or Finland.
Use this setting to clear channels stored. Press “ ” or
“ ” button to select Clear Service List and then press
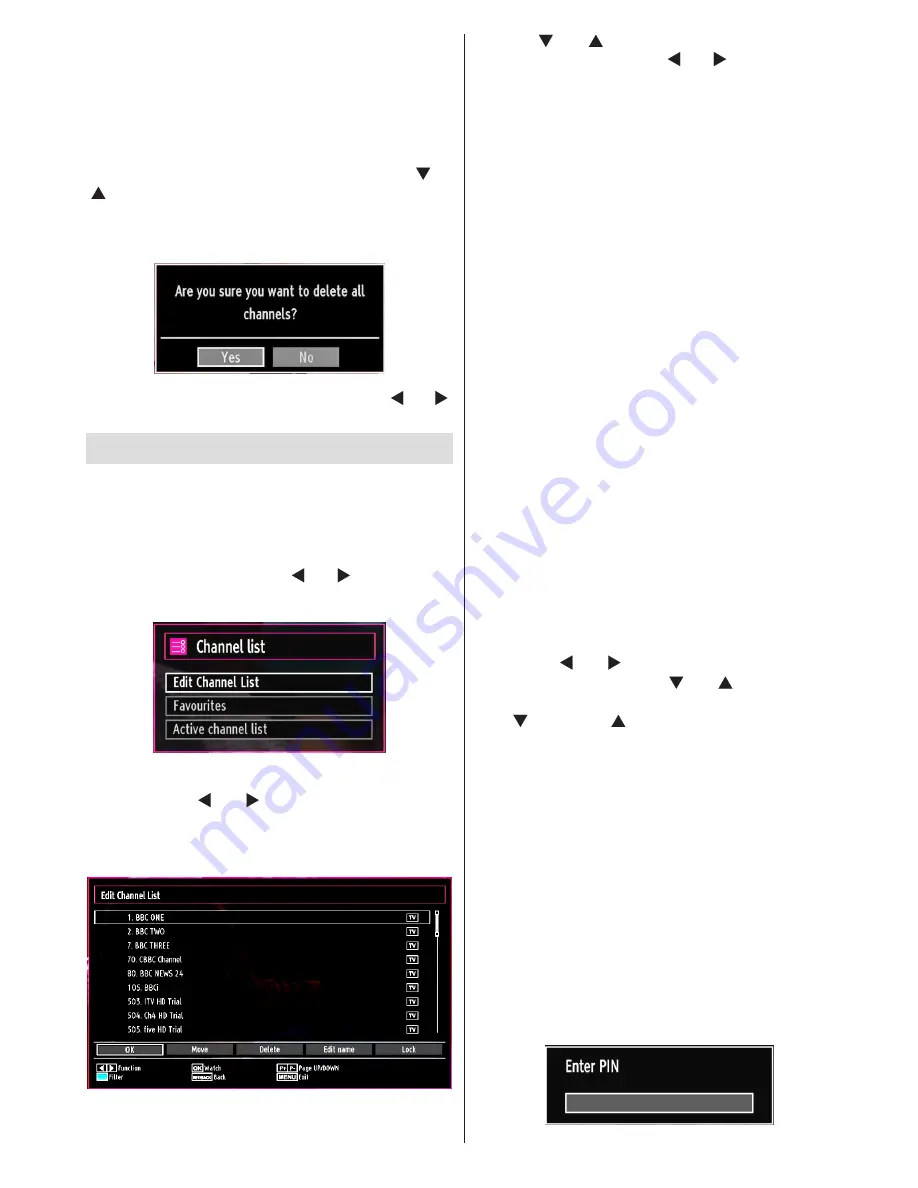
OK. The following OSD message will be displayed
on the screen:
Press OK to cancel. Select Yes by pressing “
” or “ ”
button and press OK to delete all of the channels.
Managing Stations: Channel List
The TV sorts all stored stations in the Channel List.
You can edit this channel list, set favourites or set
active stations to be listed by using the Channel List
options.
Press
•
“MENU”
button to view main menu. Select
Channel List item by using “ ” or “ ” button. Press
OK
to view menu contents.
Select
Edit Channel List
to manage all stored
channels. Use “ ” or “ ” and
OK
buttons to select
Edit Channel List.
Operating the Channel List
Press “
•
” or “ ” button to select the channel that
will be processed. Press “ ” or “ ” button to select
a function on Channel List menu.
Use
•
P+/P-
buttons to move page up or down.
Press
•
BLUE
button to view filtering options.
Press
•
“MENU”
button to exit.
Moving a Channel
First select the desired channel. Select Move option
•
in the channel list and press
OK
button.
Edit Number screen will be displayed. Enter the
•
desired channel number by using the numeric
buttons on the remote control. If there is a previously
stored channel on that number, a warning screen
will be displayed. Select Yes if you want to move the
channel and press
OK
.
Press
•
OK
button to process. Selected channel is
now moved.
Deleting a Channel
You can press
GREEN
button to tag/untag all
channels;
YELLOW
button to tag/untag channel.
Select the channel that you want to delete and select
•
Delete
option. Press
OK
button to continue.
A warning screen will appear. Select
•
YES
to delete,
select
No
to cancel. Press
OK
button to continue.
Renaming a Channel
Select the channel that you want to rename and
•
select
Edit Name
option. Press
OK
button to
continue.
Pressing “
•
” or “ ” button moves to the previous/
next character. Pressing “ ” or “ ” button toggles
the current character, i.e., ‘b’ character becomes ‘a’
by “
” and ‘c’ by “
”. Pressing the numeric buttons
‘0...9’ replaces the highlighted character with the
characters printed above the button one by one as
the button is pressed.
When finished, press
•
OK
button to save. Press
“MENU”
to cancel.
Locking a Channel
You can press
GREEN
button to tag/untag all
channels;
YELLOW
button to tag/untag a single
channel.
Select the channel that you want to lock and select
•
Lock
option. Press
OK
button to continue.
You will be asked to enter parental control PIN that
•
you have previously defined during the first time
installation.
Summary of Contents for H 32 LX 350D
Page 64: ...www vestel france fr ...
Page 65: ...50180192 ...


