•
4
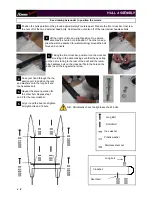
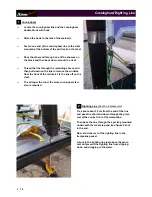
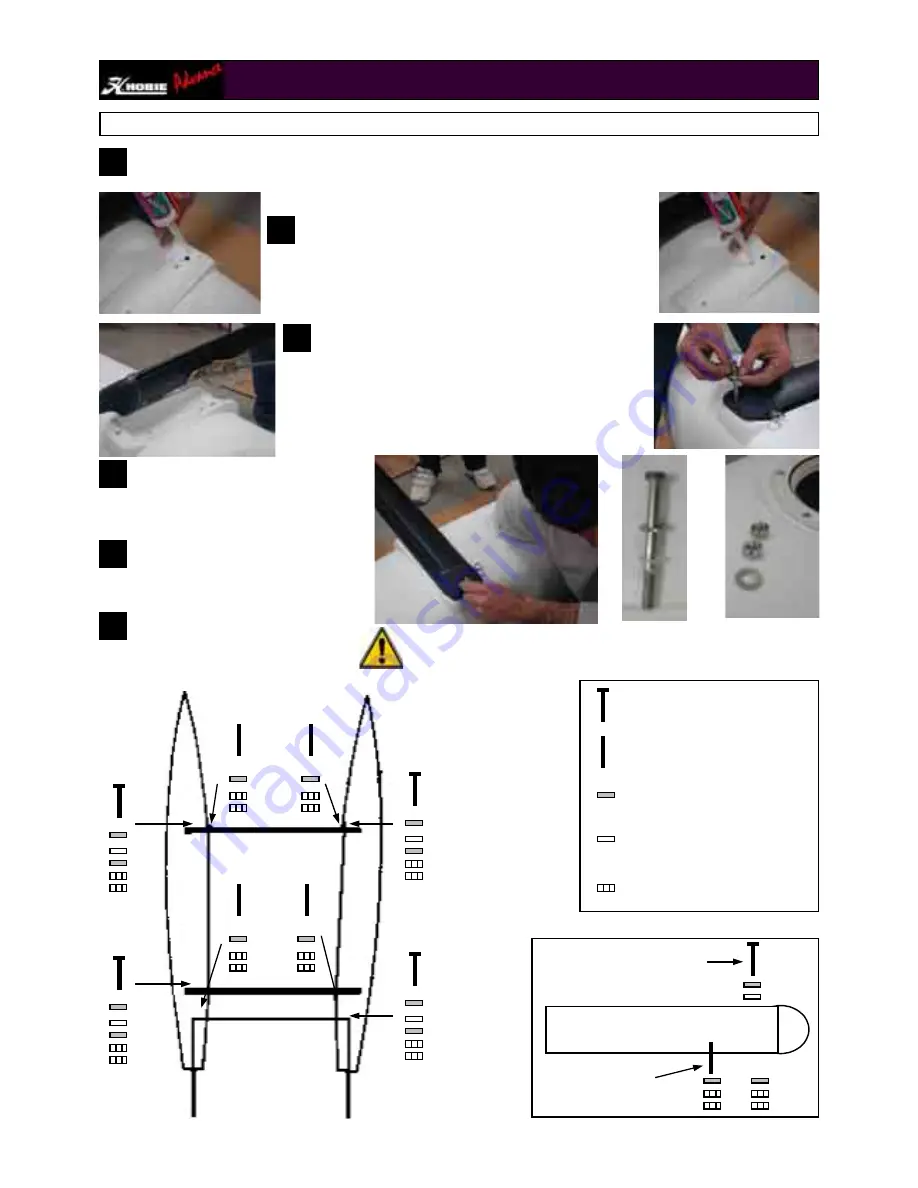
Position the hulls parallel on the ground approximately 2 meters apart. Prepare the front crossbar. Unscrew
the nuts off of the two 2 external head bolts. Unscrew the nuts also off of the two internal headless bolts.
NB : Periodically check the tightness of all 8 bolts.
HULL ASSEMBLY
1
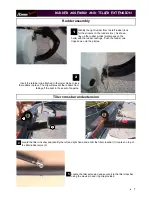
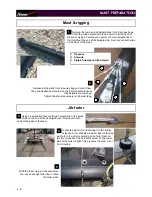
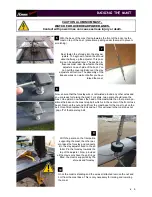
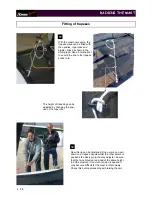
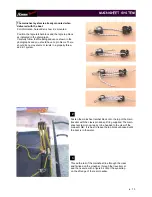
See drawing hereunder to position the screws
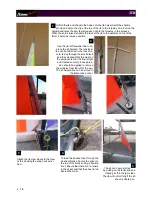
Lift the right hull into an upright position. One person
straddles the hull to hold in position. The other one ap-
plies the silicone sealant (for waterproofing) around the bolt
holes and on rivets.
2
Taking the front crossbar, position it on the crossbar
moulding in the deck making sure that the eye strap
on the bar is facing to the rear of the boat and the remai-
ning headless bolt on the cross bar fits in the hole on the
deck. Insert the long external screw.
3
Pass your hand through the ins-
pection port to position the nuts
and washers onto the long bolt and
the headless bolt.
4
Repeat the same operation for
the other hull. Repeat step 1
and 2 for the rear crossbar.
5
All go round the boat and tighten
all eight bolts and 16 nuts.
6
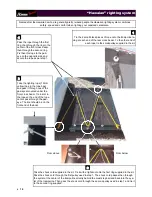
Long Bolt
Short Bolt
Stainless steel nut
Inox washer
Plastic washer
Crossbar/
Long bolt
Short bolt


