2
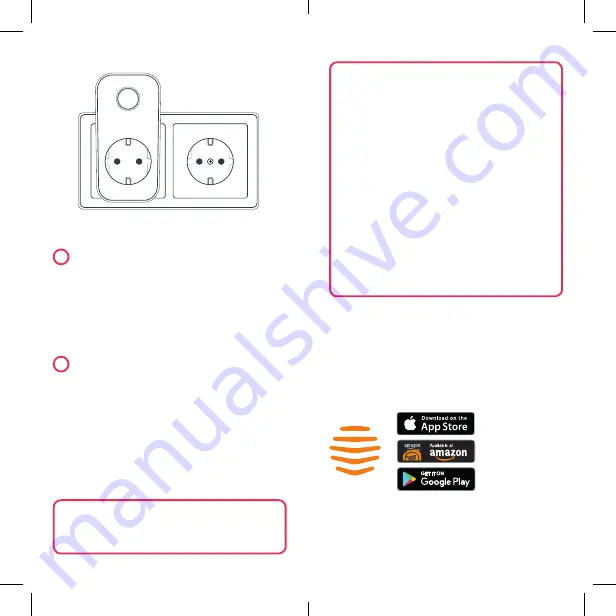
Plug it in and switch the power socket on
Once plugged in the LED light on the front
of your plug will begin to flash amber while
it searches to find your hub.
Once your Hive Active Plug appears on the
screen, you can name it and press
Save to
complete setup.
3
That’s it!
The LED light on your Hive Active Plug will
stop flashing amber once connected.
Now you can plug in the device you’d
like to control remotely.
When your Hive Active Plug is turned on the
LED light will be solid purple.
Remember: To use your Hive Active Plug, leave the
device and the power to the socket switched on,
including the extension cable if you’re using one.
Usage
Your Hive Active Plug is designed for indoor use only.
For your safety
Your Hive Active Plug is not a circuit breaker and does not
contain a fuse, RCD or any other similar device. If you’re
using your Hive Active Plug, whether at home or away, with
appliances like kettles, heaters and hair straighteners, please
remember to follow the safety advice for use of those
appliances. For example, ensure electric heaters are not
covered with clothing or other items.
Earthing
The earth connection from the wiring in your home is passed
through to the earth connection of the front socket on the
Hive Active Plug. It is safe to connect equipment which relies
on an earth connection for safety.
Maintenance
Disconnect your Hive Active Plug before cleaning and keep
it away from water and other liquids at all times. The Hive
Active Plug does not contain any serviceable parts so do not
attempt to open it.
If for any reason you need to return your Hive Active Plug,
simply return your box and its contents to the retailer.
Any return is subject to the retailer’s refund policy so please
don’t forget to check the retailer’s refund policy too.
By using the Hive Hub and other Hive products, you agree
to our terms and conditions, which can be found at
hivehome.com/terms
Download the Hive app:
Can we help?
You can view our handy how-to-use videos along
with hints and tips at
hivehome.com/support
22590_Hive_Active_Plug_V1_UG_65x130_12pp_IT_AW_v4.indd 11-12
12/06/2017 10:44


