Maintaining Your Array
4–5
Hitachi Simple Modular Storage 100 User’s Guide
Installing the Spare Drives
To install the spare drives:
1. Wear an anti-static wristband connected to chassis ground.
2. Remove the new drive from its anti-static bag.
3. If you are replacing the drive due to a failure code you received, verify
that the failure code in the Failed Part List window matches the model of
the disk drive shown on the disk drive label (see
):
• WSx100 = Model AJH146xxx (142.63 Gbyte drive)
• WSx10a = Model AJH300xxx (287.62 Gbyte drive)
•
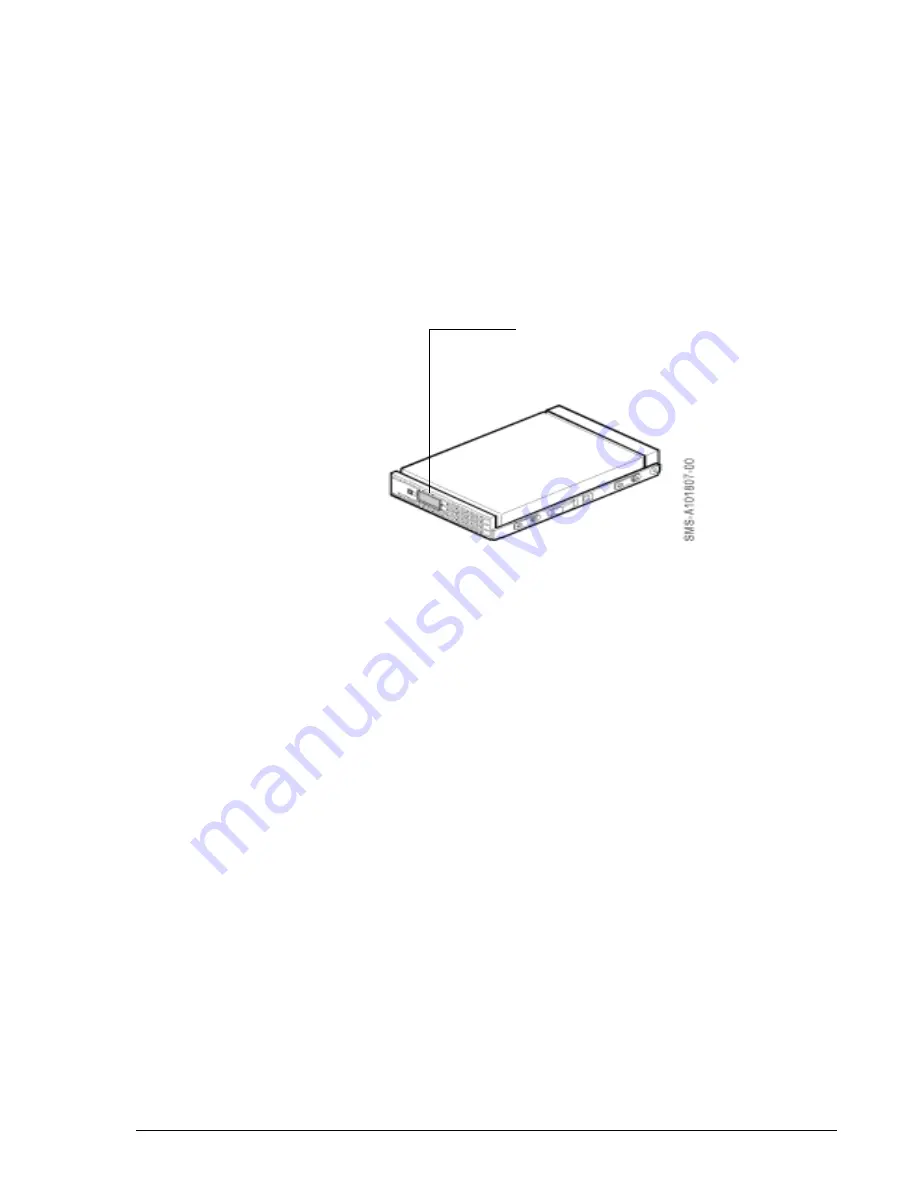
Figure 4-5: Label on Disk Drive
4. With your Hitachi Simple Modular Storage 100 running, remove the front
panel bezel to gain access to the front of your Hitachi Simple Modular
Removing the Front Panel Bezel on page 3-13
5. Locate the drive slot into which you will install the drive. Facing the front
of your Hitachi Simple Modular Storage 100, one slot appears on the left
side of the array and the other slot appears on the right.
6. Loosen the two screws on the selected drive slot.
7. Remove the repair slot cover and remove the “dummy” drive from the
slot.
8. Slide the new drive into the spare drive slot until the locking handle
engages (see
). When the drive is firmly installed,
it begins to spin up automatically.
Disk Drive Label
Summary of Contents for Simple Modular Storage 100
Page 6: ...vi Hitachi Simple Modular Storage 100 User s Guide ...
Page 14: ...xiv Preface Hitachi Simple Modular Storage 100 User s Guide ...
Page 24: ...1 10 Introduction Hitachi Simple Modular Storage 100 User s Guide ...
Page 34: ...2 10 Identifying Hardware Components Hitachi Simple Modular Storage 100 User s Guide ...
Page 66: ...4 10 Maintaining Your Array Hitachi Simple Modular Storage 100 User s Guide ...
Page 78: ...5 12 Troubleshooting Hitachi Simple Modular Storage 100 User s Guide ...
Page 82: ...A 4 Hitachi Simple Modular Storage 100 User s Guide ...
Page 99: ...1 Hitachi Simple Modular Storage 100 User s Guide ...


