-7-
MN1-6013 Rev.4
3. Preparations for Use
following the instructions below.
3-1. Visual check
Visually check the ultrasonic irradiation area, deflection portion, insertion tube, operating head, cable and the
connector.
•
If any holes, indentations, abrasion, cracks, deformation, looseness, discoloration, or other abnormalities are
found, do not use the equipment.
• Try to bend the deflection portion in all directions by operating the left-lever and the right-lever and make sure there
are no protrusions or cracks.
•
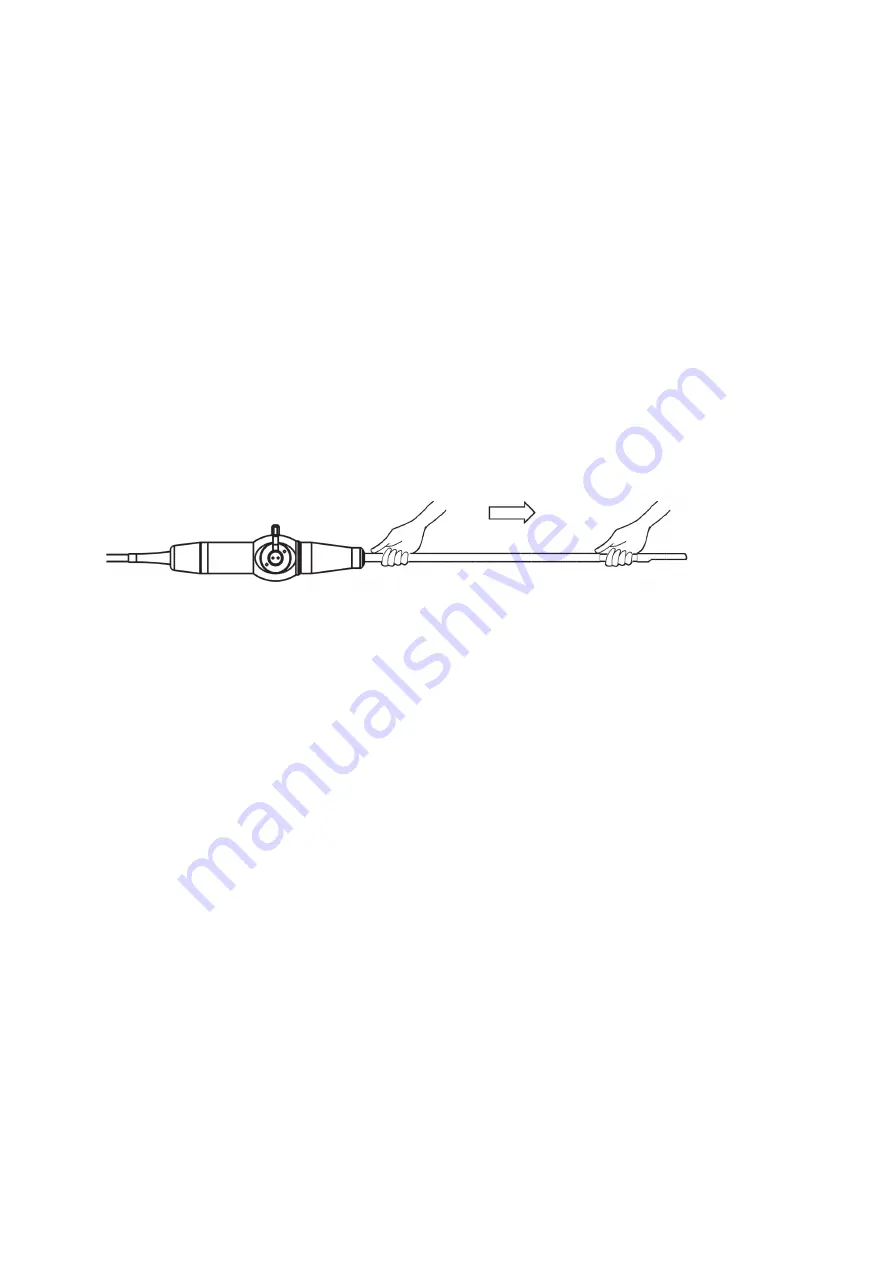
Gently grab the insertion tube to the ultrasonic irradiation area by hand, slide it and make sure there are no catching
or loose parts.
•
Make sure the protect tube has no abnomalities such as scars, cracks or separation.
•
Make sure the surface of the connector and the cable has no abnomalities such as scars, cracks or separation.
3-2. Deflection portion operation check
•
Gently operate left and right lever till it stops and check the following:
*The lever can be smoothly operate without any excessive force
* Make sure there are no irregularities in force to turn the angle knob such as catching.
* Make sure the deflection portion is bent smoothly in all directions.
3-3.
Confirmation of cleaning and sterilization
Confirm that the probe is certainly cleaned and sterilized. The degree of reprocessing depends on the intended use.
Please refer to the separate instruction manual “Cleaning, Disinfection and Sterilization“ for cleaning and sterilization
procedure.
3
-4.Verification of operation
Connect the probe to the ultrasound diagnostic instrument and check that the displayed scan type and frequency
correspond to those of the probe. Check also that there is no abnormality in the image.


