


English
- 13 -
Using Digital Multimedia Connectors
• You can connect USB devices to your TV by using the USB input of the TV. This feature allows
you to display/play JPG and MP3 les stored in a USB stick.
• It is possible that certain types of USB devices (e.g. MP3 Players) may not be compatible with
this TV.
• You may back up your les before making any connections to the TV set in order to avoid any
possible data loss. Note that manufacturer will not be responsible for any le damage or data
loss.
• Do not pull out USB module while playing a le.
CAUTION: Quickly plugging and unplugging USB devices, is a very hazardous operation.
Especially, do not repeatedly quickly plug and unplug the drive. This may cause physical
damage to the USB player and especially the USB device itself .
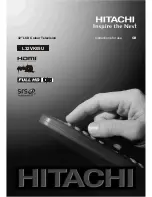
SIDE VIEW USB MEMORY
USB Memory Connection
• Plug your USB device to the USB input of the TV.
Note: USB hard disk drives are not supported.
• It is recommended that you connect your USB device directly to the USB input of the TV. Some
compatibility problems may occur if you use a separate cable connection.
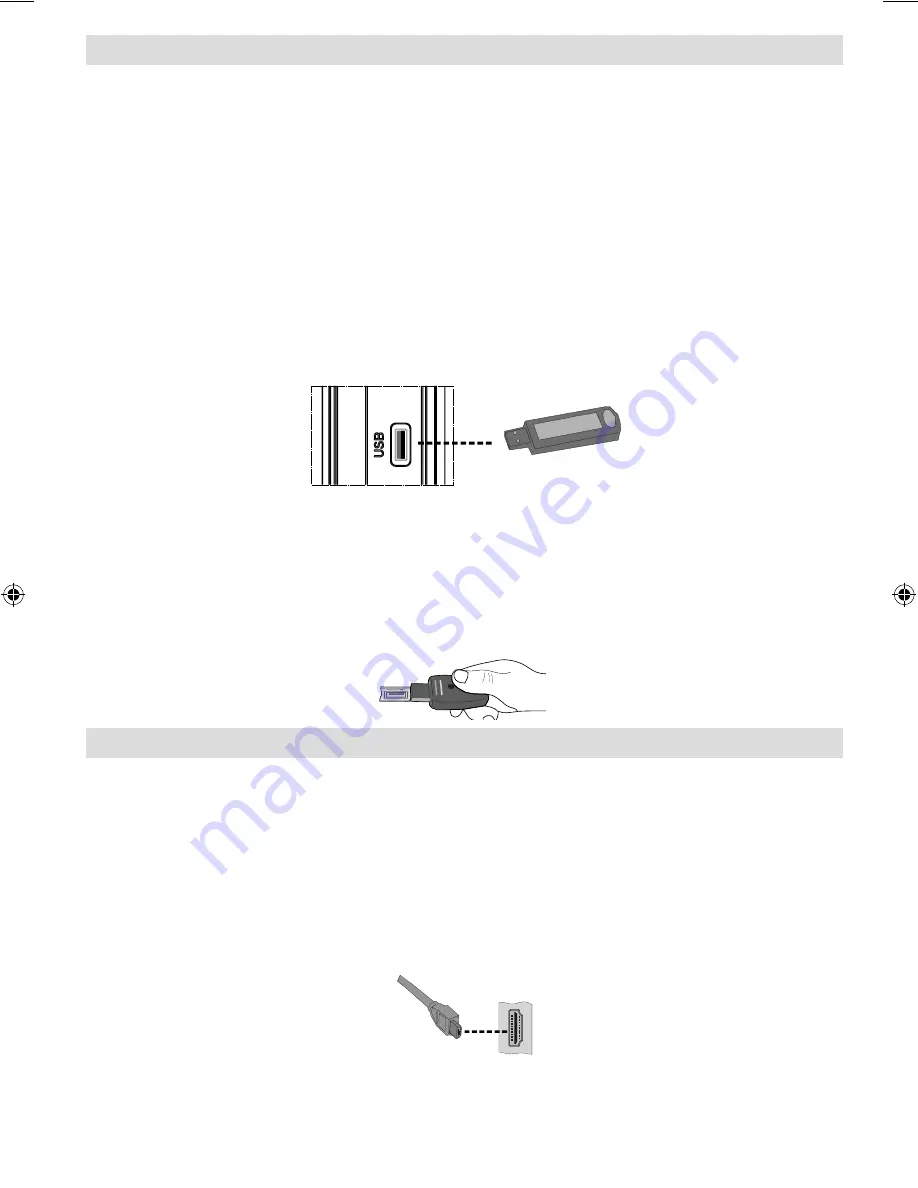
Side HDMI Connection
You can use side HDMI input to connect a device that has an HDMI connector to your TV. Use
an appropriate HDMI cable to make such a connection. Note that you should switch to HDMI-
4 source to view the content from the connected device. Power off both the TV and the device
before making any connections.
• Side HDMI Input supports connections between HDMI devices such as DVD players. You can
use side HDMI input of the TV to connect to an external HDMI device. Use an HDMI cable to
connect.
HDMI DEVICE SIDE VIEW
A00_[GB]_MB35_UKIDTV_SILVER1_32842W_3900UK_10065642_50156636.indd 13
A00_[GB]_MB35_UKIDTV_SILVER1_32842W_3900UK_10065642_50156636.indd 13
13.11.2009 13:41:19
13.11.2009 13:41:19


