23
ENGLISH
NOTE:
Selectable picture format aspect ratios may vary depending on
the input source or broadcast signal.
Picture Size menu also can be displayed by pressing
ASPECT
on the remote control.
•
•
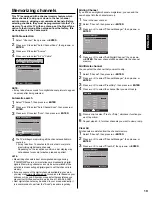
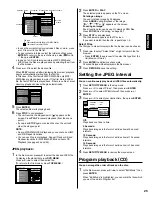
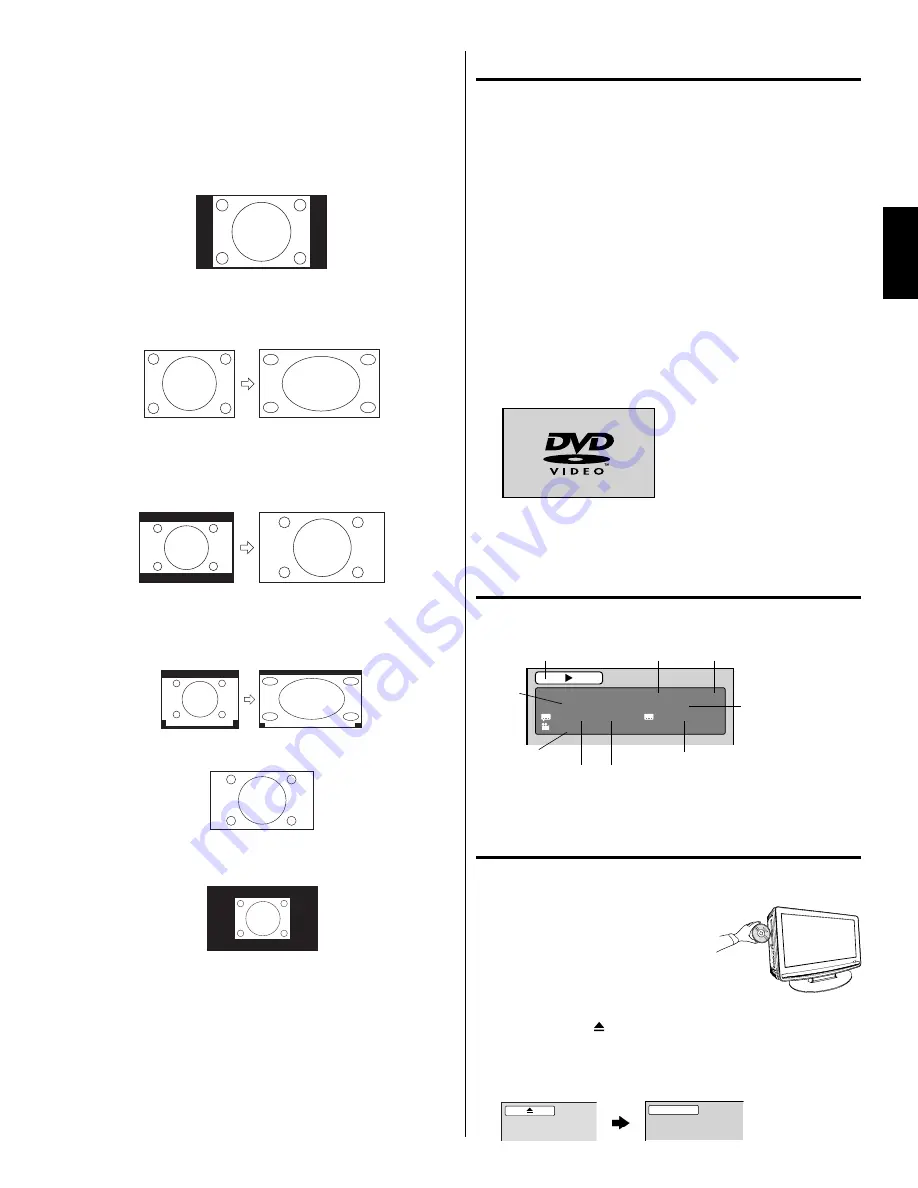
Natural
In some cases, this image will display the size of standard 4:3 with
a black side bar.
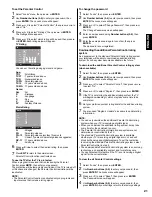
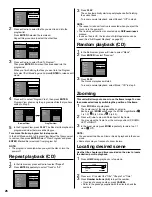
Cinema Wide1 (for 4:3 format programs)
To fill the screen, the right and left edges are extended. However,
the center of the picture remains near its former ratio.
The top and bottom edges of the picture may be hidden.
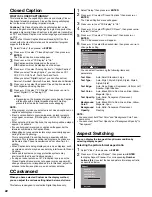
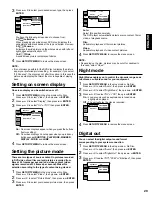
Cinema Wide2 (for letter box programs with subtitles)
To fill the width of the screen, it is extended horizontally. However,
it is only slightly extended at the top and the bottom.
The top and bottom edges of the picture may be hidden.
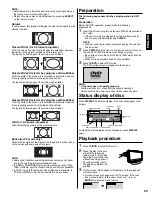
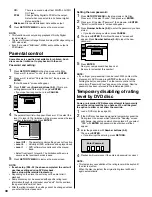
Cinema Wide3 (for letter box programs with subtitles)
To fill the width of the screen, it is extended horizontally. However,
it is only slightly extended at the top and the bottom.
The top and bottom edges of the picture may be hidden.
A B C D E F G - - - - - - - - - - - - - - - -
A B C D E F G - - - - - - - - - - - - - - - - - - - - - - - - - -
Full (for 16:9 source programs)
Full will display the picture at the maximum size.
Native (for PC mode only)
Detects the resolution of the signal of the image and it will be shown
on the screen with same amount of pixels.
NOTE:
Some High Definition and/or Digital broadcasts may not allow
you to change the picture format aspect ratio.
In HDMI or COMPONENT mode with a scanning rate of 720p,
1080i or 1080ip, only the Cinema Wide2 and Full are available.
In PC Mode, only the Natural, Full and Native are available. In
PC Mode (WXGA), only the Full and Native are available.
•
•
•
Preparation
The following pages describe the setup/operation in DVD
mode.
Preparation
Before DVD/CD operation, please make the following
preparations.
1
Insert the AC cord plug into a standard 120V 60Hz polarized
AC outlet.
If the AC cord plug is plugged in for the first time, wait for
about 5 seconds before pressing
POWER
.
NOTE:
When connecting to other equipment, unplug the unit from
the AC outlet.
•
•
2
Press
POWER
on the unit or on the remote control to turn on
the unit. The POWER indicator will change to green.
Each time you turn the unit ON, the TV/DVD starts from the
TV mode.
When using an amplifier, switch on the amplifier.
•
•
3
Press
TV/DVD
to select DVD mode.
The DVD startup screen will appear on the screen.
NOTE:
If the unit does not operate properly:
Static electricity, etc., may affect the player’s operation.
Disconnect the AC power cord once, then connect it again.
Status display of disc
Press
DISPLAY
. The status display of the disc will appear on the
screen.
DVD
00:15:25 01:41:39
Title 1/3
Chapter 2/24
1/1 Eng Dolby Digital
1/2 Eng
1/1
DISC OPERATION
ELAPSED
TIME
TOTAL
TIME
CHAPTER
NO.
SUBTITLE LANGUAGE
A KIND OF AUDIO
AUDIO LANGUAGE
ANGLE NO.
TITLE NO.
To make the status display screen disappear, press
DISPLAY
again.
Playback procedure
1
Press
TV/DVD
to select DVD mode.
2
Place the disc in the disc
slot with the label side
facing forward. (If the disc
has a label.) Hold the disc
without touching either of
its surfaces, align it with
the guides, and place it in
position.
3
On the screen, “ ” changes to “Reading” and then playback
will commence.
A menu screen may appear on the TV screen, if the disc
has a menu feature. In this case, press
▲
,
▼
,
◀
,
▶
or
ENTER
to operate a menu feature.
•
Reading
•
52C1221B_eng.indd 23
52C1221B_eng.indd 23
6/26/09 5:25:13 PM
6/26/09 5:25:13 PM


