10
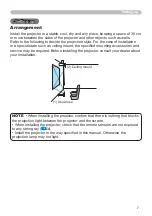
Setting up
(continued on next page)
MONITOR OUT
COMPUTER IN2
COMPUTER IN1
CONTROL
AUDIO
OUT
S-VIDEO
Y C
B
/P
B
C
R
/P
R
VIDEO L R
AUDIO IN3
AUDIO IN
1
2
RGB OUT
AUDIO
OUT
AUDIO
OUT
RS-232C
Y C
B
/P
B
C
R
/P
R
COMPONENT VIDEO OUT
L R
AUDIO OUT
L R
AUDIO OUT
L R
AUDIO OUT
S-VIDEO
OUT
VIDEO
OUT
RGB OUT
AUDIO IN
RGB IN
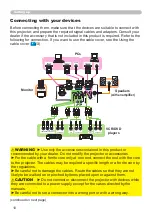
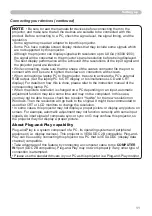
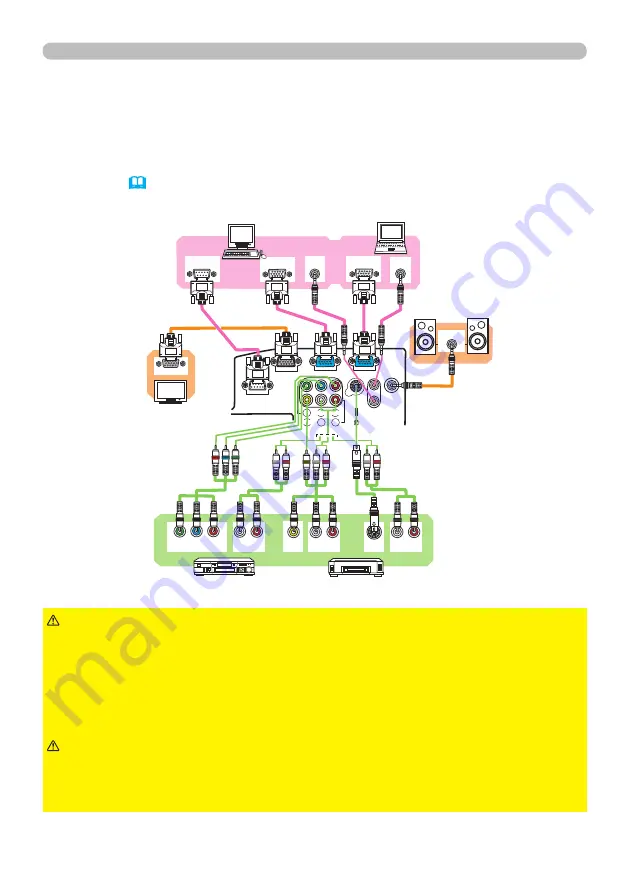
Connecting with your devices
Before connecting them, make sure that the devices are suitable to connect with
this projector, and prepare the required signal cables and adapters. Consult your
dealer if the accessory that is not included in this product is required. Refer to the
following for connection. If you want to use the cable cover, see the Using the
cable cover (
13
).
PCs
Speakers
(with an amplifier)
Monitor
VCR/DVD
players
►Use only the accessories contained in this product or
recommended by your dealer. Do not modify the projector or accessories.
►For the cable with a ferrite core only at one end, connect the end with the core
to the projector. The cables may be required a specific length or a ferrite core by
the regulations.
►Be careful not to damage the cables. Route the cables so that they are not
likely to be walked on or pinched by items placed upon or against them.
WARNING
►Do not connect or disconnect the projector with devices while
they are connected to a power supply, except for the cases directed by the
manuals.
►Be careful not to set a connector into a wrong port or with a wrong way.
CAUTION


