--- 29 ---
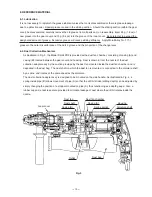
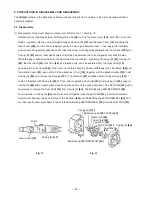
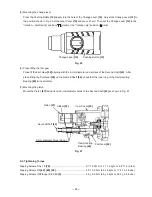
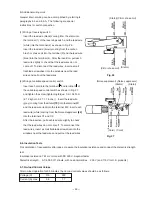
(5) Mounting the change lever
Press the Pushing Button
[12]
deeply into the hole of the Change Lever
[14]
. Adjust the Change Lever
[14]
to
the position shown in Fig. 20 of the Gear Cover
[10]
and press it hard. Then set the Change Lever
[14]
to the
"ro hammering" position ( mark) or the "rotation only" position ( mark).
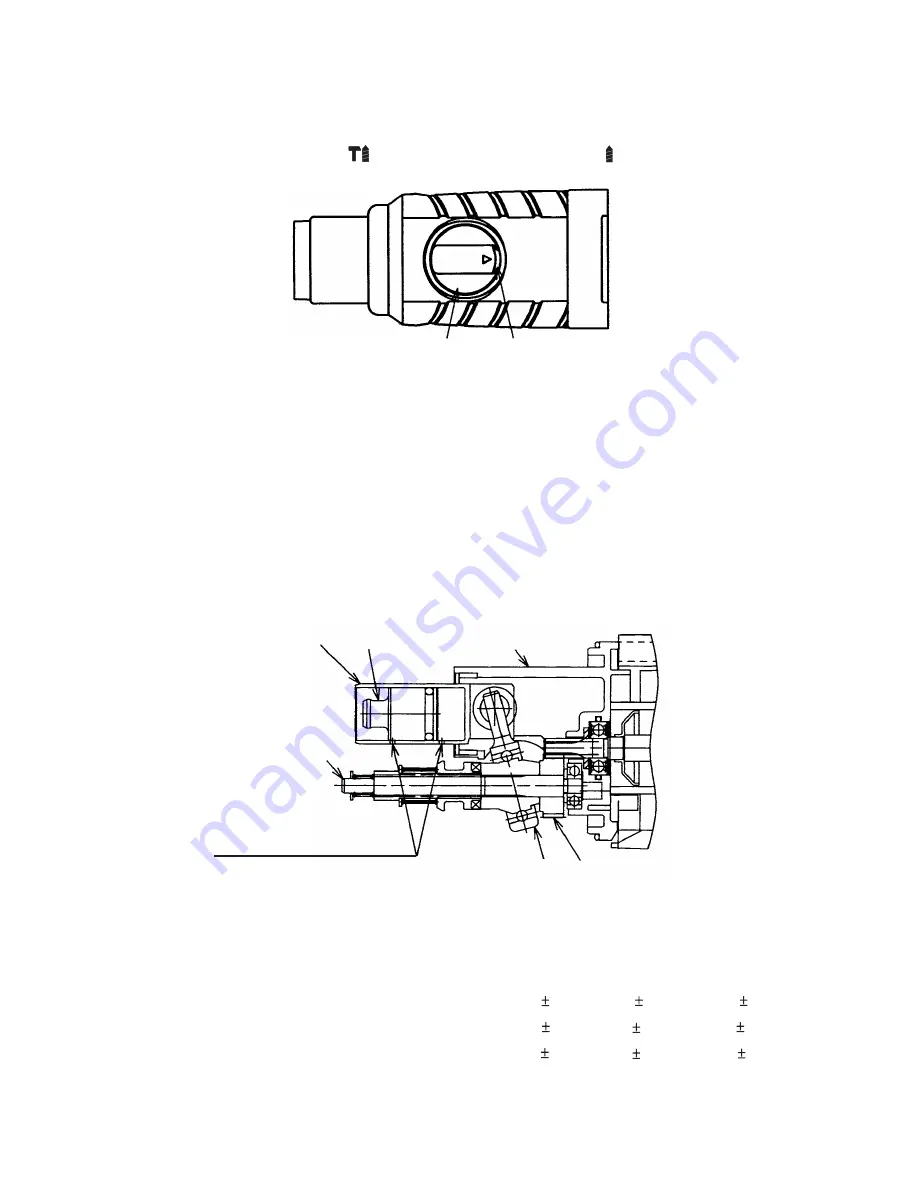
Pushing Button
[12]
Fig. 20
Change Lever
[14]
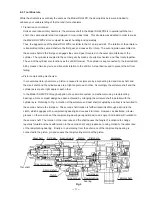
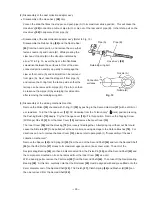
(6) Press-fitting the first gear
Press-fit the First Gear
[49]
aligning with the 9-mm diameter end surface of the Second Shaft
[44]
. After
press-fitting the First Gear
[49]
on the Second Shaft
[44]
, check that the inner ring of the Reciprocating
Bearing
[48]
turns smoothly.
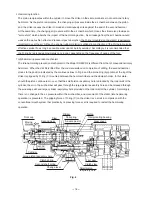
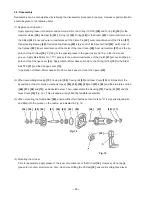
(7) Mounting the piston
Mount the Piston
[37]
facing its two 2-mm diameter holes to the Second Shaft
[44]
as shown in Fig. 21.
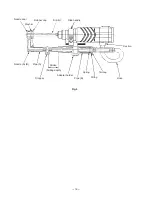
Fig. 21
Second Shaft
[44]
Reciprocating
Bearing
[48]
First Gear
[49]
Piston
[37]
2-mm diameter holes (2 pcs.)
Striker
[35]
Inner Cover
[39]
9-3. Tightening Torque
Tapping Screws D3 x 10
[78]
...................................................... 0.7 0.2 N
•
m (7.5 1.5 kgf
•
cm, 6.5 1.3 in-lbs.)
Tapping Screws D4
[69]
,
[89]
,
[90]
............................................. 2.0 0.5 N
•
m (20 5 kgf
•
cm, 17.4 4.3 in-lbs.)
Tapping Screws (W/Flange) D5 X 90
[9]
..................................... 2.9 0.5 N
•
m (30 5 kgf
•
cm, 26.0 4.3 in-lbs.)
Summary of Contents for DH 24PD2
Page 26: ... 23 Fig 10 Dust collector B structure ...
Page 44: ......

