


-SOUND- FUNCTIONS
42
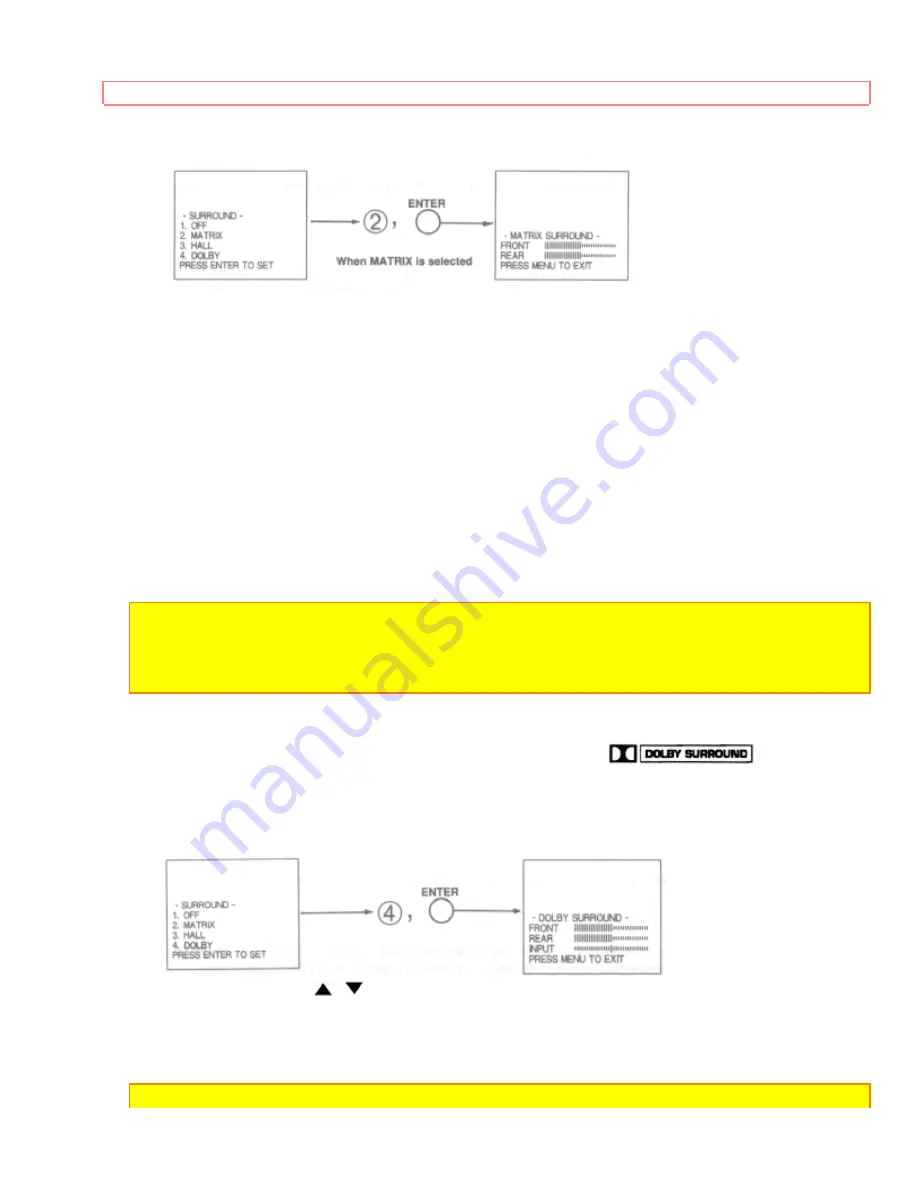
Press MENU, 3, ENTER, 3, ENTER to select SURROUND.
Use the CURSOR buttons to select and adjust the volume front and rear speakers.
Front volume also controls AUDIO to Hi-Fi.
• SURROUND OFF
Use this for normal stereo/mono broadcasts.
• MATRIX SURROUND
Listener is surrounded by many sound sources such as a sporting event, etc.
MATRIX SURROUND expands the sound and gives the felling of being at a stadium.
• HALL SURROUND
Resonant sound - Listener has the feeling of being in a concert hall.
NOTE:
If the sound is noisy when a stereo broadcast is received, and the TV is set to the
SURROUND mode, decrease the "TREBLE" control or turn the "SURROUND" OFF.
Some TV systems do not transmit optimum audio channel separation which can reduce the
effectiveness of the MATRIX SURROUND function.
• DOLBY SURROUND
This is effective when playing a video tape marked with
logo. You
can enjoy the feeling of a movie theater in your home.
*Registered trademark of Dolby Laboratories.
Press MENU, 3, ENTER, 3, ENTER to select SURROUND.
Use the CURSOR
,
to select the Dolby surround function.
Pres ENTER to set.
Press MENU to exit.
NOTE:
Dolby ext. speakers are always on even with int. speaker is switch to on screen


