20
BASIC OPERATION
Power On/Off
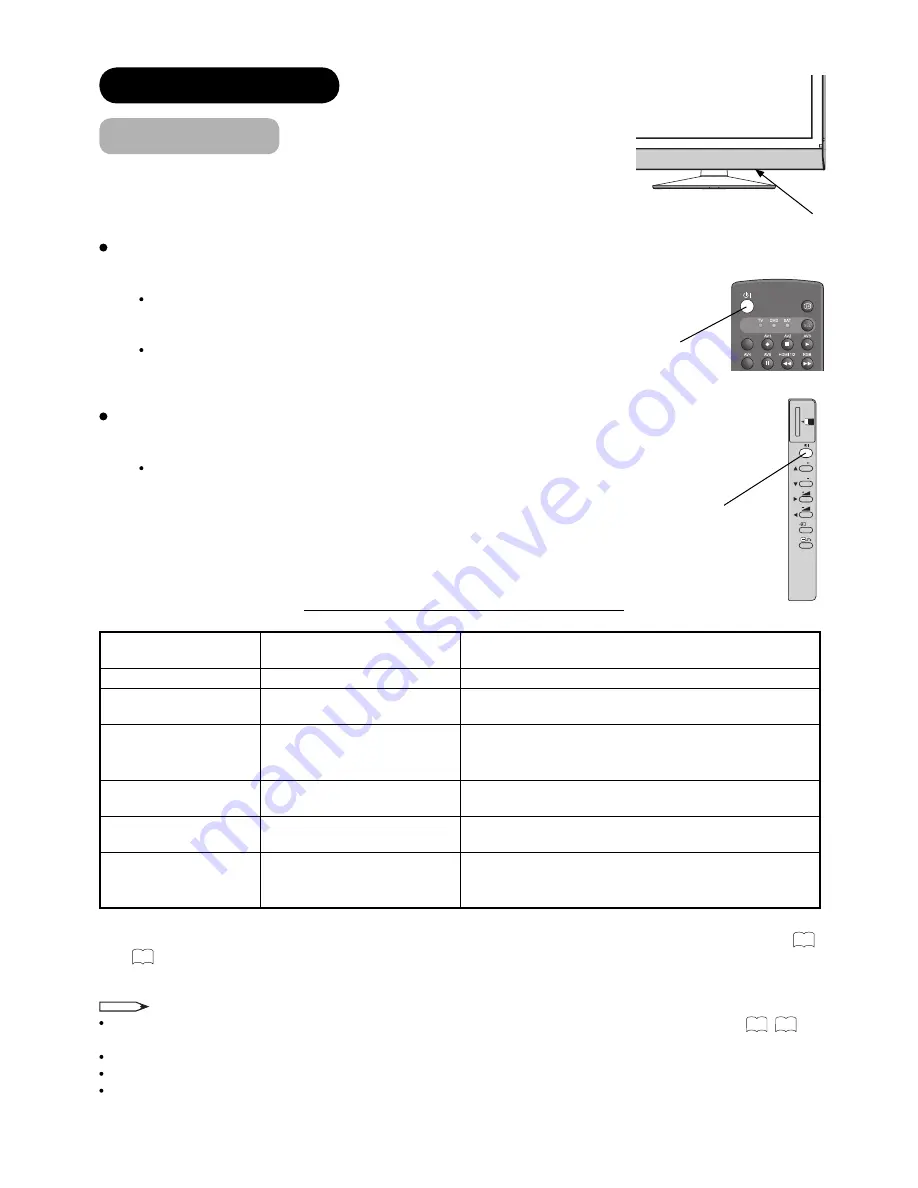
Now, turn On the main power to the unit. Make sure that the Power Cord is
plugged into the wall socket.
To turn On the power of the unit:
1.
Press the
Main Power switch
on the unit.
The Indicating Lamp will illuminates in
Red
(Standby mode).
2.
Press
Sub Power
button either on the control panel or on the remote control.
The colour of the Indicating Lamp turns into
Green
, and the image will
display on the screen.
To turn Off the power of the unit:
1.
Press
Sub Power button
either on the control panel or on the remote control.
The image disappears from the screen and the Indicating Lamp turns into
Red
(Standby mode).
2.
Press
Main Power switch
to completely turn Off the power of the unit.
The Indicating Lamp Status Check
Indicating Lamp
Status
Power Status
Power Switch Status
Off
Off
Main power
→
Off
Red
Standby mode
Main power
→
On
Sub Power button
→
Off
Blinks in Red**
Standby mode
Standby mode as above
whilst upgrading DTT version and operating
Timer Programming on digital channel.
Green
On
Main power
→
On
Sub power button
→
On
Orange
Power Save mode*
Main power
→
On
Sub Power button
→
On
Blinks in Orange**
Power Save mode
Power Save mode as above
whilst upgrading DTT version and operating
Timer Programming on digital channel.
* About Power Save mode, see “Power Save Mode” and “When Following Messages Appear on the Screen” on
68
and
70
for details.
**9700 models only
NOTE
If the image does not appear on the screen at all, or have any problem, see TROUBLESHOOTING on
70
~
72
.
It may help you to solve the problems.
You can turn ON the power only by pressing the
Sub Power
button during the Standby mode.
Do not switch the power On/Off repeatedly in a short period of time. It could cause malfunction.
To avoid sudden surges of electricity when the power comes back on, turn Off the main power of the unit before you
leave if there is a power cut during use of the unit.
Main Power switch (on the bottom surface)
P
P
SD MEMORY
CARD
PUSH-EJECT
OK
PH35814
DTT/TV
Sub Power button
Sub Power button
Summary of Contents for 32LD9600
Page 79: ......


