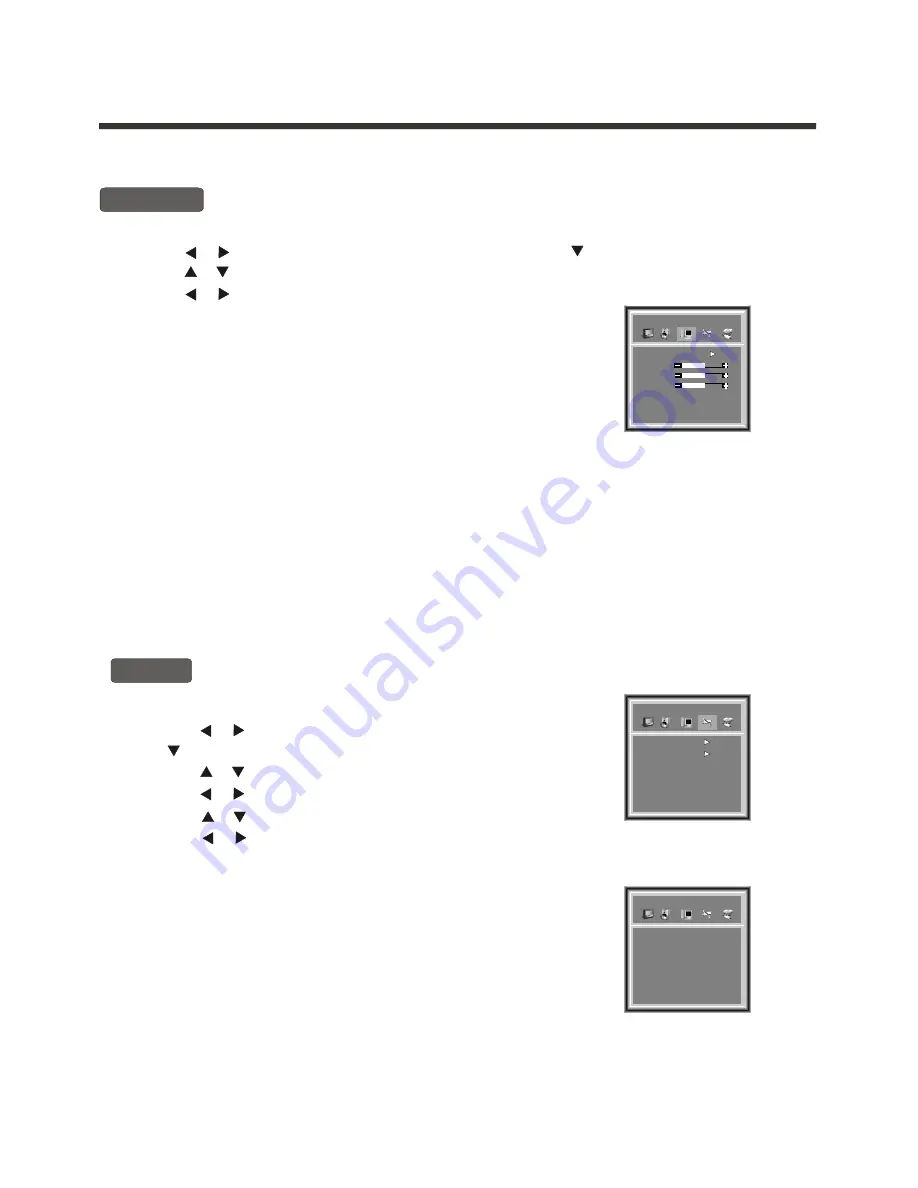
Hisense TL 2020 User Manual Download Page 16

Menu operation

-15-

H Clipping:

 The item allows you to extend or shorten the TV image 

                    in the horizontal direction.

H Position: 

The item allows you to move the TV image in the

                    horizontal direction.

V Position: 

The item allows you to move the TV image in the

                    vertical direction.

Auto Configuration: 

When the image looks abnormal, you can try to choose

                    the 

Auto Configuration

 item to correct the image.

example :

NOTE: The disabled items will disappear. For 

H Clipping will disappear

            unless the valid input signal is VGA or Component.  

Geometry

[     or     ]

1) Press the 

MENU

 button to enter the main menu.

2) Press the                  button to select the item 

Geometry

, and press the             button to enter 

geometry

 menu.

3) Press the                  button to select the item you want to adjust.
4) Press the                  button to change the value.  
5) Press OK button to confirm your selection. Press OK again to exit from the menu.

[     or     ]

[     or     ]

[       ]

Equalier


50

50

50

H Postion

H Clipping

V Postion

Auto configuration

Geometry

Using the General Settings  menu 

Timer

[     or     ]

1) Press the 

MENU

 button to enter the main menu.

4) Press the                  button to enter the 

Timer menu

.

5  

2) Press the                  button to select the item 

General Settings,

 and press

     the            button to enter 

General Settings

 menu.

3) Press the                  button to select 

Timer

.

) Press the                  button to select the item you want to adjust.

6) Press the                  button to change the value
7) Press OK button to confirm your selection. Press OK again to exit from the menu.  

[     or     ]

[     or     ]

[       ]

[     or     ]

[     or     ]

Clock

: This item allows you to set the local time on the TV.

On/Off :

 The item allows the TV automatically to turn on 

              or jump to a preset channel or switch  to standby 
              mode when the preset time is reached.

Time: 

The item allows you to set  the preset  time, turn

           on time, standby time.

Program: 

the item allows you to preset the channel number that the TV will turn to at the preset time.

Equalier

Clock        00:00       

On/Off      Time                 Program      
Off            00:00                   0       

Off            00:00                   PowerOff       

Off            00:00                   0       

Timer

Using the Geometry  menu 

Equalier

Timer

General Settings

Osd language            English       

CC  mode                       Off

Vchip  menu             

MTS                                Off

Reset Menu                   Off

LANGUAGE              ENGLISH

LANGUAGE              ENGLISH

Summary of Contents for TL 2020

Page 1: ...English TL 2020 Part No IES050121 USER MANUAL LCD COLOR TV R...

Page 2: ...heremotecontrolforuse Shortcutkeysoperation Menuoperation UsingthePictureParameters menu UsingtheAudio Setting menu Usingthe Geometry menu UsingtheGeneralSettings menu UsingtheSearch menu Appendix Cle...

Page 3: ...wl kitchensink or laundrytub in awet basement or neara swimming pool and the like 6 CLEAN ONLY WITH DRY CLOTH Unplug the TV from thewall outlet beforecleaning Do notuse liquid cleanersor aerosol clean...

Page 4: ...m shouldnot be locatedin the vicinityof overhead powerlines or otherelectric light orpower circuits or whereit can fallinto such powerlines or circuits When installing anoutside antenna system extreme...

Page 5: ...S VIDEOVIDEO COMPONENT Y P C P C B B R R OK OK 1 1 4 4 2 2 3 3 7 7 5 5 6 6 8 8 9 9 0 0 SOURCE SCAN CCD PARENT LOCK M E N U SAP M U T E P M O D E S MODE R E C A L L VOL CH SLEEP DISPLAY SCAN Scan avai...

Page 6: ...the channelnumber you desire 7 Picture adjustment 1 Press the MENU button to enter the main menu 2 Press the button to select the item Picture Parameters and press the button to enter Picture Paramet...

Page 7: ...videall the connectionsyou will needto connect otherequipment to yourTV Side Controls Connections Note The above figures are for reference only Please refer to the actual connection jacks to determine...

Page 8: ...TV antenna input AV Video input S Video input Y PB CB PR CR input Component PC VGAinput POWER Plug AV audio input R Headphone jack 9 Wall mounting locating hole AC IN PC IN ANT IN L R AUDIO S VIDEOVID...

Page 9: ...nnecting to an Aerial Cable antenna PC NB To VGA RGB line You can use yourTV as a monitor for connecting through the PC IN VGA connection jack your PC or Notebook by Connect the devices as shown below...

Page 10: ...evision to the output of the Converter Descrambler box usually channel 3 or 4 and use the Converter Descrambler box remote control to select channels For Subscribers to Unscrambled Basic Cable with Sc...

Page 11: ...ntrol 10 3 Close the battery cover Note 1 Dispose of your batteries in a designated disposal area Do not throw your batteries into fire 2 Do not mix battery types or combine used batteries with new on...

Page 12: ...ill turn red Press POWER again to turn the LCD TV back on The POWER indicator will turn blue ON OFF Standby Component Component VGA VGA S Video S Video Video Video S Video S Video NOTE The explanation...

Page 13: ...r example to select channel 120 press the button 1 1 will appear on the screen then press the button 2 and the button 0 successively Changing channels Displaying current channel number on screen Press...

Page 14: ...ound with the MTS feature MTS can also transmit a second audio program SAP containing a second language or other audio information Press the SAP button on the remote control to switch among Mono Stere...

Page 15: ...from the menu Audio Settings Audio Settings or or or 14 Adjust audio settings Adjust audio settings Adjust audio settings HeadPhone settings 1 Press the MENU button to enter the main menu 2 Press the...

Page 16: ...ion Auto configuration Geometry Using the General Settings menu Timer or 1 Press the MENU button to enter the main menu 4 Press the button to enter the Timer menu 5 2 Press the button to select the it...

Page 17: ...the password xxxx or Password is a four digit number The preset password is 0000 You must enter a password to access the next three operations 1 Press the button to select Password change and press t...

Page 18: ...e blocked as well For example if you choose to block the MPAArating R the higher ratings NC 17 and X are automatically blocked too Rating Description E Exempt C Children C8 Children eight years and ol...

Page 19: ...tton to enter menu 3 Press the button to select Auto Search 4 Press the button to start auto search Search Auto Search or or or Using the Search menu Equalier Program Tuning Mode Skip Auto search 1 Of...

Page 20: ...s moisture with a clean dry cloth 4 Polish the cabinet with a quality furniture polish to maintain the finish and appearance of the cabinet Caution Never use strong solvents such as thinner benzene or...

Page 21: ...er channel Adjust the picture from the menu The station may have broadcast difficulties Try another channel Use a highly directional outdoor antenna The station may have broadcast difficulties Try ano...

Page 22: ...put VIDEO input VIDEO 1 S VIDEO 1 Y YPbPr YCbCr 1 Y VGA Analog RGB 15pin 1 AUDIO input AV audio 1 10KW 1 0Vrms input 20 inches 26Ibs Width 625mm Height 460mm Depth 300mm Design and specifications are...

Reviews: