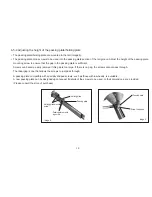

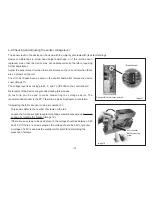


6-3 Replacing the main motor
The driving Cam Assy should be replaced with a new one if it becomes damaged.
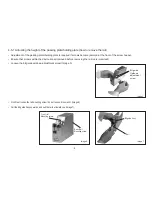
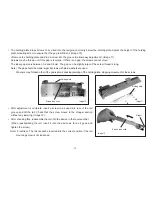
• Remove the rail and the front, center, and left and right covers. Loosen the 2 clips that hold the wiring in place.
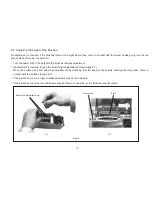
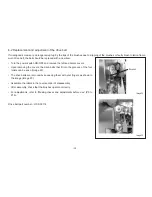
• Remove the motor mounting screws (4 places) on the base of the device, and slide out the motor unit from the left side of the
device (Image 24). Loosen the clips.
Loosen clip
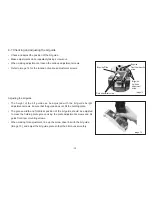
• Install the motor in the reverse order of disassembly.
Note Be careful not to apply too much pressure to the motor wiring that may cause the wiring to break.
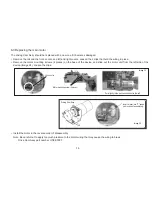
Drive Cam Assy part number HSF-03001
Image 25
Image 24
Pull slightly to the back and slide out to the left.
Motor mounting screw (4 places)
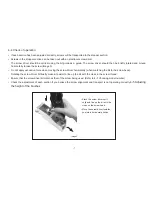
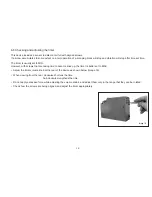
Insert a roller into "C" shape
part in case of assembling.
Driving Cam Assy
- 20 -