4.3.5
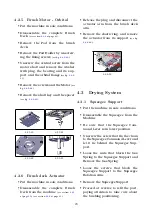
Vacuum Cover
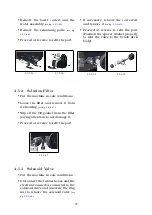
• Put the machine in safe conditions.
• Tilt the recovery tank.
• Unscrew the pivot covering cap
(see fig.
.
• Extract the pin with the help of a pli-
ers
(see fig.
.
• Proceed at reverse to refit the part.
4.3.5-27
4.3.5-28
4.3.6
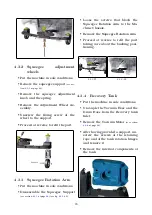
Vacuum Motor
• Put the machine in safe conditions.
• Tilt the Recovery Tank.
• Disconnect the power cables of the
Vacuum Motor.
• Remove the screws and remove the
Vacuum Motor carter and the con-
densate drain pipe
(see fig.
.
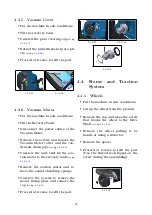
• Unscrew the nuts that fix the suc-
tion motor to the recovery tank
(see fig.
.
• Remove the suction motor and re-
move the sound absorbing sponge.
• Unscrew the screws to remove the
motor fixing plate and remove the
cap
(see fig.
.
• Proceed at reverse to refit the part.
4.3.6-29
4.3.6-30
4.3.6-31
4.4
Frame
and
Traction
System
4.4.1
Wheels
• Put the machine in safe conditions.
• Lift up the wheel from the ground.
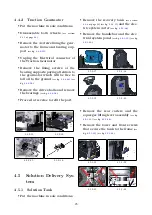
• Remove the cap and loose the screw
that blocks the wheel to the Drive
Shaft
(see fig.
.
• Remove the wheel pulling it by
hands or using a extractor.
• Remove the spacer.
• Proceed at reverse to refit the part
(Use the thread lock liquid on the
screw during the assembling).
4.4.1-32
25
Summary of Contents for TRIDENT T20SC PRO
Page 1: ...SERVICE MANUAL TRIDENT T20SC PRO Version AB Date November 7 2018 Document Number 10077483...
Page 4: ...Part I Product Introduction 4...
Page 8: ...Part II Anomalies Resolution Guide 8...
Page 28: ...Part III Machine Description 28...

