41
Chapter 3 Installation
|
Hillstone
Hillstone SG-6000 X-Series Hardware Reference Guide
Before Installation
Before you begin to install the device, verify the following:
The installation site is prepared according to
The package materials have been removed. See
You have read the specifications in the
Make sure the rack or cabinet is secured to the floor and the site ventilation is
adequate for heat dissipation and maintenance.
Installing SG-6000-X10800
In order to install the device conveniently, you should remove all parts that can be
removed from the chassis and re-install them when the chassis is properly positioned.
When all hardware components are removed, the chassis weighs 69.35kg, and it
requires at least four people to install the appliance.
To install SG-6000-X10800 manually, take the following steps:
1.
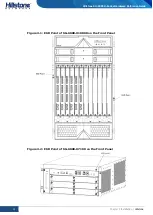
Wear an ESD strap and connect the other end of the strap to the ESD point on
the chassis. See
2.
Make sure the device is not powered and it will not be powered during the
removing process.
3.
Dismantle all the removable components, including power modules, all
expansion modules (SSM, SCM, QSM, IOM and SWM), blank plates and fan trays.
For detailed steps of removing the components, see
4.
Label all the removed parts so that you can reinstall them in the correct location.
5.
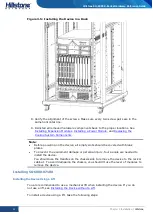
Use the forklift or cart to move the chassis in front of the rack.
6.
With two people standing on each side, lift the chassis onto the tray of the rack
or cabinet.
7.
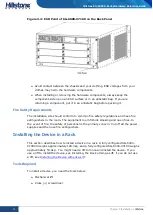
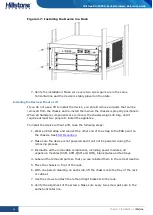
Install a mounting screw into each of the aligned holes as shown in the following
figure. Use a cross screwdriver to tighten the screws.


