3
Basic Operation
Activation
Parameters Configuration
Power on and wire the network cable after installation.
Activating via SADP
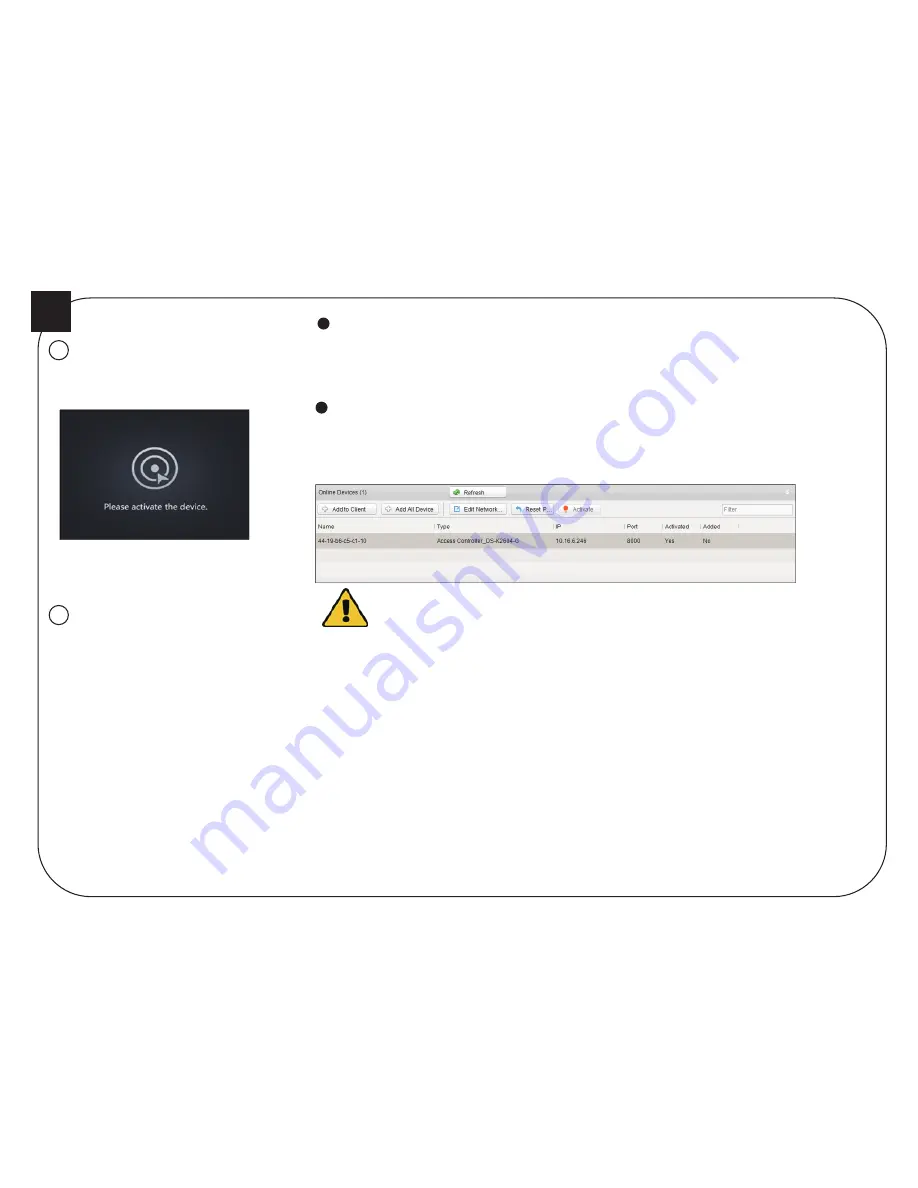
Activating via Client Software
Activation via SADP and activation via the iVMS-4200 Client Software are supported.
You should activate the device before the first login.
After powering on, the interface will be displayed as follows:
The default values of the terminal are as follows:
• The default IP address: 192.0.0.64
• The default port No.: 8000
• The default user name: admin
1
2
1. Download SADP Software
Get the SADP software from the supplied disk or the official website. Install and run the software.
2. Activate Device
Check the inactive device from the device list. Create a password in the right side of the interface and confirm the password.
3. Edit Device IP Address
Check the device and manually edit the device IP address, Port No., Subnet Mask, Gateway, etc.
1. Get the client software from the supplied disk or the official website. Install and run the client software. Click “Switch System -> Access Control System” at the
upper left corner of the interface to enter the Access Control System interface.
2. Click Controller Management to enter the Controller Management interface.
3. Select an inactive device from the device list. Click Activate to pop up the Activation interface. Create a password and confirm the new password. Click OK to start
activate.
4. Click “Edit Network” to configure the device IP address, mask address, gateway address, port No.
Add User:
Edit the ID No. and the user name. Press the OK key to confirm. Enter the card No., register the fingerprint, set the password, select the department, select the user role and select the authentication mode. Save the parame-
ters to confirm adding.
Configure the shift schedule by department or by individual.
Schedule Shift by Department Flow:
Add User (Select department when adding new user.) - Department Management - Shift Management - Add Holiday - Shift Schedule Management (Schedule Shift by Department)
Schedule Shift by Individual Flow:
Add User - Shift Management - Add Holiday - Shift Schedule Management (Schedule Shift by Individual)
Edit Department:
Select the department in the department list and select “Edit”. Edit the department name, the shift type and the shift name. Save the parameters to confirm editing.
Shift Management:
Normal Shift
:
Enter the Normal (Normal Shift) interface under the Shift Management menu. Configure the shift rule and the normal shift. Save the parameters to confirm editing.
Man-Hour Shift: Enter the Man-Hour (Man-Hour Shift) interface under the Shift Management menu. Configure the man-hour parameters and save the parameters.
Add Holiday:
Enter the New
(
Add New Holiday
)
interface under the Holiday menu. Enter the holiday No., the holiday name, the holiday start date and the holiday end date. Save the parameters to confirm configuration.
Shift Schedule Management:
Schedule Shift by Department: Select a department to configure in the By Dept. (Schedule by Department) interface. Configure the shift, the start date, the end date and the holiday. Save the parameters to confirm configuration.
Schedule Shift by Individual: Select New Individual Shift in the By Indiv. (Schedule by Individual) interface. Select a person to schedule in the New Individual Shift interface. Configure the shift, the schedule start date and the end date. Save
the parameters to confirm editing.
STRONG PASSWORD RECOMMENDED–
We highly recommend you create a strong password of your own choosing (using a minimum of 8 characters, including upper case letters, lower
case letters, numbers, and special characters) in order to increase the security of your product. And we recommend you reset your password
regularly, especially in the high security system, resetting the password monthly or weekly can better protect your product.
The device will automatically check the USB disk memory. If there is no enough space for exporting, a prompt will be displayed. You are able to configure the record over threshold prompt and record delete function in the System interface.
Record over Threshold Pop up Prompt (%):
If the attendance record memory reaches the configured value, the system will pop up a prompt to remind you. If configure the threshold to 99%, the system will pop up a prompt to
remind you to delete the attendance data when the capacity reaches the threshold. The available value: 1 to 99.
Record Delete:
When the function is enabled, the terminal will delete the first 3000 attendance records when the memory is full, in order to save the new attendance records. By default, the function is enabled. See Section 5.2
Attendance Record Delete Rule in the User Manual of Fingerprint Time Attendance Terminal.
Attendance Report
Insert the USB disk to the USB interface. In the Report interface, select a table type to export. Press the OK key to export the attendance report to the USB disk.


