Network PTZ Camera
·
Quick Start Guide
33
clockwise into the base plate, and the PTZ camera is secured with
the base plate by three locks on the plate.
Note:
Water-proof treatment is required for cable connectors. Refer to
section 2.9 and 2.10 for details.
6.
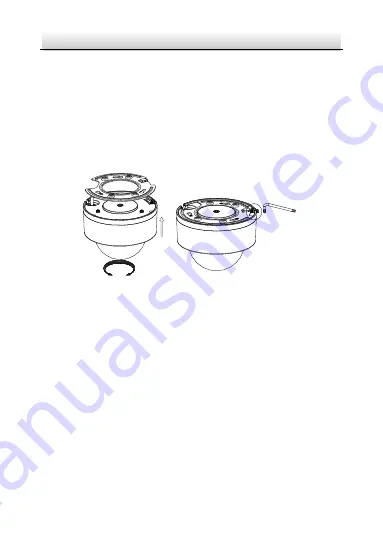
Fix the screws on the side with a screwdriver, as shown in Figure
2-49.
①
OPEN
LOCK
②
③
Figure 2-49
Fix the Camera
7.
Secure the PTZ camera and remove the protective film.
2.5.2
In-ceiling Mounting
Notes:
Reserve at least 250 mm of height for in-ceiling mounting.
The thickness of the ceiling shall range from 5 mm to 40 mm.
Make sure the ceiling is strong enough to withstand more than
four times the weight of the PTZ camera and its accessories.
Steps:


