background image

Chapter 1 Product Introduction

1.1 Overview

The video wall controller is a pure hardware image processing device based on Field Programmable

Gate Array (FPGA), which supports 4K@60 Hz signal input and random rotation and placement of

displays for achieving more creative and eye-catching display effects. Due to its good compatibility,

LCD, DLP, and LED screens can work together to form a larger screen, which applies to various

video wall scenarios such as shopping malls, conference rooms and lecture halls.

1.2 Key Feature

• 1 × HDMI 4K input, 4 × HDMI output

• 4 device cascading, controlling up to 16-display video wall

• Accurate to 0.1° rotation for a single display

• Various display solutions with display mirroring and replication

• Pix SYNC technology for synchronized image

• Bezel compensation technology for continuous image

• Export video wall design drawings for project deployment

• Simple and easy-to-use software

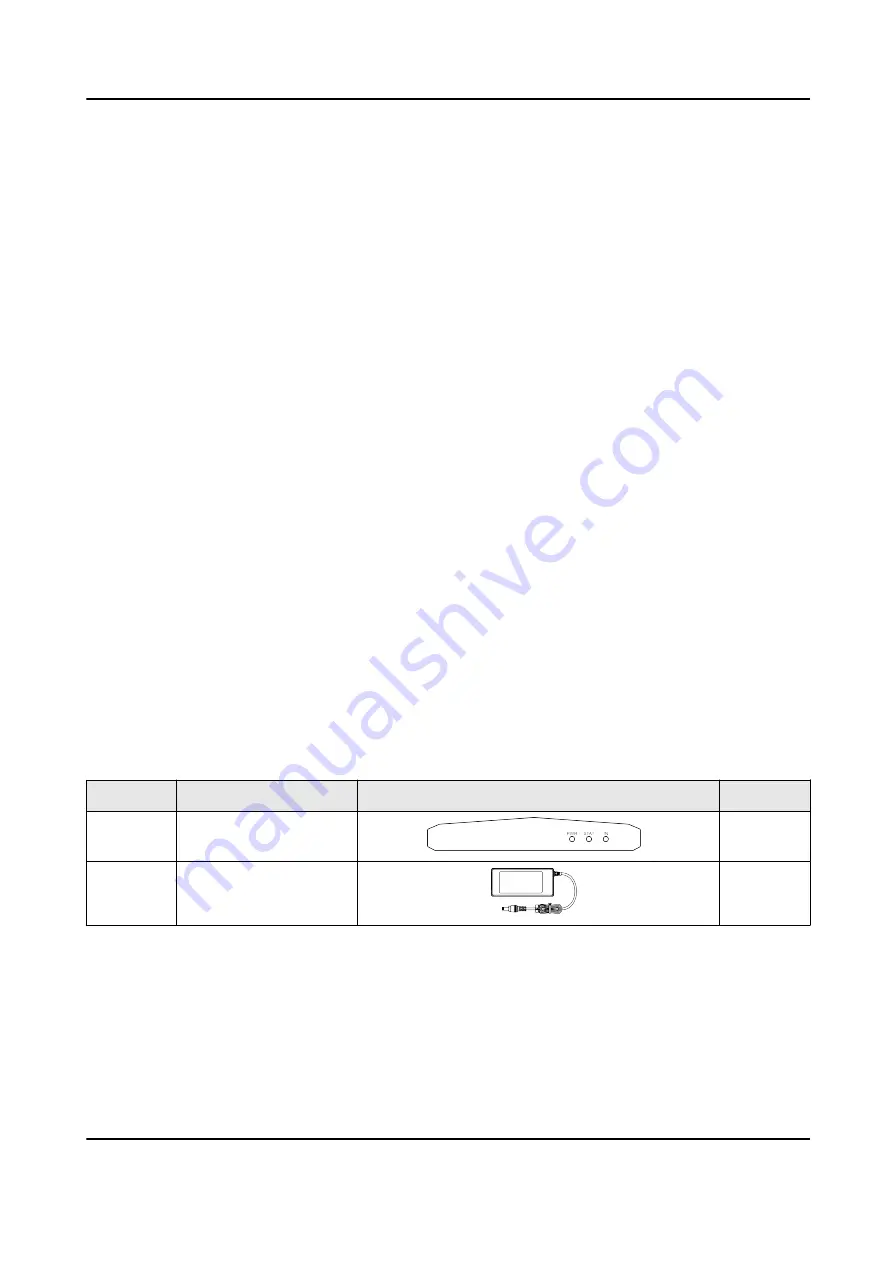
1.3 Packing List

Before using the product, check whether the following items are included in the package. If any

items are found damaged or missing, please contact our technical support engineers.

Table 1-1 Packing List

No.

Item

Picture

Quantity

1

Device

1

2

Power adapter

1

Video Wall Controller User Manual

1

Summary of Contents for DS-C12A

Page 1: ...Video Wall Controller User Manual...

Page 2: ...ROVIDED AS IS AND WITH ALL FAULTS AND ERRORS HIKVISION MAKES NO WARRANTIES EXPRESS OR IMPLIED INCLUDING WITHOUT LIMITATION MERCHANTABILITY SATISFACTORY QUALITY OR FITNESS FOR A PARTICULAR PURPOSE THE...

Page 3: ...ITED END USES INCLUDING THE DEVELOPMENT OR PRODUCTION OF WEAPONS OF MASS DESTRUCTION THE DEVELOPMENT OR PRODUCTION OF CHEMICAL OR BIOLOGICAL WEAPONS ANY ACTIVITIES IN THE CONTEXT RELATED TO ANY NUCLEA...

Page 4: ...does cause harmful interference to radio or television reception which can be determined by turning the equipment off and on the user is encouraged to try to correct the interference by one or more of...

Page 5: ...yclethis info 2006 66 EC battery directive This product contains a battery that cannot be disposed of as unsorted municipal waste in the European Union See the product documentation for specific batte...

Page 6: ...azardous situation which if not avoided could result in equipment damage data loss performance degradation or unexpected results Note Provides additional information to emphasize or supplement importa...

Page 7: ...ed by unauthorized repair or maintenance Please enhance the protection for personal information and data security as the device may be confronted with the network security problems when it is connecte...

Page 8: ...dd Device by IP Address or Domain Name 7 2 2 2 Add Devices by IP Segment 8 2 3 Configure Network Parameters 9 Chapter 3 Artistic Video Wall Configuration 10 3 1 Configure Displays 10 3 1 1 Add Display...

Page 9: ...onfigure the Device Name and Device No 26 5 2 Configure Device Time 26 5 3 Reset Device Password 27 5 4 View Device Information 28 5 5 Configure Serial Parameters 28 5 6 Configure Security Parameters...

Page 10: ...2 Key Feature 1 HDMI 4K input 4 HDMI output 4 device cascading controlling up to 16 display video wall Accurate to 0 1 rotation for a single display Various display solutions with display mirroring an...

Page 11: ...Figure 1 2 Front Panel Table 1 2 Front Panel Interface Description No Name Description 1 PWR Power indicator Turns steady red after power on 2 STAT System status indicator Unlit during startup or in...

Page 12: ...HDMI input interface up to 4K 60 Hz input Used for loop input when multiple devices are cascaded Note When devices are cascaded you can only use the HDMI input interface of the master device to input...

Page 13: ...tput interface Note When devices are cascaded you can only use the line output interface of the master device to output audio signals 14 DC 12 V Switch Switch of 12 V 2 A power input alternative to th...

Page 14: ...t Software 1 6 Operation Process The following figure describes the basic operation process of creating an artistic video wall Figure 1 5 Operation Process of Creating an Artistic Video Wall Video Wal...

Page 15: ...ck Activate to open the Activation box 5 Create a password in the password field and confirm the password Caution The password strength of the device can be automatically checked We highly recommend y...

Page 16: ...y recommend you change the password of your own choosing using a minimum of 8 characters including at least three kinds of following categories upper case letters lower case letters numbers and specia...

Page 17: ...ick Maintenance Device Management 2 Click Add to open the Add window 3 Select IP Segment as the adding mode 4 Enter the required information Start IP Enter a start IP address End IP Enter an end IP ad...

Page 18: ...dd and New to save the settings and continue to add other device 2 3 Configure Network Parameters After your device is added to the client you can configure network parameters of your device as needed...

Page 19: ...s angles and properties of your displays After finishing display configuration you can export it as a reference for onsite deployment 3 1 1 Add Displays Before designing your video wall add displays t...

Page 20: ...consistent with the actual values Output Resolution Please select the proper resolution based on the actual need Display Area Width Height Enter the actual display area width and height of your displ...

Page 21: ...the display will be moved to the corresponding position Rotation Angle Enter the rotation angle and the display will be rotated at the desired angle clockwise from the reference point the junction of...

Page 22: ...Description Create a video wall canvas Cancel the current operation Restore the previous operation Center the video wall in the canvas Show the measurements of the whole video wall a single display a...

Page 23: ...ent or on your local computer to display in the window and check the display effect Pictures and videos are supported 4 Select the input source mode Normal and Replicate modes are available Normal The...

Page 24: ...ze the resolution of the input source so that they are matched Note The custom resolution must be a value between 1280 720 and 4092 2160 The width must be a multiple of 4 and the height a multiple of...

Page 25: ...on line Click one interface hold and move your mouse to draw a connection line to the other interface Change a loop line Click the loop out interface of one device hold and move your mouse to draw a c...

Page 26: ...re not inputting and not displayed on the video wall gray Signals are displayed on the video wall but not inputting green Signals are inputting but not displayed on the video wall red Signals are inpu...

Page 27: ...Click to save the current video wall layout to the specified directory in the local computer 3 4 2 Print a Layout File You can print a video wall layout containing information such as display properti...

Page 28: ...oring horizontal mirroring and vertical mirroring The configuration methods are similar This section uses an eight display video wall as an example to describe how to configure mirroring on the video...

Page 29: ...Topology draw a loop connection line for the two devices Click hold and drag a line from the loop out interface of the first device to the loop in interface of the second device Figure 3 11 Device To...

Page 30: ...re 3 12 Device Topology with Mirroring Configured 6 After mirroring is configured continue to finish other configurations such as layout adjustment and device linking Video Wall Controller User Manual...

Page 31: ...out designed on the client You can print the layout file for convenience 4 2 Connect Cables After installation is complete you need to connect cables for your device including the grounding cables net...

Page 32: ...cable Power cable Figure 4 1 Normal Signal Splicing on Video Wall Figure 4 2 Cascading Splicing of a Signal 4 2 2 Cable Connection Description See the following table for details about how to connect...

Page 33: ...n cables choose cables based on your actual needs For the controllers DP HDMI cables support up to 4K 60 Hz input DVI HDMI cables support up to 4K 60 Hz input and VGA HDMI cables support up to 1080P 6...

Page 34: ...interface and feet 4 and 5 correspond to RS 485 and RS 485 of an RS 485 interface 2 Connect the serial interface of your video wall controller with that of an external device 7 Power cable Choose eith...

Page 35: ...t the desired device in the list and click Remote Configuration on the Operation column 2 Click System General 3 Change the Device Name or Device No as needed 4 Click Save 5 2 Configure Device Time If...

Page 36: ...generating a key file 4 After receiving the key file click Import to import the file into your device Your device password is cleared for you to set a new one 5 Enter a new password and confirm the p...

Page 37: ...ers If you want to debug your device over the RS 232 485 serial port you can configure serial parameters on the client as needed The default serial port type is RS 232 and you can change it to RS 485...

Page 38: ...nfiguration on the Operation column 2 Click System System Maintenance 3 Export or import a configuration file Click Import Configuration File to import a configuration file enter the password and clic...

Page 39: ...meters to factory settings except IP configuration Click Restore All will clear all parameters and restore the parameters to factory settings You are recommended to export the configuration file first...

Page 40: ...you change the password of your own choosing using a minimum of 8 characters including at least three kinds of following categories upper case letters lower case letters numbers and special characters...

Page 41: ...nfiguration File You can import configuration files from local PC to the client if needed and vice versa Skin Change the skin of the client including bright color series and black color series Batch T...

Page 42: ...Chapter 8 Get More Information Scan the following QR code to get more information about the operation and maintenance Video Wall Controller User Manual 33...

Page 43: ...UD18424B...

Reviews: