


4. Set the continuous main stream/sub-stream recording parameters for the camera. Refer to
Configure Recording Parameter for details.
5. Go to Configuration → Record → Schedule .
6. Select recording type as Event. Refer to Edit Schedule for details.
Edit Schedule
Steps
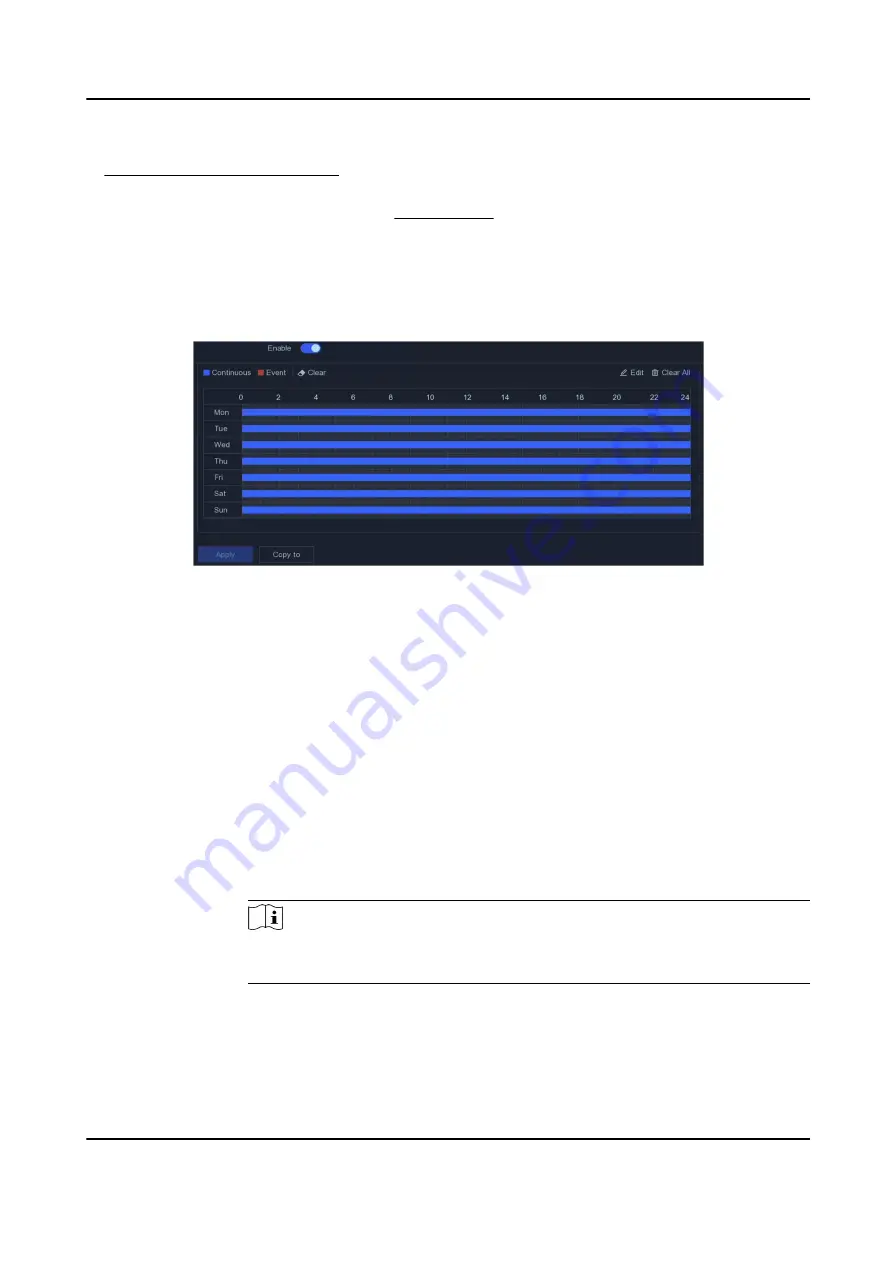
1. Go to Configuration → Record → Schedule .
Figure 5-18 Recording Schedule
Continuous
Continuous recording.
Event
Recording is triggered by events.
2. Select a camera in Camera No.
3. Turn on Enable.
4. Configure the recording schedule.
Edit
Schedule
a. Click Edit.
b. Select a day to configure in Weekday.
c. To set an all-day recording schedule, check All Day and select schedule type.
d. To set other schedules, uncheck All Day, and set Start/End Time and
schedule type.
Note
Up to 8 periods can be configured for each day. And the time periods cannot
be overlapped with each other.
e. Click OK to save the settings and go back to upper level menu.
Draw
Schedule
a. Click to select schedule type as Continuous or Event.
b. On the table, drag the mouse on the desired period to draw a colored bar.
5. Click Apply.
Network Video Recorder User Manual
33


